
Silverado 3500 2WD V8-6.6L DSL Turbo VIN 2 (2004)
Tighten
Tighten the bolt to 3 N.m (25 lb in).
10.
Grind out the ridge in the drum section of the rotor, if necessary.
11.
Adjust the lining-to-drum clearance at the rear wheel to 0.6604 mm (0.026 in).
12.
Install the rotor.
13.
Install the caliper to the rotor.
14.
Perform the following procedure before installing the caliper guide pin bolts.
14.1. Remove all traces of the original adhesive patch.
14.2. Clean the threads of the bolt with brake parts cleaner or the equivalent and allow to dry.
14.3. Apply Threadlocker, GM P/N 12345493 (Canadian P/N 10953488) to the threads of the bolt.
15.
Install the caliper bolts.
Tighten
Tighten the caliper guide pin bolts to 42 N.m (31 lb ft).
16.
Repeat Steps 9 through 13 for the other rear caliper.
17.
Install the tire and wheel assemblies.
Note:
A torque wrench or J 39544 must be used to ensure that wheel nuts are tightened to specification. Never use lubricants or penetrating fluids on
wheel studs, nuts, or mounting surface, as this can raise the actual torque on the nut without a corresponding torque reading on the torque
wrench. Wheel nuts, studs, and mounting surfaces must be clean and dry. Failure to follow these instructions could result in a wheel, nut,
and/or stud damage.
Important:
Tighten the nuts evenly and alternately in order to avoid excessive run out.
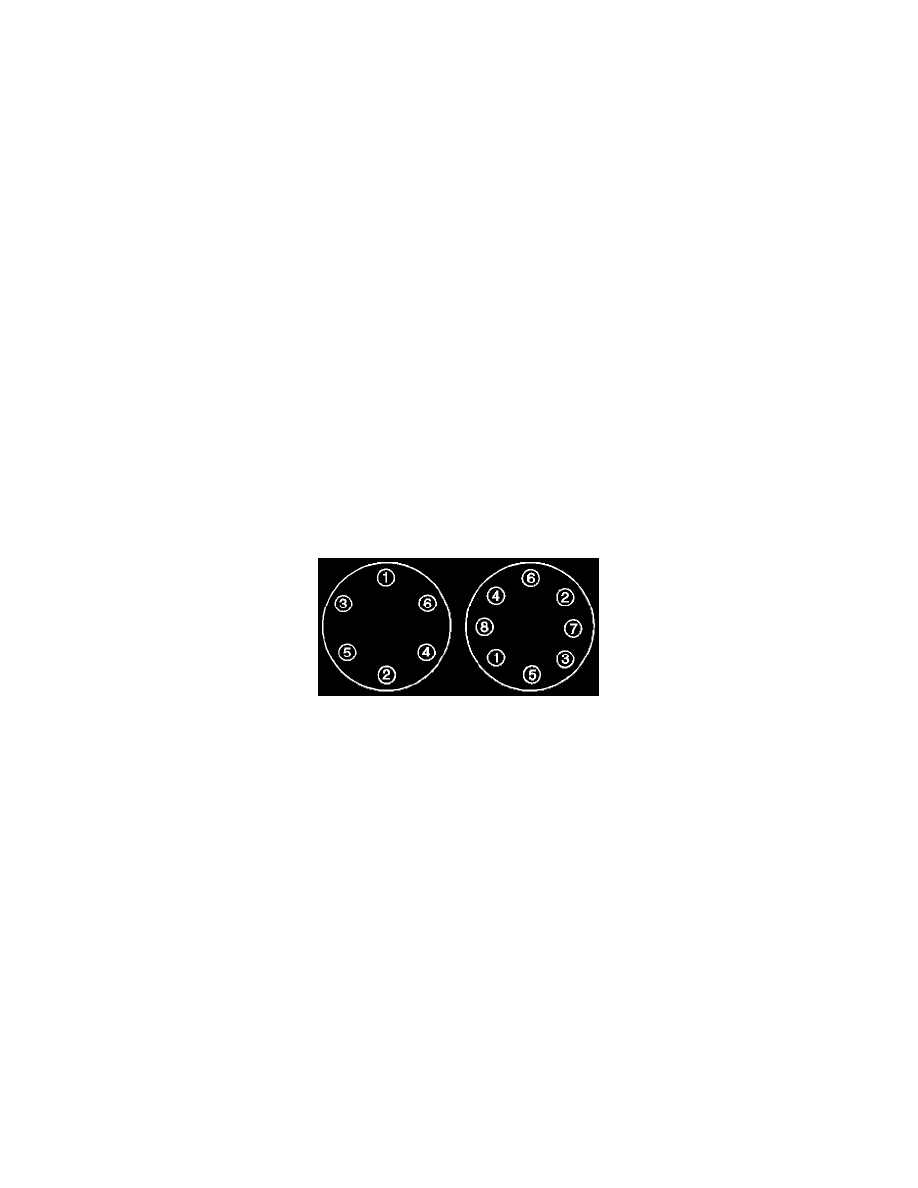
18.
Install the wheel nuts.
Tighten
Tighten the wheel nuts as shown to 190 N.m (140 lb ft).
19.
Lower the vehicle.
2500/3500 Series Vehicles
^
J 46277 Rotor Removal Tool
^
J 6125-B Slide Hammer
^
J 2222-C Wheel Bearing Nut Wrench, or equivalent