
Silverado 3500 2WD V8-6.6L DSL Turbo VIN 2 (2004)
Housing Assembly HVAC: Service and Repair
HVAC Module Assembly Replacement
HVAC MODULE ASSEMBLY REPLACEMENT
TOOLS REQUIRED
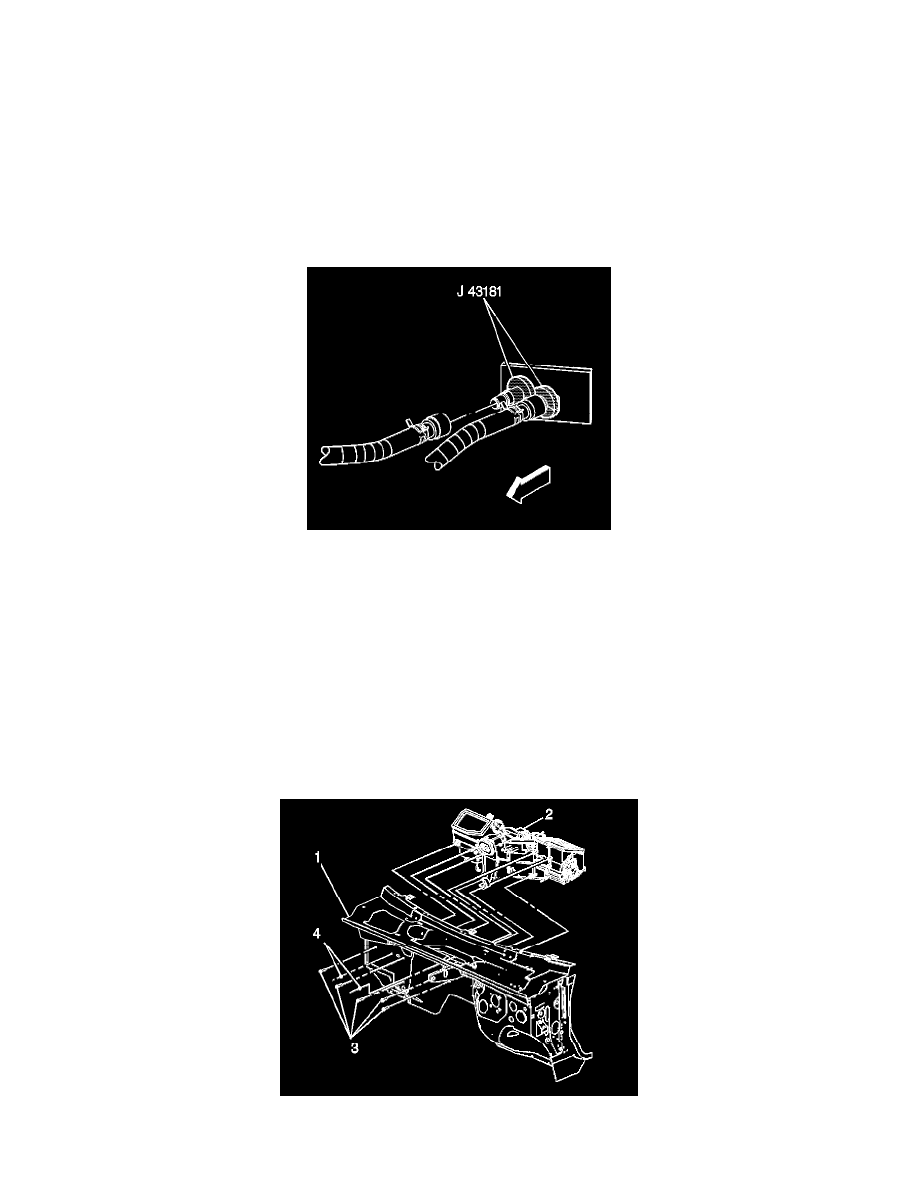
J 43181 Quick Connect Connector Removal Tool
REMOVAL PROCEDURE
1. Drain the engine coolant. Refer to Draining and Filling Cooling System (with HP2)Draining and Filling Cooling System (without HP2) in Cooling
System.
2. If equipped remove the auxiliary battery.
3. Using the J 43181 disconnect the inlet heater hose from the heater core.
3.1.
Install the J 43181 to the heater core pipe.
3.2.
Close the tool around the heater core pipe.
3.3.
Firmly pull the tool into the quick connect end of the heater hose.
3.4.
Firmly grasp the heater hose. Pull the heater hose forward in order to disengage the inlet hose from the heater core.
4. Using the J 43181 disconnect the surge tank outlet hose from the heater core.
4.1.
Install the J 43181 to the heater core pipe.
4.2.
Close the tool around the heater core pipe.
4.3.
Firmly pull the tool into the quick connect end of the heater hose.
4.4.
Firmly grasp the heater hose. Pull the heater hose forward in order to disengage the surge tank outlet hose from the heater core.
5. Remove the accumulator.
6. Remove the instrument panel carrier.
7. Remove the HVAC module drain hose.
8. Disconnect the electrical harnesses and the ground connections from the HVAC module.
9. Remove the nuts (4) from the HVAC module (2).
10. Remove the bolts (3) from the HVAC module (2).