
Silverado 3500 2WD V8-6.6L DSL Turbo VIN 2 (2004)
Selector Shaft: Service and Repair
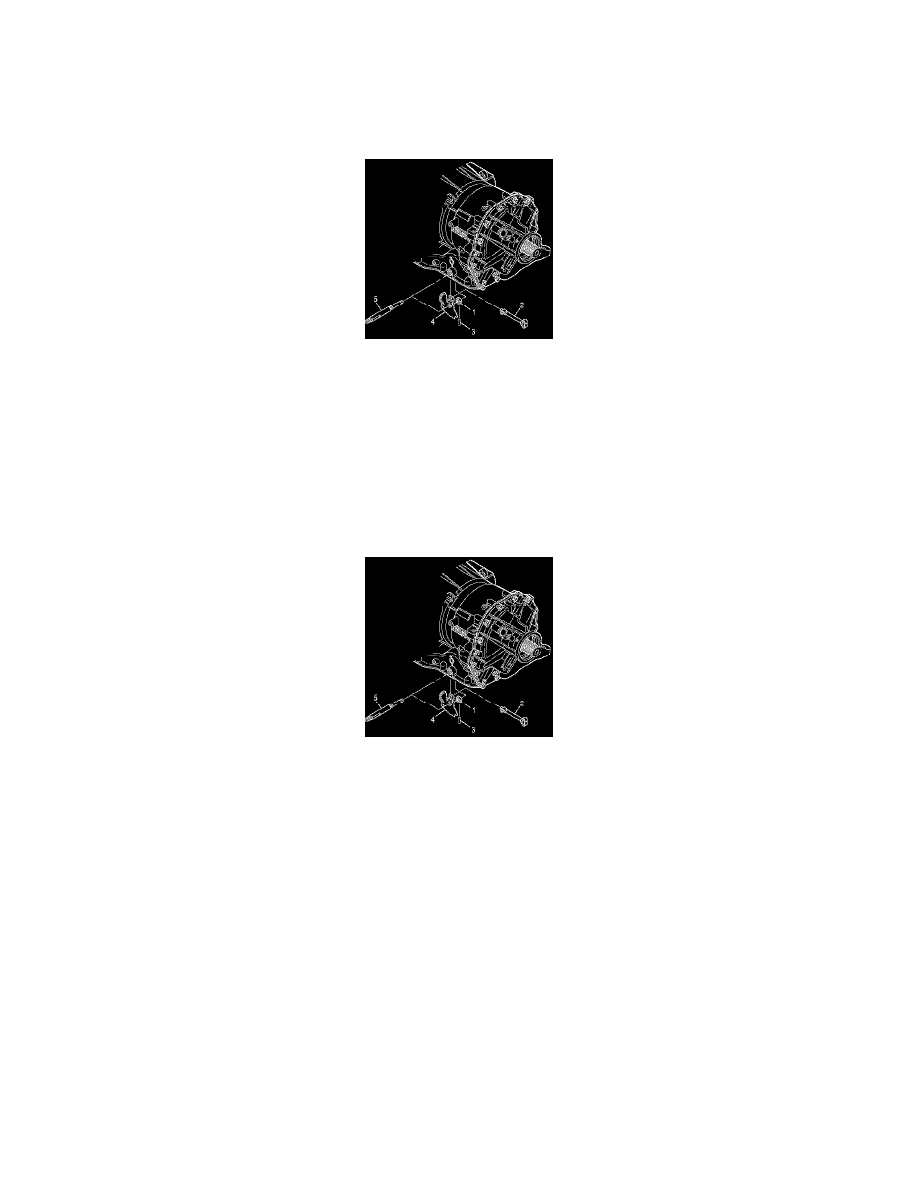
Selector Shaft and Detent Lever Replacement
Removal Procedure
1. Remove the control valve assembly from the transmission.
2. Remove the PNP switch.
3. Loosen nut (1) on the selector shaft (5) that retains the detent lever (4) to the selector shaft.
4. Important:
DO NOT mar the main housing surface around the spring pin when removing the spring pin. An unmarred surface is required to maintain the seal
between the control valve assembly and the main housing.
Place a protective plate on the main housing surface around the spring pin (3). Place a drill bit inside spring pin (3) to prevent cutting or collapsing
the pin when removing the pin. Remove the spring pin (3) from the main housing.
5. Slide the selector shaft (5) through the detent lever (4) and through the selector shaft seal.
6. Rotate the detent lever to disengage the park pawl apply assembly (2). Remove the detent lever (4) and nut (1).
Installation Procedure
1. Place the new detent lever (4) in position in the main housing. Rotate the detent lever to engage the park pawl apply assembly (2). .Reinstall the
selector shaft (5) through the selector shaft seal and through the detent lever (4).
2. Notice:
Refer to Fastener Notice in Service Precautions.
Place the nut (1) in position over the selector shaft. Push the selector shaft (5) into its final position in the main housing. Reinstall the spring pin
(3) into the main housing that retains the selector shaft. Install pin to 8.5-9.0 mm (0.33-0.35 inch) above main housing surface. Hand tighten nut
(1).
^
Tighten the nut (1) to 29 Nm (21 ft. lbs.).
3. Install the PNP switch.
4. Install the control valve assembly.