Silverado 3500 4WD V8-6.0L VIN U (2004)

7. Install the boot and the piston.
1. Install the boot over the end of the piston so that the fold will face toward the brake caliper housing piston bore opening.
2. Seat the boot into the brake caliper bore groove. Slide the piston into the brake caliper bore.
3. Push down the piston to the bottom of the brake caliper bore.
4. Ensure that the boot properly seats into the piston groove and into the groove in the brake caliper bore.
5. Repeat steps 5 and 6 for the remaining piston.
8. Install the brake caliper to the vehicle.
Brake Caliper Bracket Replacement - Front
Brake Caliper Bracket Replacement - Front
Caution: Refer to Brake Dust Caution in Service Precautions.
Removal Procedure
1. Notice:
Support the brake caliper with heavy mechanic's wire, or equivalent, whenever it is separated from its mount and the hydraulic flexible brake hose
is still connected. Failure to support the caliper in this manner will cause the flexible brake hose to bear the weight of the caliper, which may cause
damage to the brake hose and in turn may cause a brake fluid leak.
Remove the caliper from the mounting bracket and support the caliper with heavy mechanic's wire or equivalent. DO NOT disconnect the
hydraulic brake flexible hose from the caliper. Refer to Brake Caliper Replacement - Front.
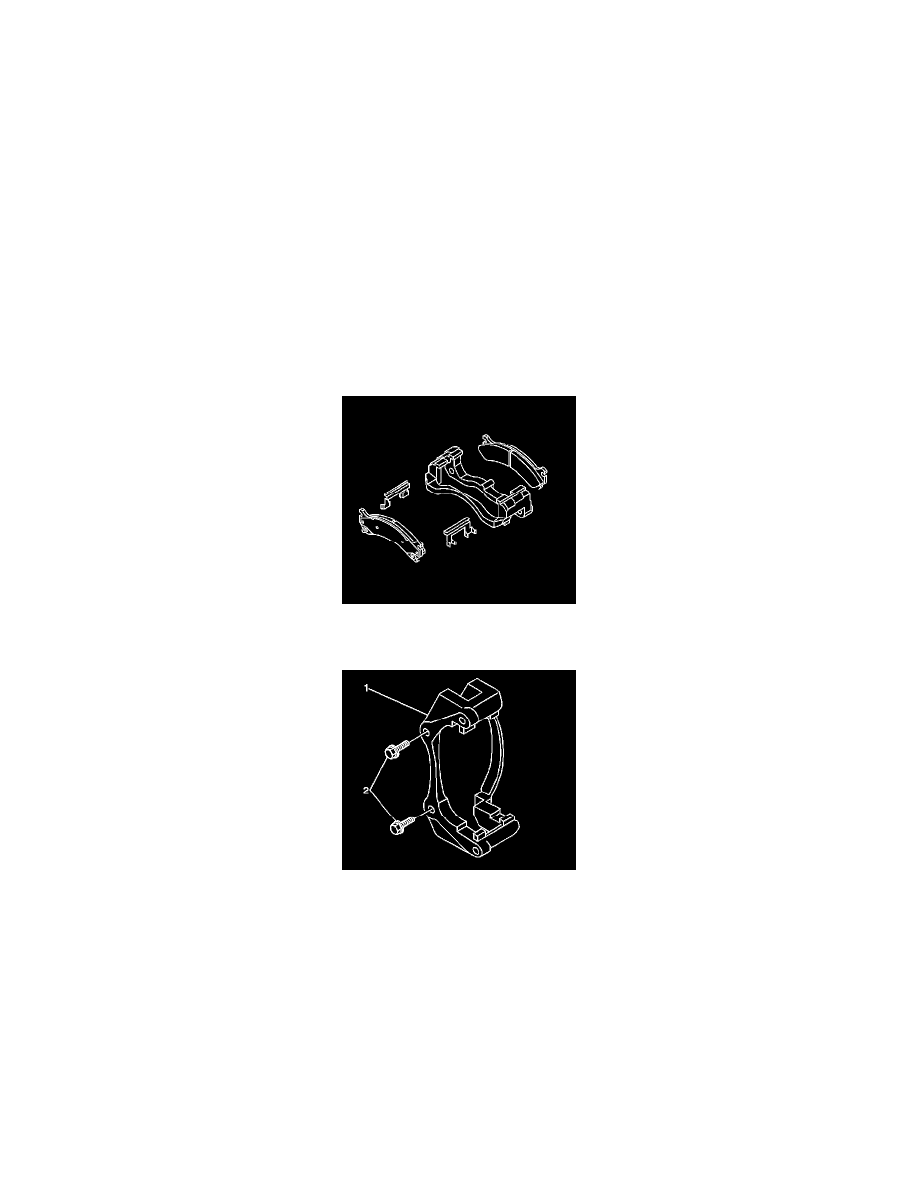
2. Remove the brake pads.
3. Remove the anti-rattle clips from the brake caliper bracket.
4. Remove the brake caliper bracket mounting bolts (2).
5. Remove the brake caliper bracket (1).
6. Remove any contaminants or foreign material from the inside ends of the brake caliper bracket.
7. Clean the mounting surface and threads of the brake caliper bracket.
Installation Procedure
