
Silverado Classic 1500 2WD V6-4.3L (2007)
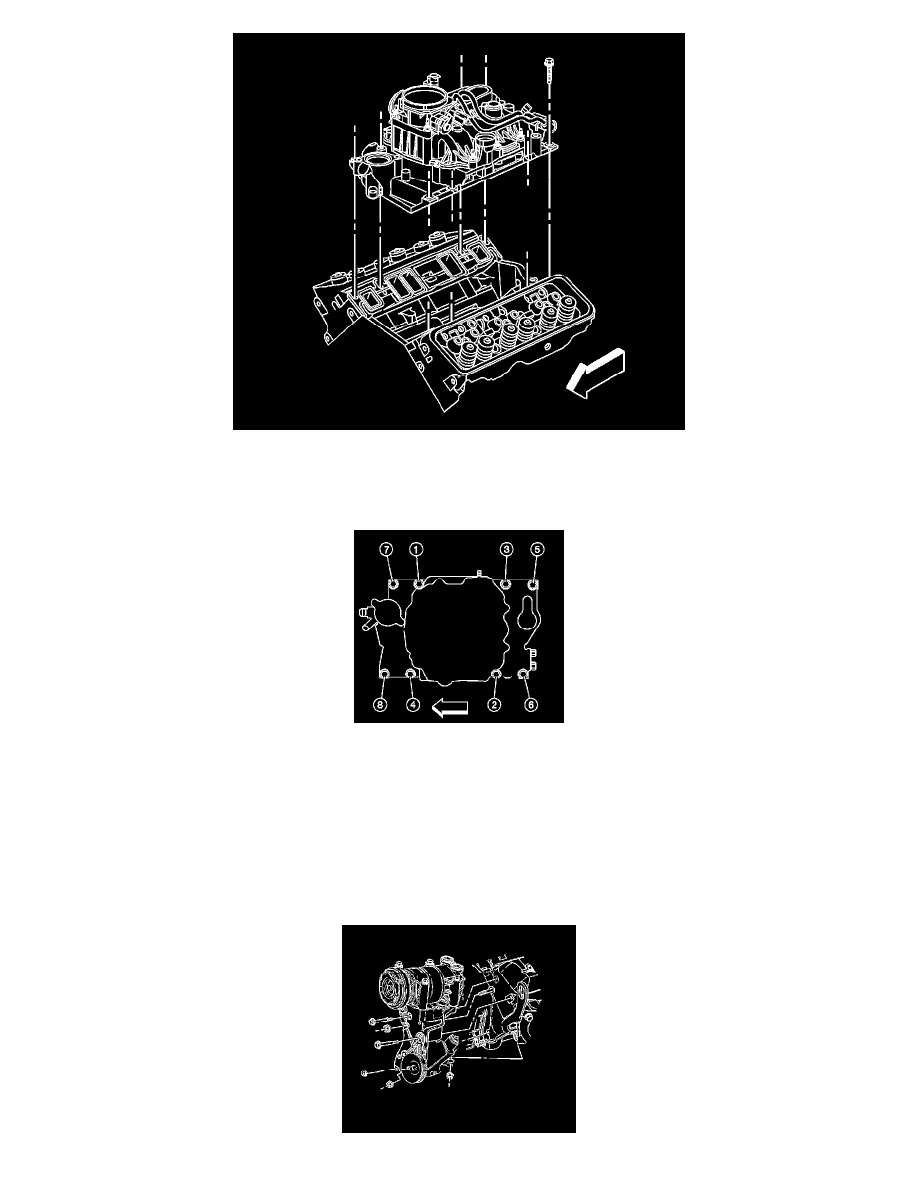
7. Install the intake manifold.
8. If reusing the old fasteners, apply threadlock to the threads of the intake manifold - lower bolts. Refer to Sealers, Adhesives, and Lubricants for the
correct part number.
9. Install the intake manifold - lower bolts.
10. Notice: Proper lower intake manifold fastener tightening sequence and torque is critical. Always follow the tightening sequence, and torque the
intake manifold bolts using the 3 step method. Failing to do so may distort the crankshaft bearing bore alignment and cause damage to the
crankshaft bearings.
Notice: Refer to Fastener Notice in Service Precautions.
Tighten the intake manifold-lower bolts in the sequence shown.
1. Tighten the bolts a first pass to 3 Nm (27 inch lbs.).
2. Tighten the bolts a second pass to 12 Nm (106 inch lbs.).
3. Tighten the bolts a final pass to 15 Nm (11 ft. lbs.).