
Silverado Classic 1500 2WD V6-4.3L (2007)
8. Install the VCIM screw (1) to the I/P.
Tighten the screws to 2 N.m (18 lb in).
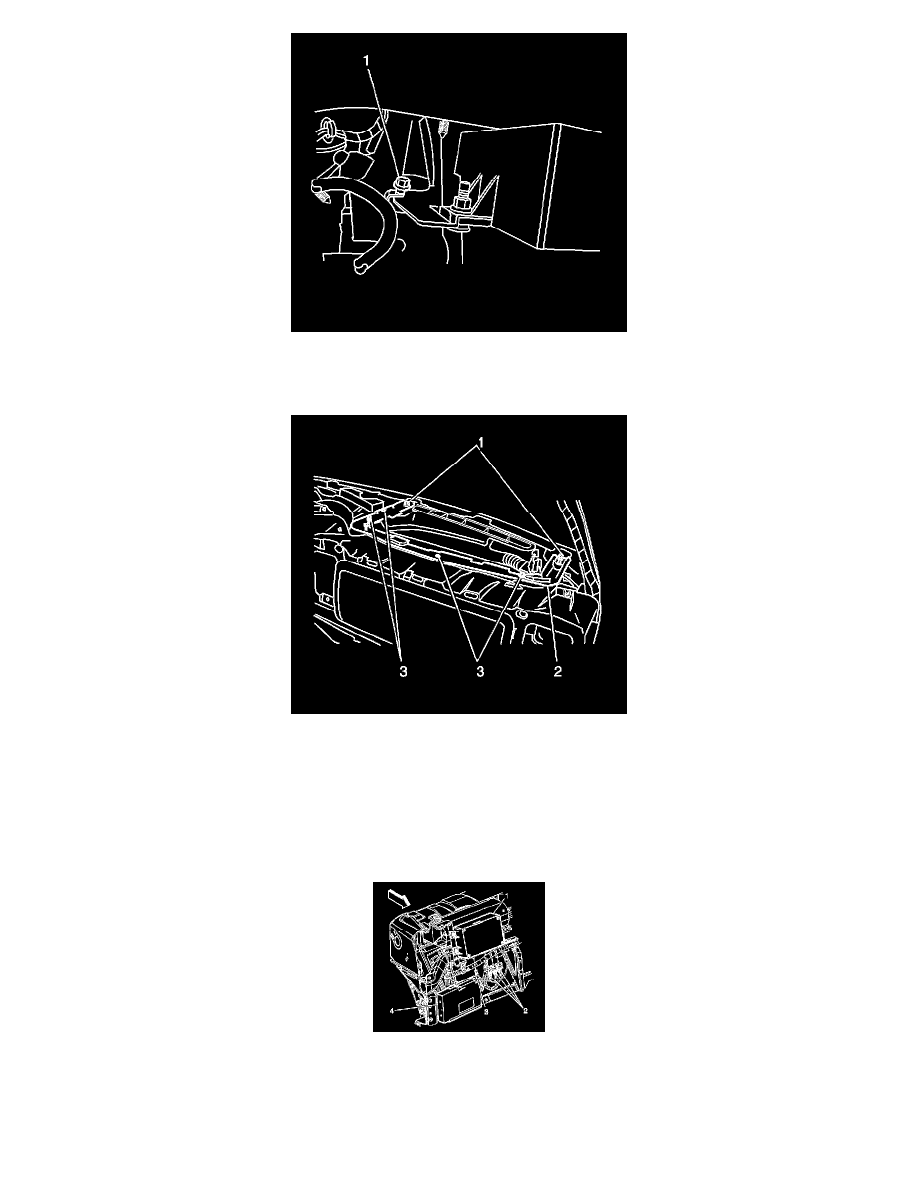
9. Install the passenger side upper I/P bracket (2).
10. Install the I/P upper bracket screws (3).
Tighten the screws (3) to 2 N.m (18 lb in).
11. Install the I/P upper bracket screws (1).
Tighten the screws (1) to 50 N.m (37 lb ft).
12. Connect the coaxial cable (3) to the VCIM.
13. Connect the electrical connectors (2) to the VCIM.
14. Install the I/P trim panel.
Important: After replacing the vehicle communication interface module, you must reconfigure the OnStar(R) system. Failure to
reconfigure the system will result in an additional customer visit for repair. In addition, pressing and holding the white dot button on the