Silverado Classic 1500 2WD V6-4.3L (2007)

10. Remove the negative battery cable from the battery channel.
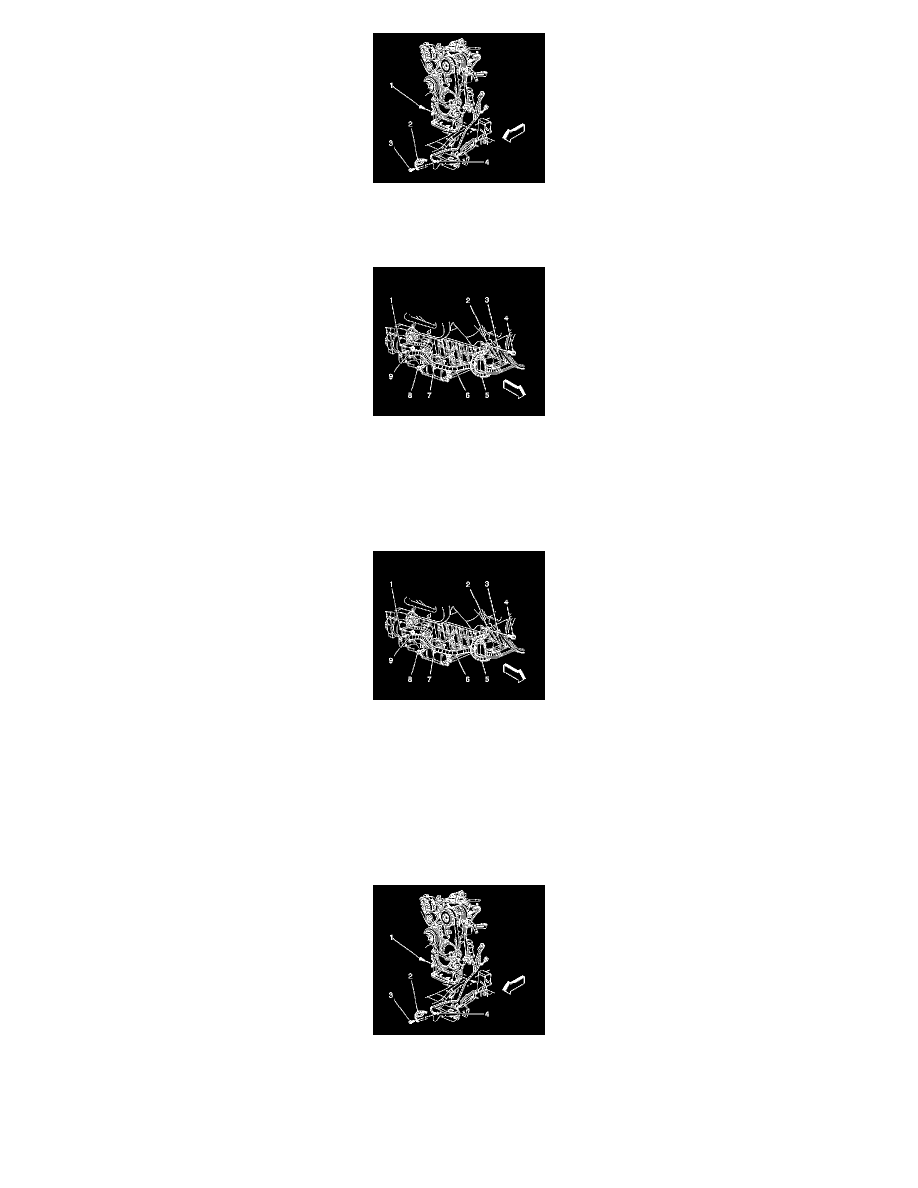
11. Remove the battery cable channel bolts (1).
12. Remove the positive battery cable from the channel.
13. Remove the starter lead nut (9).
14. Remove the positive cable (1) from the starter.
15. Remove the positive cable from the clip (7) on the oil pan.
16. Remove the positive battery cable.
Installation Procedure
1. Install the positive battery cable.
2. Install the positive cable to the clip (7) on the oil pan.
3. Install the positive cable (1) to the starter.
Notice: Refer to Fastener Notice.
4. Install the starter lead nut (9).
Tighten the nut to 9 N.m (80 lb in).
5. Install the positive cable to the channel.
6. Install the battery cable channel bolts (1).
Tighten the bolts to 12 N.m (106 lb in).
