
Silverado Classic 1500 2WD V8-5.3L (2007)
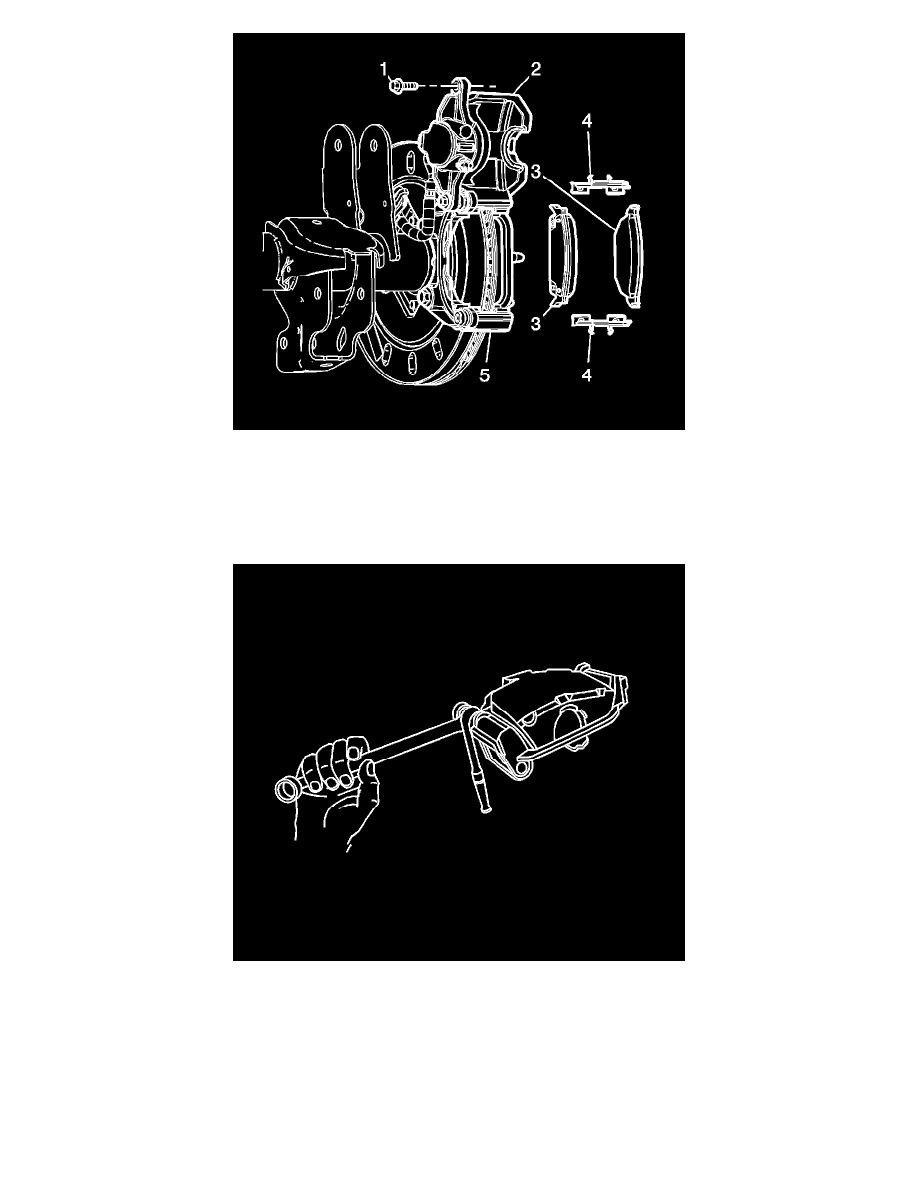
1. Install the shims (4) on the mounting bracket (5).
2. Install the brake pads (3).
^
Install the new brake pads.
^
Install the brake pads in relation to their original position if servicing other brake components.
3. Remove the mechanics wire if used, and rotate the brake caliper (2) into position on the mounting bracket (5).
4. Install the NEW caliper guide pin bolts.
5. Important:
^
DO NOT use any air tools to remove or tighten the guide pin bolts. Use hand tools ONLY.
^
Install a open end wrench to hold the caliper guide pins in line with the caliper while removing or installing the caliper. DO NOT allow the
wrench to come in contact with the brake caliper. Allowing the wrench to come in contact with the brake caliper will cause a pulsation when
the brakes are applied.
Notice: Refer to Fastener Notice in Service Precautions.
Use a open end wrench to hold the caliper guide pin while tightening the guide pin bolt.
Tighten the bolt to 108 Nm (80 ft. lbs.)