
Silverado Classic 2500 4WD V8-6.6L DSL Turbo (2007)
7. Important:
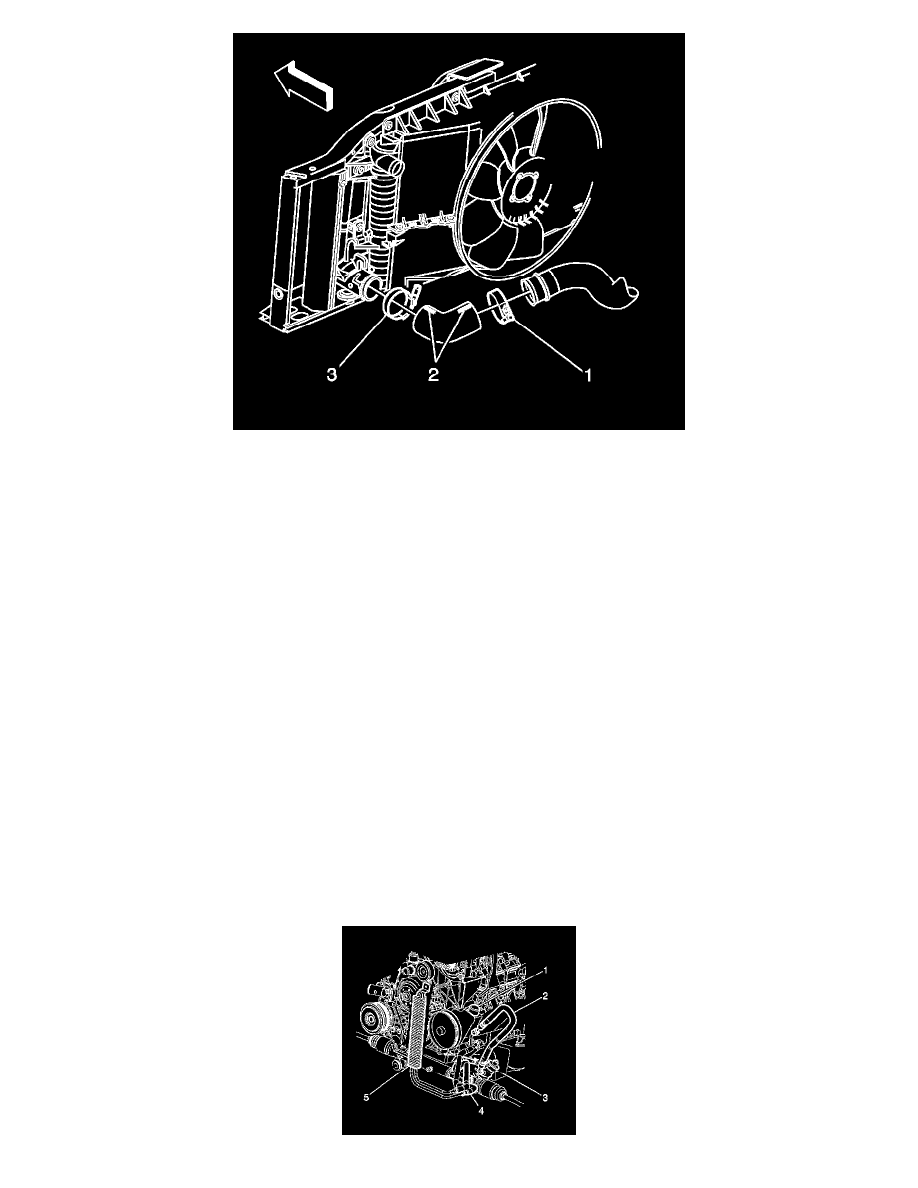
Do not over tighten the charged air cooler pipe clamps. If the clamp is over tightened, the pipe may become distorted allowing separation of the
hose from the pipe. Ensure the charged air cooler pipe/hoses are properly orientated.
Working through the left wheelhouse, connect the charged air cooler inlet duct (1) to the elbow.
8. Tighten the charged air cooler outlet duct to intake hose clamp.
Tighten the clamps to 8 Nm (70 inch lbs.).
9. Install the LH wheelhouse panel.
10. Install the LH front tire assembly.
11. Lower the vehicle.
12. Tighten the power steering gear inlet hose to brake booster.
Tighten the power steering gear inlet hose fitting to 28 Nm (21 ft. lbs.).
13. Install the power steering gear inlet hose to power steering gear.
Tighten both power steering gear inlet hose fittings to 28 Nm (21 ft. lbs.).
14. Install the brake booster inlet hose clamp bolt to frame rail.
Tighten the brake booster inlet hose clamp bolt to 12 Nm (9 ft. lbs.).
15. Remove the drain pan from under the vehicle.
16. Bleed the power steering system.
Power Steering Gear Outlet Pipe/Hose Replacement (Rack and Pinion)
Power Steering Gear Outlet Pipe/Hose Replacement (Rack and Pinion)
Removal Procedure
Notice:
Refer to Power Steering Hose Disconnected Notice.