
Silverado Classic 2500 4WD V8-6.6L DSL Turbo (2007)
8. NOTE: Do not allow excessive amounts of solvent to go into the cylinder during cleaning. Failure to do so may cause engine damage upon
startup.
Lightly dampen EN-47909-20 Cotton Swab with Top Engine Cleaner, GM P/N 1052626 (Canadian P/N 993026) or equivalent, and wipe away
any deposits from the injector bore.
9. Inspect the injector bore for any deposits and repeat brushing if necessary.
CAUTION:
-
Keep hands and face clear of glow plug holes while cranking. Hot liquid or gases may be expelled during cranking.
-
Wear safety glasses in order to avoid eye damage.
10. If necessary, crank the engine in order to expel any solvent before starting the engine.
1. Remove the glow plugs.
2. Disable the fuel system.
3. Disconnect the crankshaft position (CKP) sensor electrical connector.
4. Crank the engine in order to expel any excessive solvent.
5. Using the cotton swabs supplied with the kit, wipe the injector bore clean of any solvent and/or debris.
6. Connect the CKP sensor electrical connector.
7. Enable the fuel system.
8. Reinstall the glow plugs.
INSTALLATION PROCEDURE
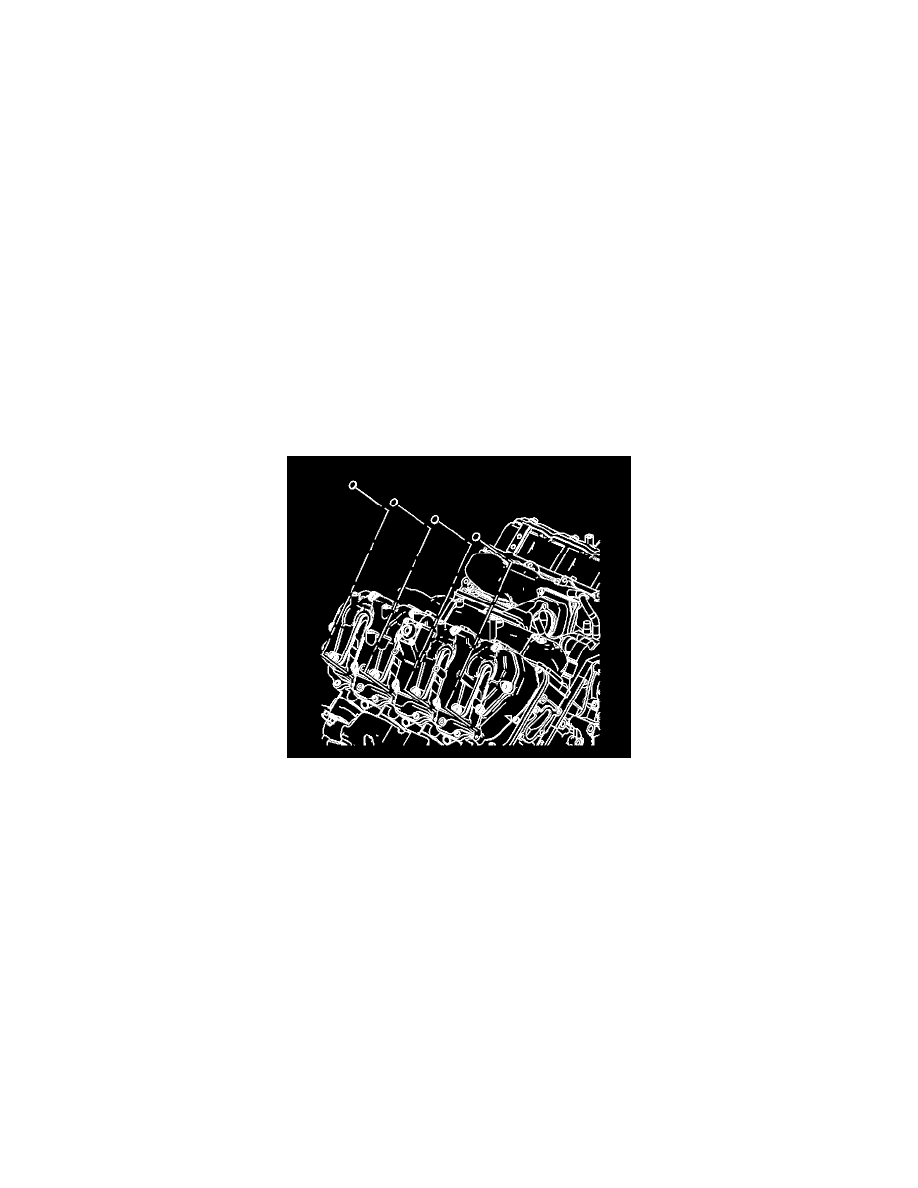
1. Install a NEW copper washer to the fuel injector bore.
2. Install a NEW O-ring onto the fuel injector.
3. If necessary, install the fuel injector bracket pins.