
Silverado Classic 3500 4WD V8-6.6L DSL Turbo (2007)
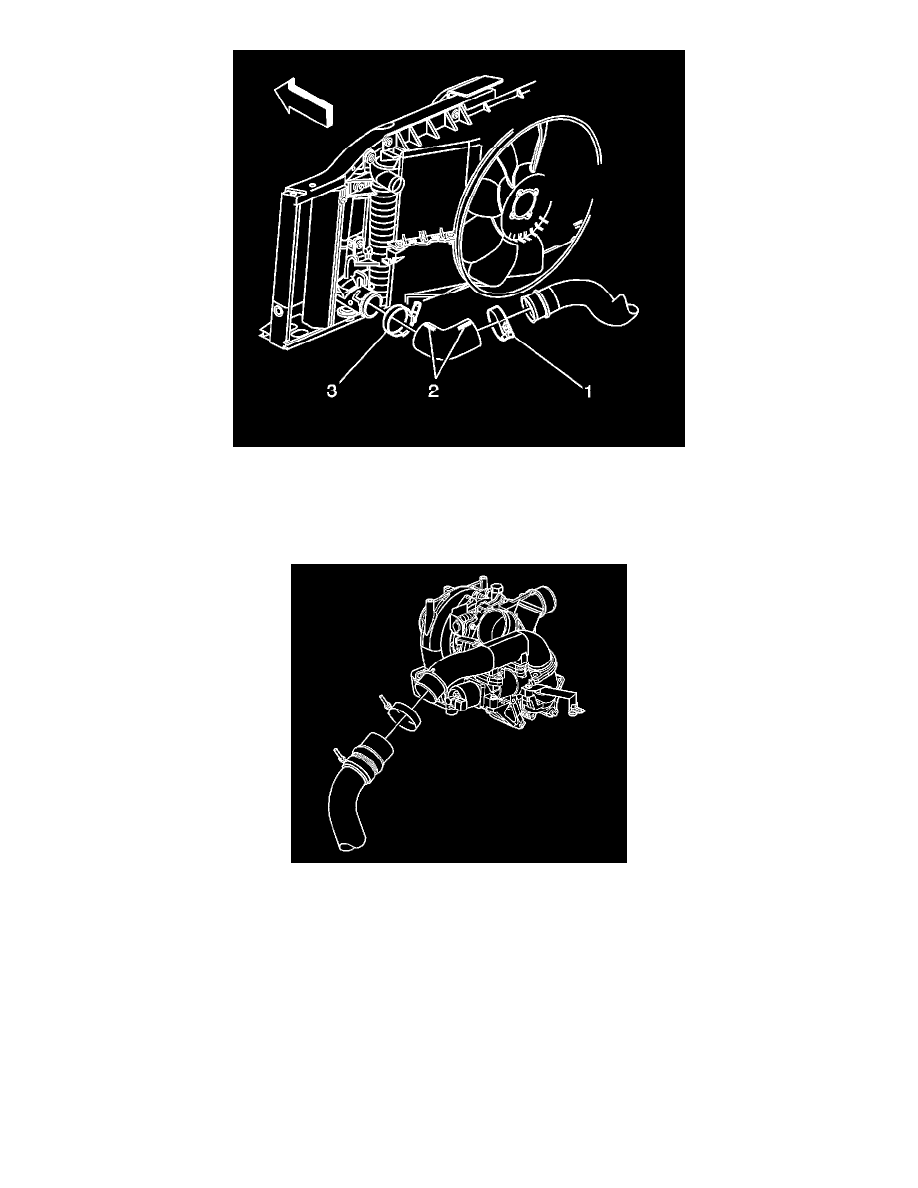
1. Important: Do not over tighten the charged air cooler pipe clamps. If the clamp is overtightened, the pipe may become distorted allowing
separation of the hose from the pipe. Make sure the charged air cooler pipe/hoses are properly orientated.
Working through the left wheelhouse, install the charged air cooler inlet duct.
2. Hand tighten the left charged air cooler inlet duct clamp (3) at the charged air cooler.
3. Important: Do not over tighten the charged air cooler pipe clamps. If the clamp is overtightened, the pipe may become distorted allowing
separation of the hose from the pipe. Make sure the charged air cooler pipe/hoses are properly orientated.
Install the left charged air cooler outlet duct to the intake.
Notice: Refer to Fastener Notice in Service Precautions.
4. Tighten the charged air cooler outlet duct to intake hose clamps.
Tighten the clamps to 8 Nm (70 inch lbs.).
5. Install the left wheelhouse panel.