
Silverado SS AWD V8-6.0L VIN N (2003)
1. Clean the area where the replacement molding is to be mounted. Use a suitable solvent such as flash naphtha or a mixture of 50 percent isopropyl
alcohol and 50 percent water.
2. Dry the area thoroughly.
3. Warm the body panel to a temperature range of 16-41°C (60-105°F) with a heat lamp or J 25070.
4. Peel off the adhesive tape protective lining.
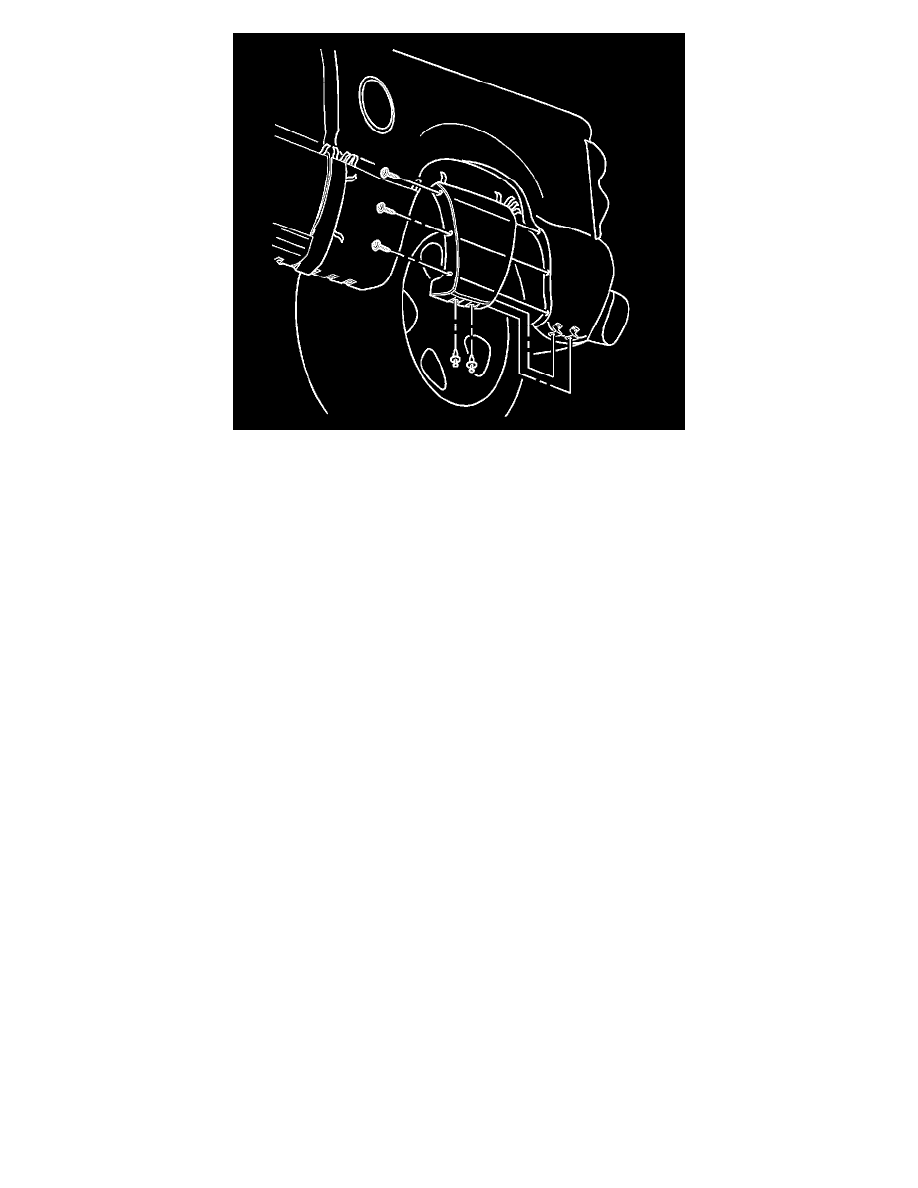
5. Align push-pin holes with holes in bracket.
6. Press on the top part of the molding so that the tape adheres to the body panel.
7. Install the 2 push-pins.
Notice: Refer to Fastener Notice in Service Precautions.
8. Install the 3 screws.
Tighten the screws to 1.9 N.m (16.8 lb in).