
Silverado SS AWD V8-6.0L VIN N (2003)
Important: The hose must not be twisted. Make sure the hose is not in contact with any suspension component.
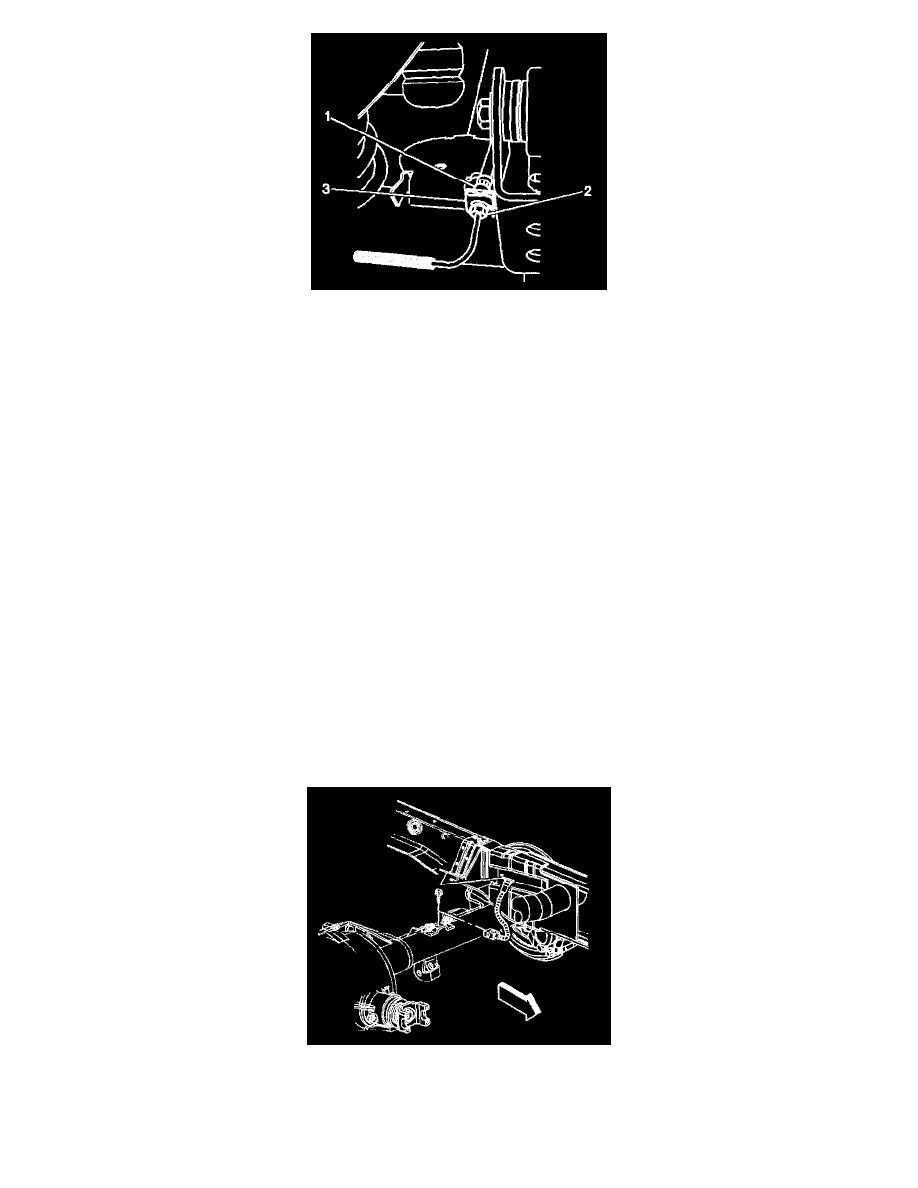
3. Install the brake hose (1) into the brake hose bracket.
4. Install the brake hose retaining clip (3).
5. Remove the rubber cap or plug from the exposed brake pipe fitting end.
6. Connect the brake pipe fitting nut (2) to the brake hose (1):
-
Use a backup wrench on the hose fitting (1).
-
Do not bend the bracket or the pipe.
-
Tighten the brake pipe fitting end (2) to 25 N.m (18 lb ft).
7. Bleed the hydraulic brake system. Refer to Hydraulic Brake System Bleeding (Manual) Hydraulic Brake System Bleeding (Pressure).
8. Install the tire and wheel assembly. Refer to Tire and Wheel Removal and Installation in Tires and Wheels.
9. Ensure that the hose does not make contact with any part of the suspension or the wheel. If the hose makes contact remove the hose and correct the
condition.
10. Lower the vehicle.
Rear Jounce
Brake Hose Replacement - Rear (Jounce)
Removal Procedure
Caution: Refer to Brake Fluid Irritant Caution in Cautions and Notices.
Note: Refer to Brake Fluid Effects on Paint and Electrical Components Notice in Cautions and Notices.
1. Raise and support the vehicle. Refer to Lifting and Jacking the Vehicle in General Information.
2. Clean all dirt and foreign material from the brake hose and brake pipe fittings.
Important: Install a rubber cap or plug to the exposed brake pipe fitting ends in order to prevent brake fluid loss and contamination.
3. Use a backup wrench on the hose fitting, disconnect the brake pipe fitting from the brake hose, then cap or plug the brake pipe fitting end.
4. Remove the brake hose retaining clip from the hose mounting bracket.
5. Remove the jounce hose from the bracket.