
Spectrum L4-91.5 1.5L (1985)
Brake Caliper: Service and Repair
REMOVAL
1.
Remove approximately 2/3 of brake fluid from master cylinder.
2.
Raise and support vehicle.
3.
Mark relationship between front wheel and axle, then remove wheel and tire assembly.
4.
Disconnect and cap flexible hose from caliper.
5.
Remove caliper slide pins and the caliper.
6.
Remove pad assembly.
7.
Remove bracket attaching bolts and the bracket.
8.
Remove slide pin boot from bracket.
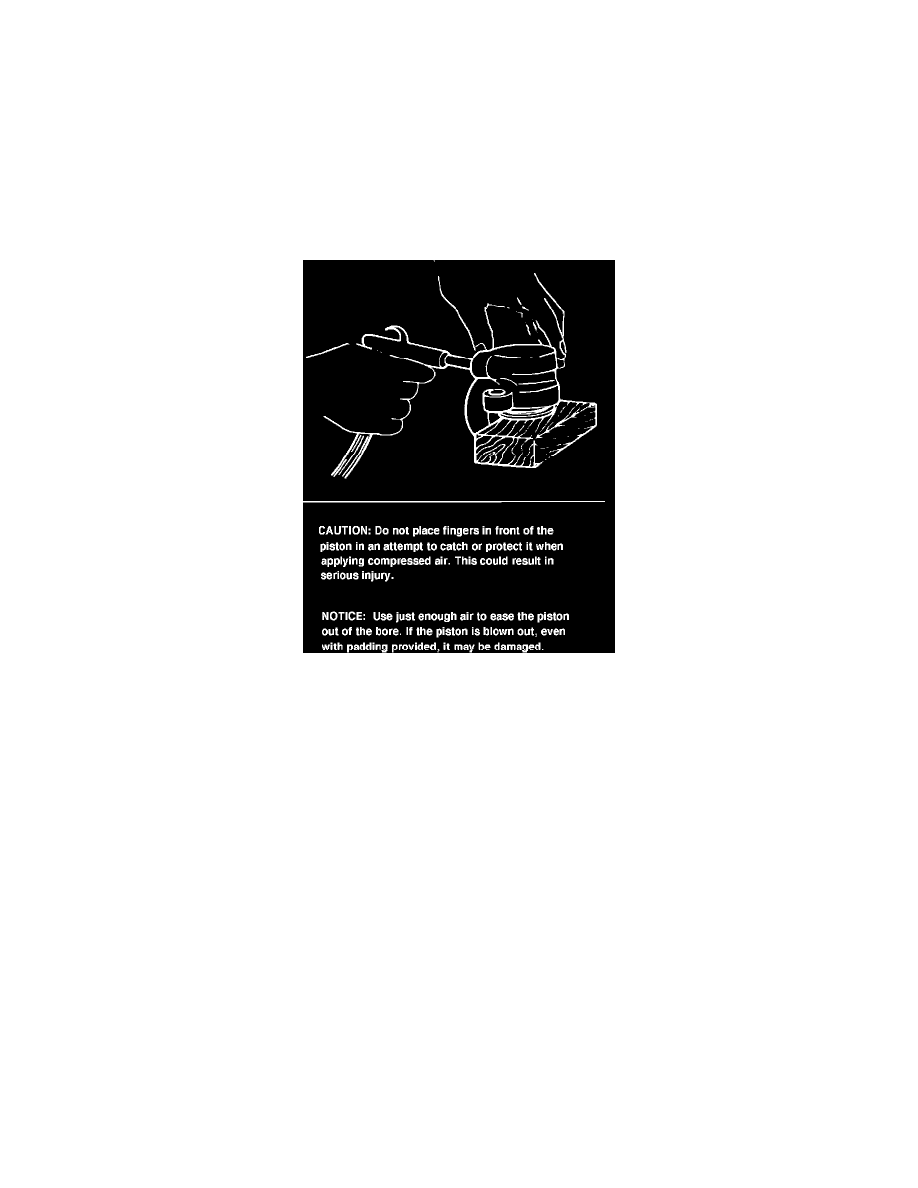
Fig. 3 Removing caliper piston
DISASSEMBLY
1.
Insert a block of wood into caliper and remove piston with compressed air, Fig. 3.
2.
Remove boot from piston.
3.
Remove piston seal from caliper.
ASSEMBLY
1.
Clean all components with suitable solvent. Use dry, filtered compressed air to dry components and blow out all passages in caliper body and
bleeder valve.
2.
Apply suitable grease to piston seal and cylinder wall, then install the seal.
3.
Apply suitable grease to sliding portion of piston and install the dust boot.
4.
Insert edge of dust boot into boot groove, then slowly force piston fully into cylinder.
INSTALLATION
1.
Apply suitable grease to inner face of slide pin boot.
2.
Install slide pin boot to bracket.
3.
Install bracket and torque attaching bolts to 40.5 ft. lbs.
4.
Install pad assembly, ensuring wear indicator and retainer are properly attached to pad.
5.
Install caliper assembly to bracket. Torque attaching bolts to 36 ft. lbs.
6.
Attach flexible hose to caliper and torque fitting to 13.4 ft. lbs.
7.
Install wheel and tire assembly, then lower vehicle.
8.
Fill master cylinder to proper level and bleed brakes.