
SSR V8-6.0L VIN H (2006)
Electronic Brake Control Module: Service and Repair
Electronic Brake Control Module Replacement
Removal Procedure
Important: After installation, calibrate the new electronic brake control module (EBCM) to the tire size that is appropriate to the vehicle.
1. Raise the vehicle.
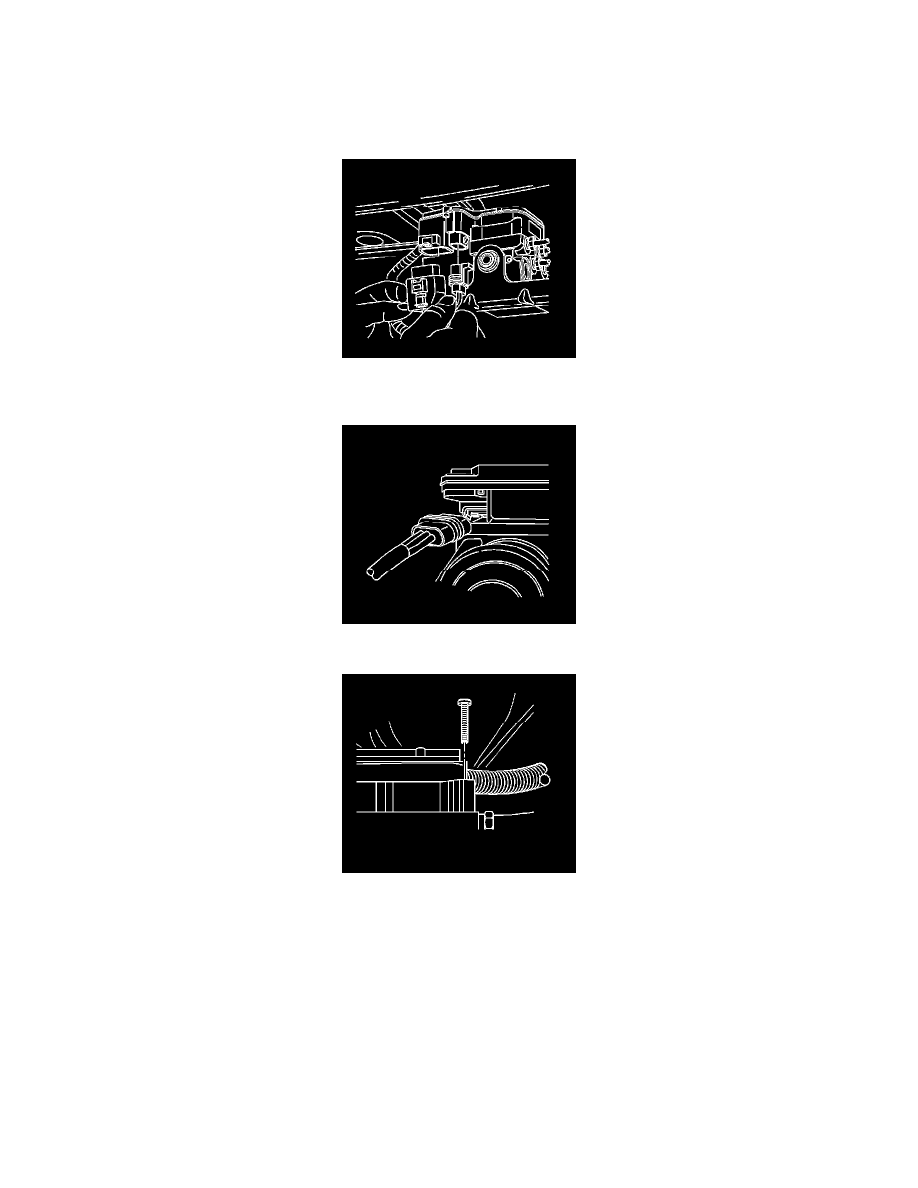
2. Remove 2 electrical connectors on the side of the EBCM.
3. Using a long flat-bladed screwdriver, release the lock tab on the electrical connector located on the back of the EBCM.
Important: When performing the following service procedure, make sure that the TORX(r) screw heads are clean for the proper installation of
the T 25-TORX(r) bit. If the 25-TORX(r) screw are damaged or can not be removed, replace both the EBCM and the brake pressure modulator
valve (BPMV).
4. Using a T 25-TORX(r) bit, remove the 4 mounting screws.
Important: Removal may require a light amount of force. DO NOT pry on the EBCM or the BPMV.
5. Remove the EBCM from the BPMV.
Installation Procedure
Important: Do not reuse the old mounting screws. Always install new mounting screws with the new EBCM.
Important: Do not use RTV or any other type of sealant on the EBCM gasket or mating surfaces.