
SSR V8-6.0L VIN H (2006)
Control Assembly: Service and Repair
HVAC CONTROL MODULE REPLACEMENT
REMOVAL PROCEDURE
1. Remove the storage compartment.
2. Remove the instrument panel (I/P) trim panel.
3. Remove the lower right knee bolster.
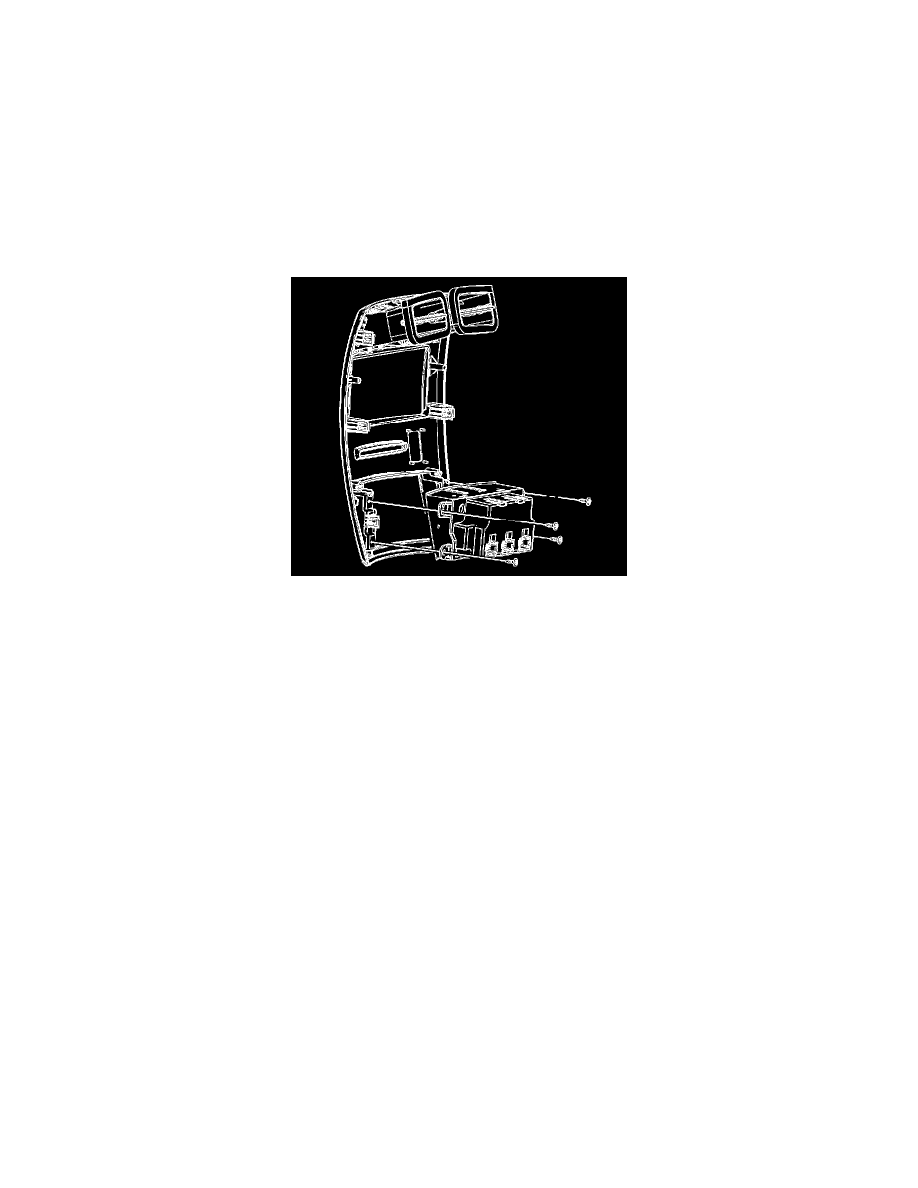
4. Remove the HVAC control module retaining screws.
5. Push the HVAC control module forward. Lower the module through the storage compartment.
6. Disconnect the electrical connector from HVAC control module.
INSTALLATION PROCEDURE
1. Connect the HVAC control module electrical connector.
2. Install the HVAC control module.
3. Install the HVAC control module retaining screws.
Tighten the screws to 1.6 N.m (14 lb in).
NOTE: Refer to Fastener Notice in Service Precautions.
4. Install the right knee bolster.
5. Install the I/P trim panel.
IMPORTANT: Do not adjust any controls on the HVAC control module while the HVAC control module is self-calibrating. If interrupted, improper
HVAC performance will result.
6. Install the storage compartment.