
Suburban 1/2 Ton 2WD V8-5.3L VIN T (2004)
Tighten the retaining screws to 2 N.m (17 lb in).
3. Install the bezel to the console.
Console Replacement (w/Console Mounting Bracket)
Console Replacement (W/Console Mounting Bracket)
Removal Procedure
1. Remove both front seats.
2. If equipped with a Bose(R) amplifier, remove the radio amp fuse located under the hood electrical center.
3. Remove the upper console bezel.
4. Remove the cupholder.
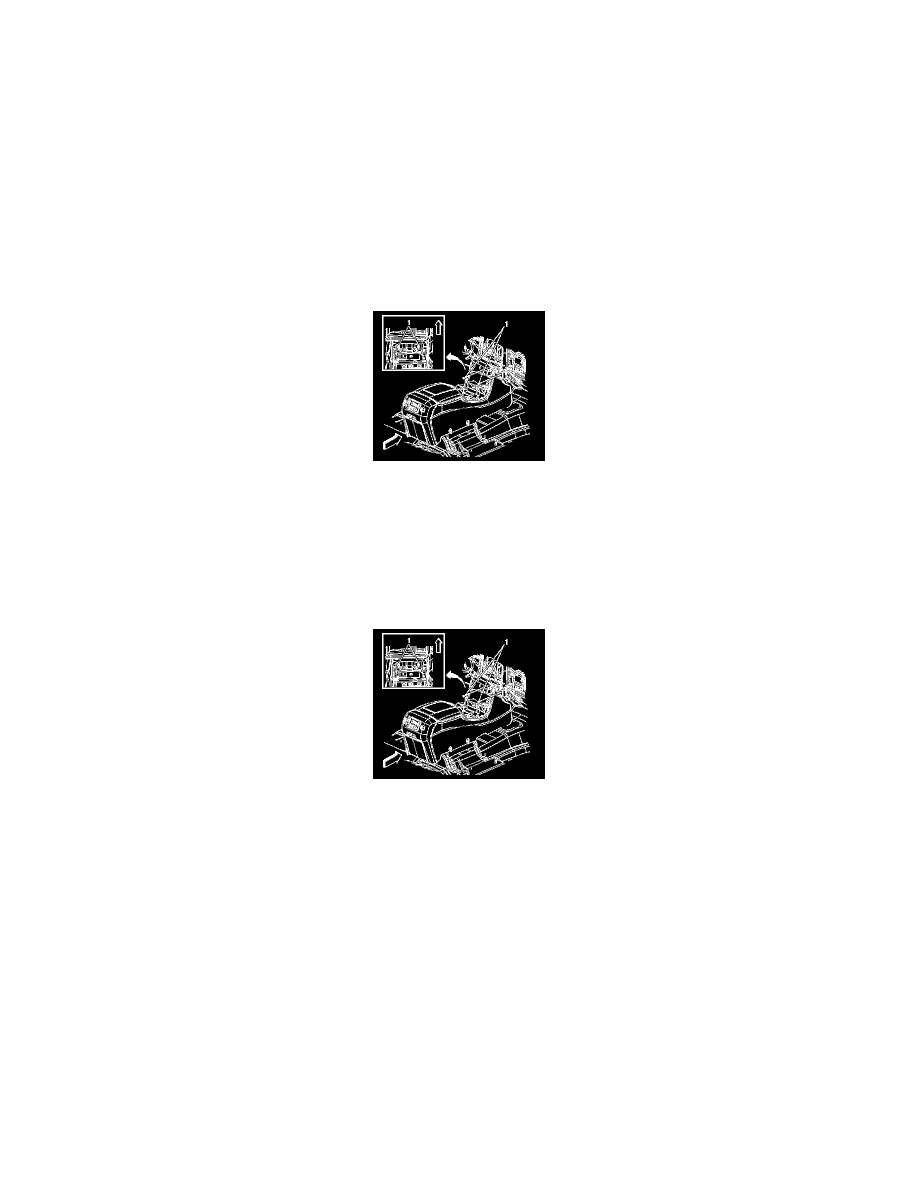
5. Remove the screws (1) retaining the console to the I/P.
6. Disconnect the wire connectors.
7. Remove the console assembly from the vehicle.
8. Remove the rear seat audio control from the console, if equipped.
Installation Procedure
1. Install the rear seat audio control to the console, if equipped.
2. Install the console in the vehicle.
3. Connect the wire connectors.
4. Move the console forward in order to install the retaining screws.
Notice: Refer to Fastener Notice in Service Precautions.
5. Install the 2 screws (1).
Tighten the screws to 4 N.m (35 lb in).
6. Install the cupholder to the console.
7. Install the upper console bezel.
8. Install the radio amp fuse, if removed.
9. Install both front seats.
Console Replacement (W/Console Mounting Bracket)
CONSOLE REPLACEMENT (W/CONSOLE MOUNTING BRACKET)
REMOVAL PROCEDURE
1. Remove both front seats.
2. If equipped with a Bose(R) amplifier, remove the radio amp fuse located under the hood electrical center.