
Suburban 1/2 Ton 2WD V8-5.3L VIN T (2004)
Notice: Refer to Brake Fluid Effects on Paint and Electrical Components in Service Precautions.
1. Raise and support the vehicle. Refer to Vehicle Lifting..
2. Clean all dirt and foreign material from the brake hose and brake pipe fittings.
Important: Install a rubber cap or plug to the exposed brake pipe fitting ends in order to prevent brake fluid loss and contamination.
3. Use a backup wrench on the hose fitting, disconnect the brake pipe fitting from the brake hose, then cap or plug the brake pipe fitting end.
4. Remove the brake hose retaining clip from the hose mounting bracket.
5. Remove the jounce hose from the bracket.
Important: Install a rubber cap or plug to the exposed brake pipe fitting ends in order to prevent brake fluid loss and contamination.
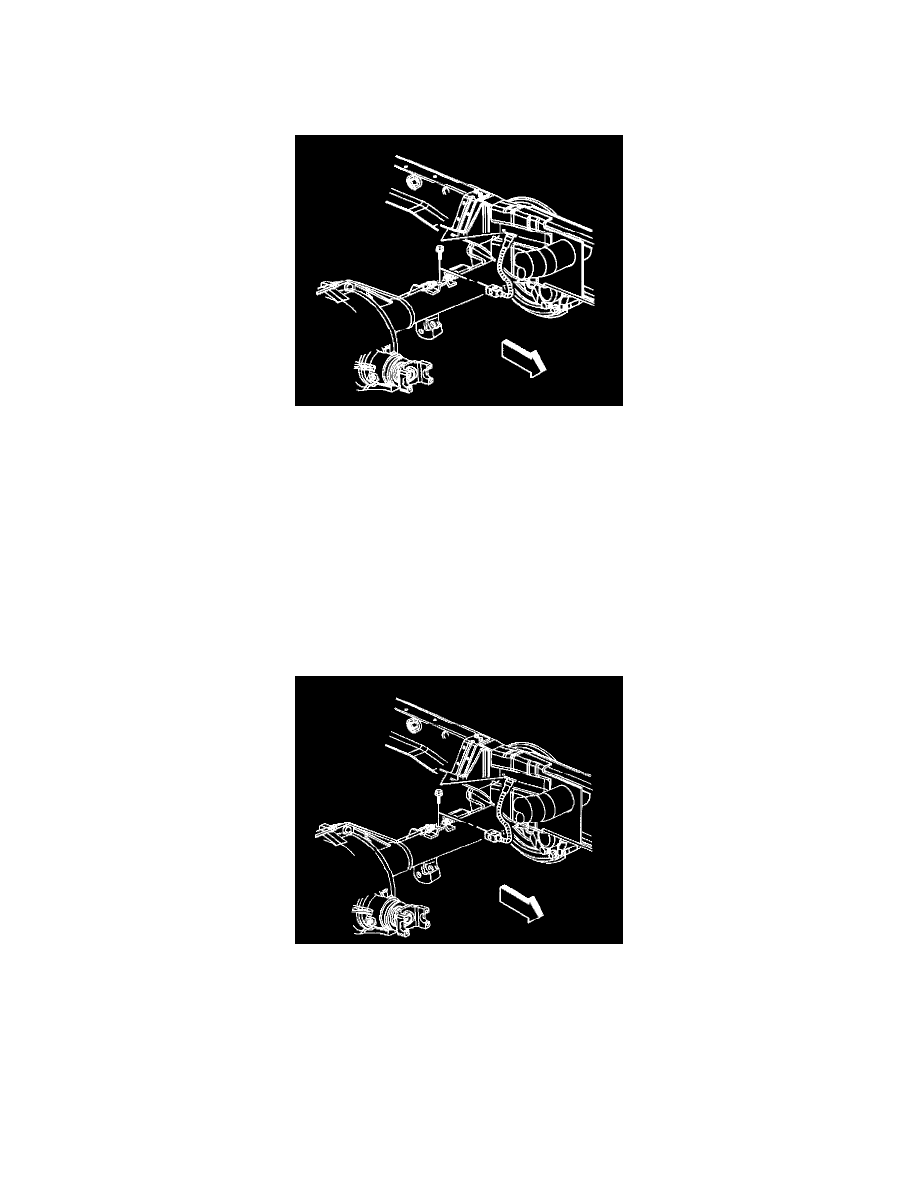
6. Disconnect the 2 rear brake pipes from the junction block on the rear axle and cap or plug the brake pipe fitting ends.
7. Remove the junction block retaining bolt from the axle.
8. Remove the brake hose from the vehicle.
Installation Procedure
1. Install the rear brake hose.
Notice: Refer to Fastener Notice in Service Precautions.
2. Install the junction block retaining bolt to the axle.
Tighten the bolt to 12 Nm (106 inch lbs.).
3. Remove the caps or plugs from the rear brake pipes and connect the pipes to the junction block on the axle.
Tighten the fitting to 25 Nm (18 ft. lbs.).
Important: The hose must not be twisted. Make sure the hose is not in contact with any suspension component.
4. With the weight of the vehicle on the suspension, install the brake hose into the bracket.
5. Install the jounce hose retaining clip.