
Suburban 1/2 Ton 2WD V8-5.3L VIN T (2004)
1. If replacing the HVAC module, transfer the components from the old HVAC module as necessary.
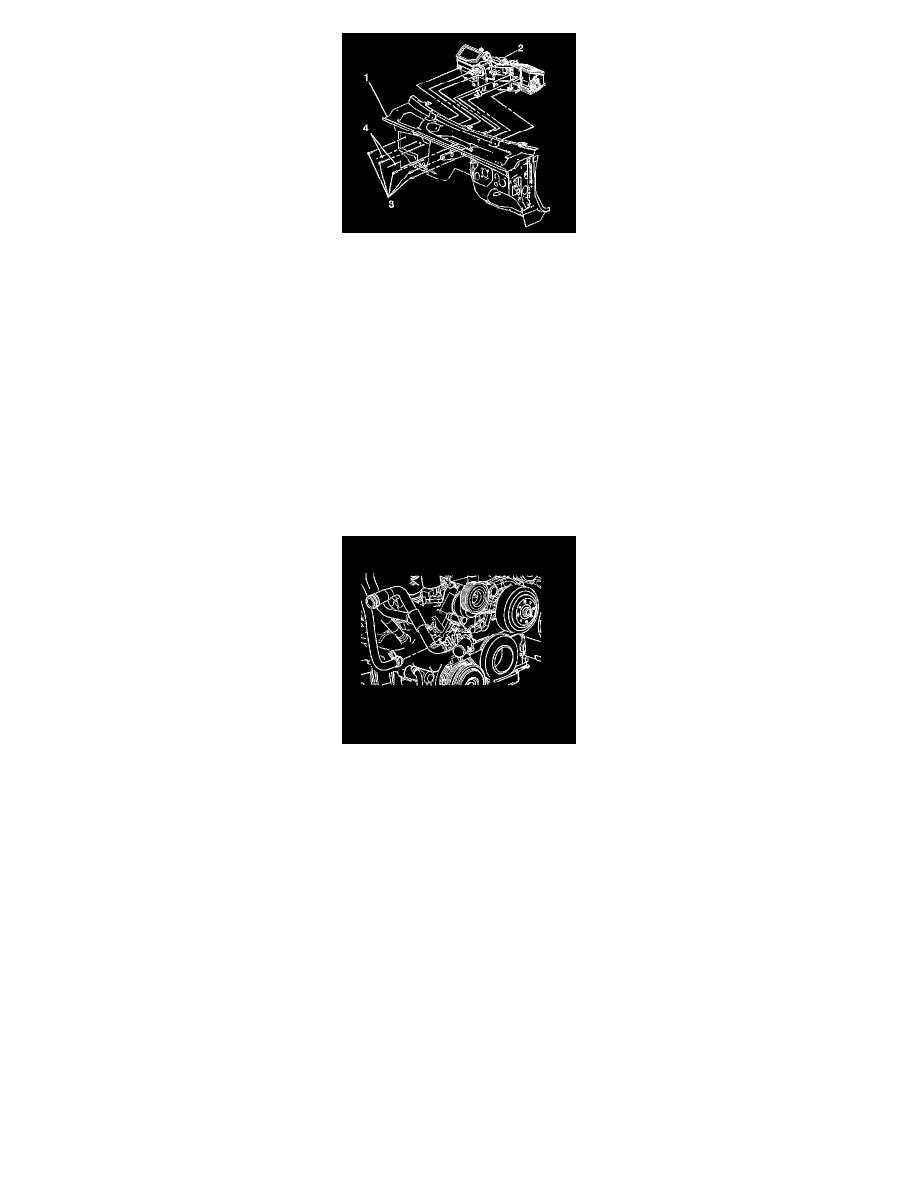
2. Install the HVAC module (2) to the vehicle (1).
3. Install the nuts (4) to the HVAC module (2).
NOTE: Refer to Fastener Notice in Service Precautions.
Tighten the nuts to 9 N.m (80 lb in).
4. Install the bolts (4) to the HVAC module (2).
Tighten the bolts to 4 N.m (35 lb in).
5. Connect the electrical harnesses and the ground connections.
6. Install the HVAC module drain hose.
7. Install the instrument panel carrier. See: Body and Frame/Interior Moulding / Trim/Dashboard / Instrument Panel/Service and Repair
8. Install the accumulator. See: Accumulator HVAC/Service and Repair
9. Install the surge tank outlet hose to the heater core. Firmly push the quick connect onto the heater core pipe until you hear an audible click.
10. Install the inlet heater hose to the heater core. Firmly push the quick connect onto the heater core pipe until you hear an audible click.
11. Fill the engine coolant. Refer to Draining and Filling Cooling System in Cooling System. See: Engine, Cooling and Exhaust/Cooling
System/Service and Repair