
Suburban 1/2 Ton 2WD V8-5.3L VIN Z Flex Fuel (2006)
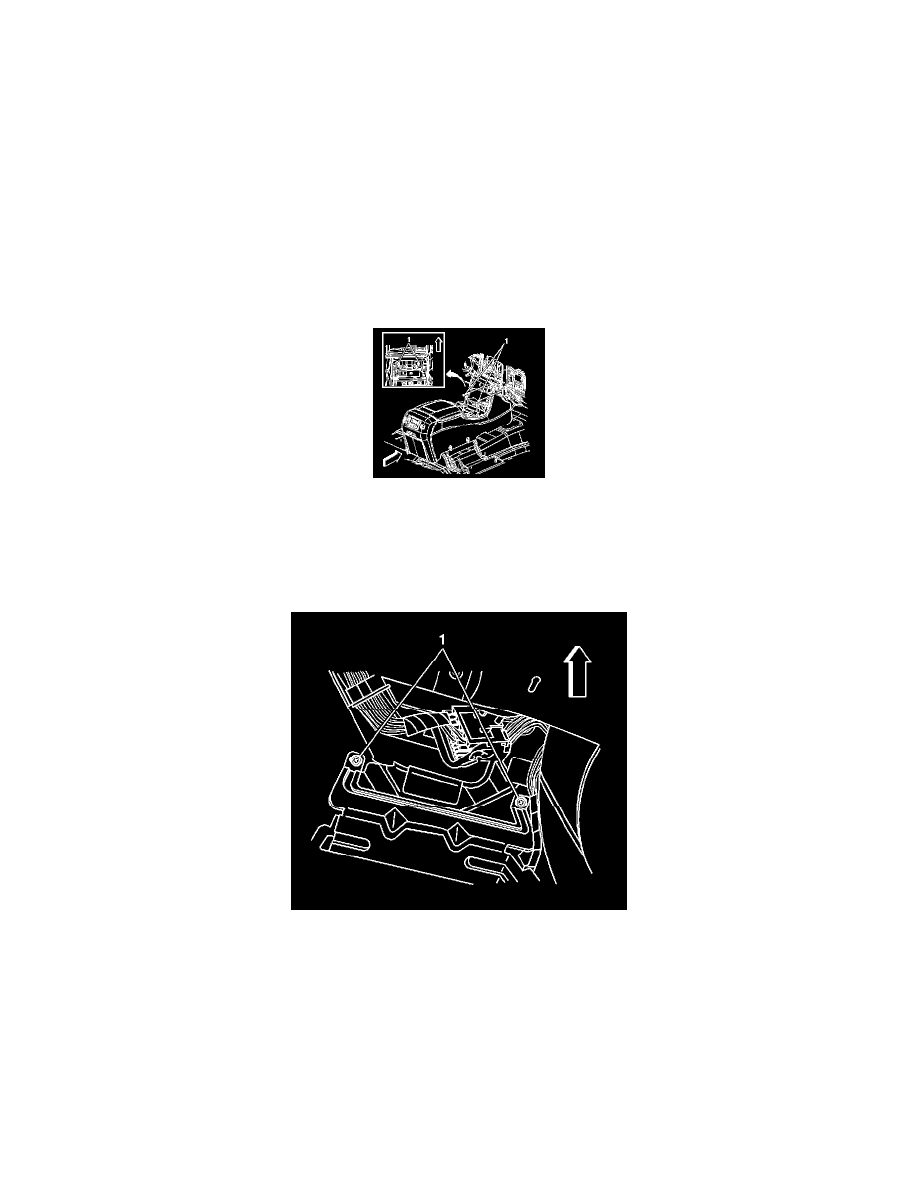
5. Install the 2 screws (1).
NOTE: Refer to Fastener Notice in Service Precautions.
Tighten the screws to 4 N.m (35 lb in).
6. Install the cupholder to the console.
7. Install the upper console bezel.
8. Install the radio amp fuse, if removed.
9. Install both front seats.
Console Replacement (Without Console Mounting Bracket)
CONSOLE REPLACEMENT (WITHOUT CONSOLE MOUNTING BRACKET)
REMOVAL PROCEDURE
1. If equipped with a Bose(r) amplifier, remove the radio amp fuse located under the hood electrical center.
2. Remove the floor console bezel.
3. Remove the cupholder.
4. Remove the bolts (1) retaining the console to the I/P.
5. Remove the console storage bin.
6. Remove the center console end panel.
7. Remove the 4 screws retaining the upper console bracket to the lower console bracket. The front 2 screws (1) are shown in the graphic.