
Suburban 1/2 Ton 2WD V8-5.3L VIN Z Flex Fuel (2006)
21. If equipped with a 8.1L engine, remove the positive cable nut (2).
22. Remove the positive cable (1) from the starter.
23. Remove the positive cable clip bolt (3).
24. Remove the positive cable from the engine harness clip.
25. Remove the positive battery cable.
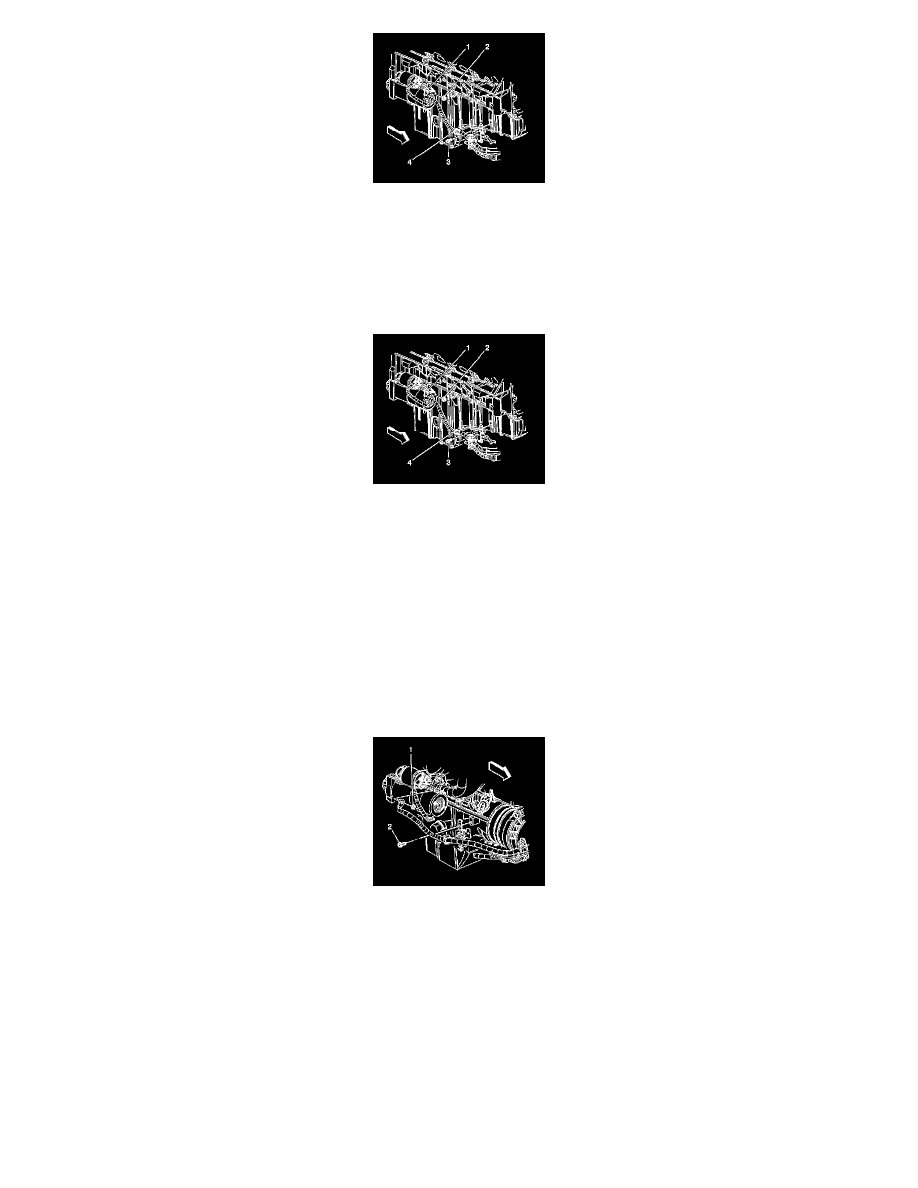
INSTALLATION PROCEDURE
1. If equipped with a 8.1L engine, install the positive battery cable.
2. Install the positive cable to the engine harness clip.
NOTE: Refer to Fastener Notice in Service Precautions.
3. Install the positive cable clip bolt (3).
Tighten the bolt to 8 N.m (71 lb in).
4. Install the positive cable (1) to the starter.
5. Install the positive cable nut (2).
Tighten the nut to 9 N.m (80 lb in).
6. If equipped with a 4.8L, 5.3L, or 6.0L engine, install the positive battery cable.
7. Install the positive cable to the clip on the oil pan.
8. Install the positive cable clip to the clip on the oil pan.
9. Install the positive cable to the starter.
10. Install the positive cable nut (1).
Tighten the nut to 9 N.m (80 lb in).