Suburban 1/2 Ton 4WD V8-5.3L VIN Z Flex Fuel (2006)

4. Raise and support the vehicle. Refer to Vehicle Lifting..
5. Remove the tire and wheel assembly. Refer to Tire and Wheel Removal and Installation in Tires and Wheels.
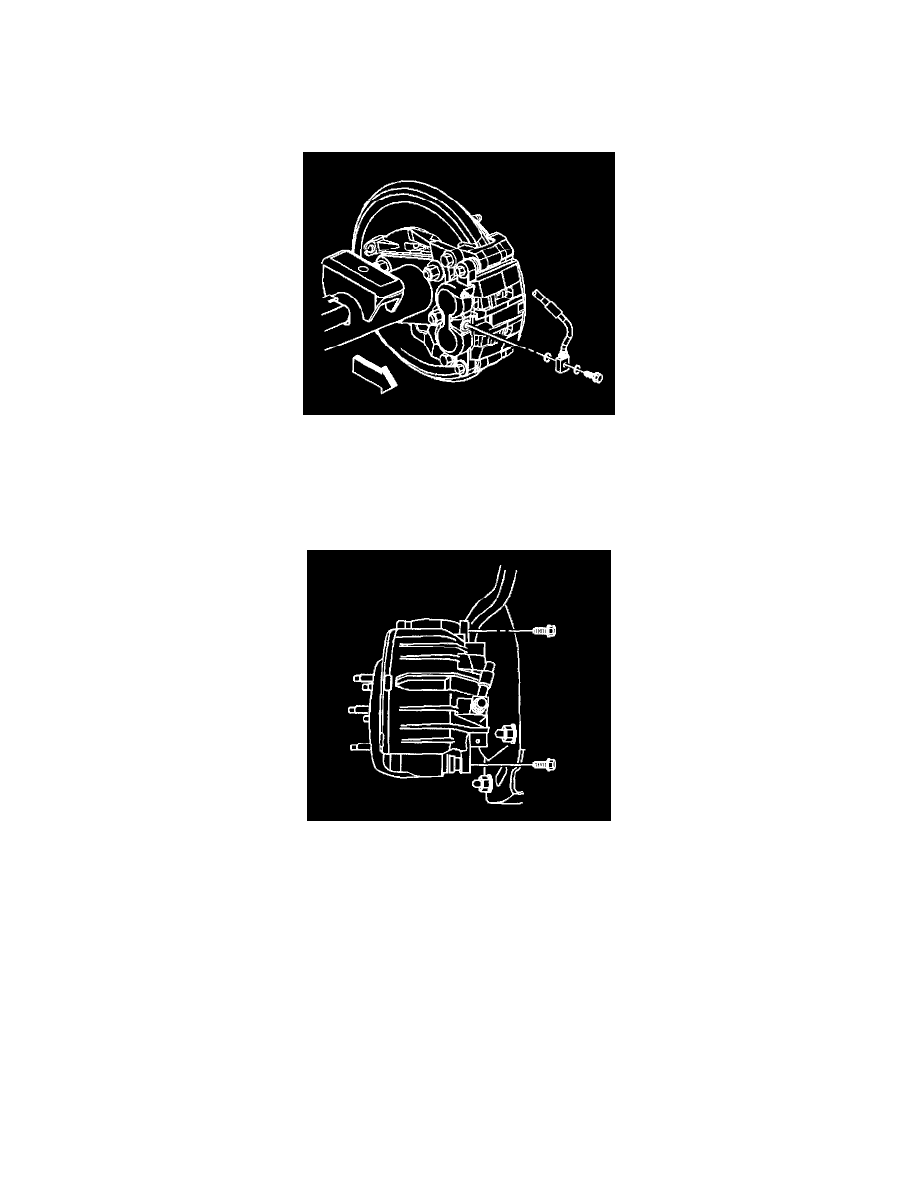
6. Compress the brake caliper pistons.
^
Install a large C-clamp over the top of the caliper housing and against the back of the outboard pad.
^
Slowly tighten the C-clamp until the pistons are pushed completely into the caliper bores.
^
Remove the C-clamp from the caliper.
7. Clean all dirt and foreign material from the brake hose end.
Important: Install a rubber cap or plug to the exposed brake pipe fitting end to prevent brake fluid loss and contamination.
8. Remove the brake hose to caliper bolt from the brake caliper.
9. Remove and discard the 2 copper brake hose gaskets. These gaskets may be stuck to the brake caliper housing or the brake hose end.
10. Remove the caliper guide pin bolts.
11. Remove the brake caliper from the vehicle.
12. Inspect the caliper assembly. Refer to Brake Caliper Inspection.
Installation Procedure
Important: Use denatured alcohol to clean the outside surface of caliper boots before installing new brake pads.
1. If you are installing new brake pads use a C-clamp in order to compress the pistons to the bottom of the caliper bores. Use the old brake pad, a
metal plate or a wooden block across the face of the pistons in order to protect the pistons and the caliper boots.
