
Suburban 1/2 Ton 4WD V8-5.3L VIN Z Flex Fuel (2006)
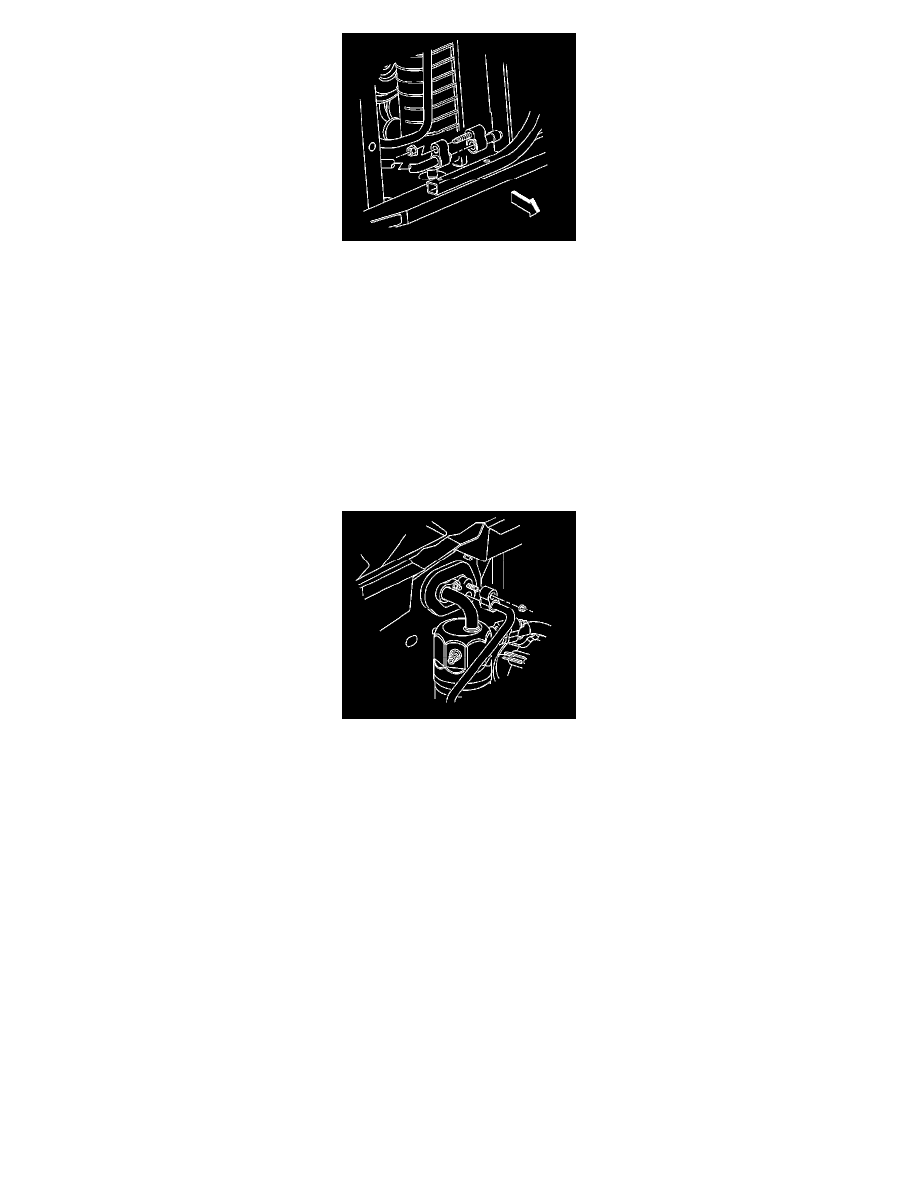
2. Install the evaporator tube nut to the condenser.
NOTE: Refer to Fastener Notice in Service Precautions.
Tighten the nut to 16 N.m (12 lb ft).
3. Install the grille to the vehicle.
4. Install the right park/turn signal lamp.
5. Connect the evaporator tube to the auxiliary A/C tube using new sealing washers, if equipped.
6. Install the evaporator tube nut to the auxiliary A/C tube, if equipped.
Tighten the nut to 16 N.m(12 lb ft).
7. Install the evaporator tube to the evaporator.
8. Install the evaporator tube nut to the evaporator.
Tighten the nut to 16 N.m (12 lb ft).
9. Evacuate and recharge the system. Refer to Refrigerant Recovery and Recharging.
10. Leak test the fittings of the components using the J 39400-A.