
Suburban 3/4 Ton 4WD V8-6.0L VIN U (2004)
4. Pull the shaft flange outward in order to seat the lock in the differential gear.
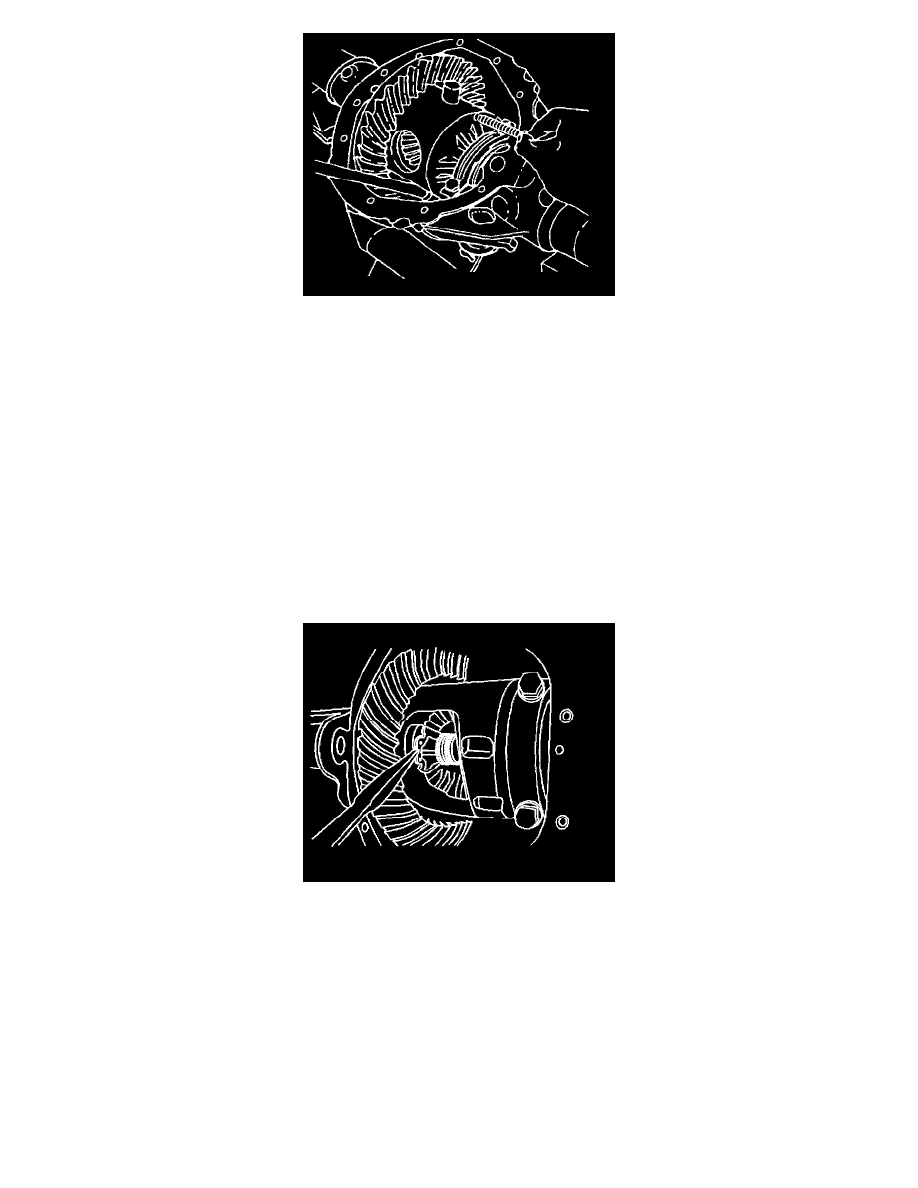
5. Align the hole in the pinion shaft with the bolt hole in the differential case.
Notice: Refer to Fastener Notice in Service Precautions.
6. Install the new pinion shaft locking bolt.
^
Tighten the pinion shaft locking bolt to 36 Nm (27 ft. lbs.).
7. Install the rear- cover and the gasket.
8. Install the rear wheel speed sensor.
9. Install the brake caliper.
10. Install the tire and wheel assembly.
11. Fill the rear axle.
12. Lower the vehicle.
(9.75 Inch Axle)
Rear Axle Shaft Replacement (9.75 Inch Axle)
Removal Procedure
1. Release the park brake.
2. Raise the vehicle. Refer to Vehicle Lifting in Service Precautions.
3. Remove the tire and wheel assembly.
4. Remove the rear steering gear assembly.
5. Remove the steering knuckle assembly.
6. Remove the lock clip from the axle shaft end. The lock clip is spring loaded and fits securely in the axle shaft slot and may need to be push off the
shaft end with a screw driver or related tool. Pushing the axle shaft inwards towards the gears my help in removal of the lock clip.