
Suburban 4WD V8-6.0L (2007)
3. Install the discharge hose to the condenser using new sealing washers.
4. NOTE: Refer to Fastener Notice .
Install the discharge hose nut to the condenser.
Tighten the nut to 16 N.m (12 lb ft).
5. Install the upper air baffle.
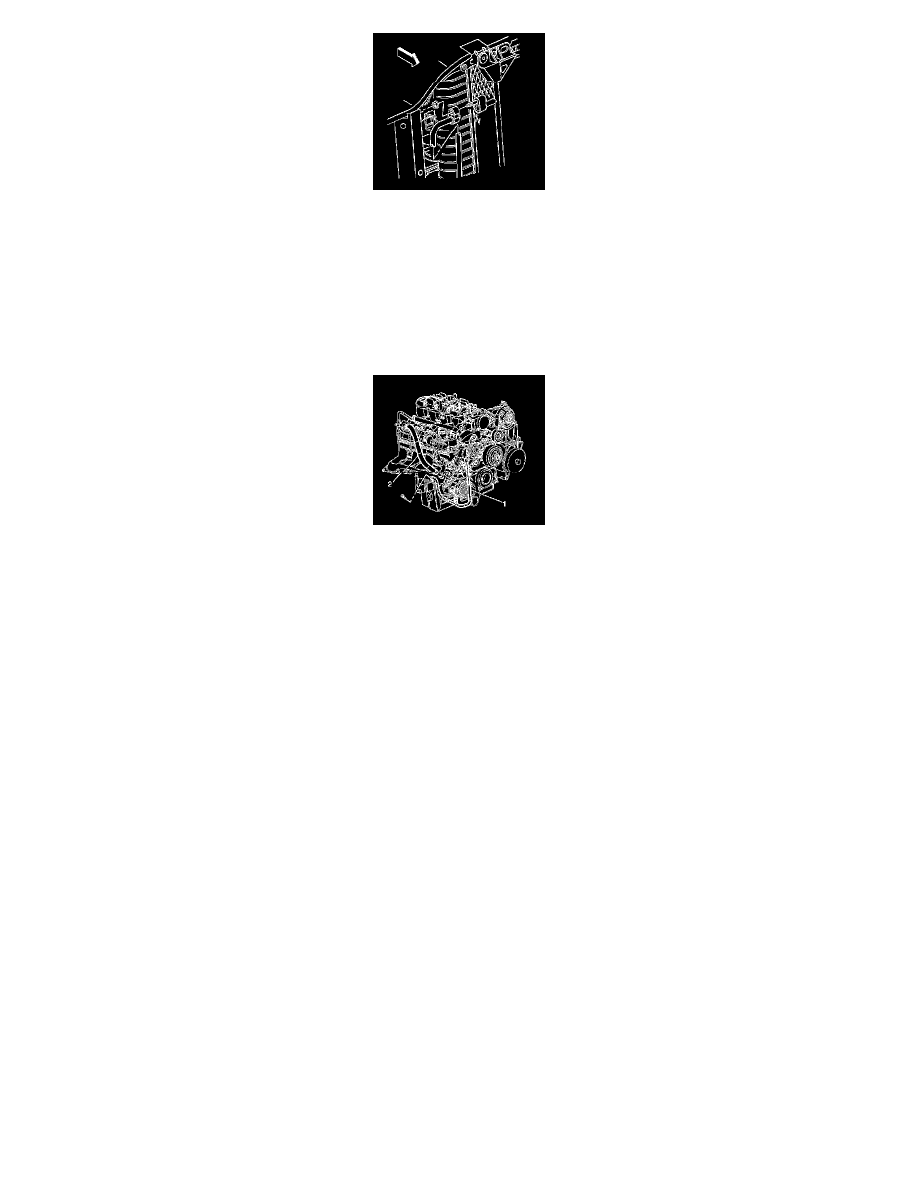
6. Install the discharge hose (1) to the A/C compressor using new sealing washers.
7. Install the discharge hose mounting bolt.
Tighten the bolt to 16 N.m (12 lb ft).
8. Evacuate and recharge the A/C system. Refer to Refrigerant Recovery and Recharging . See: Heating and Air Conditioning/Service and
Repair/Procedures/Refrigerant Recovery and Recharging
9. Leak test the fittings of the component using the J 39400-A.
Evaporator Tube Replacement
EVAPORATOR TUBE REPLACEMENT
TOOLS REQUIRED
J 39400-A Halogen Leak Detector
REMOVAL PROCEDURE
1. Recover the refrigerant. Refer to Refrigerant Recovery and Recharging. See: Heating and Air Conditioning/Service and
Repair/Procedures/Refrigerant Recovery and Recharging
2. Remove the upper radiator air baffle and deflector.
3. Remove the air cleaner assembly.
4. Remove the surge tank hold down nut and bolt and position aside.
5. TIP: Do not open cooling system.