
Tahoe 2WD V8-4.8L VIN V (2004)
1. Remove the door handle bezel.
2. Remove the door trim panel upper extension.
3. Using a suitable flat-bladed tool, gently pry the manual lock lever from the door trim panel.
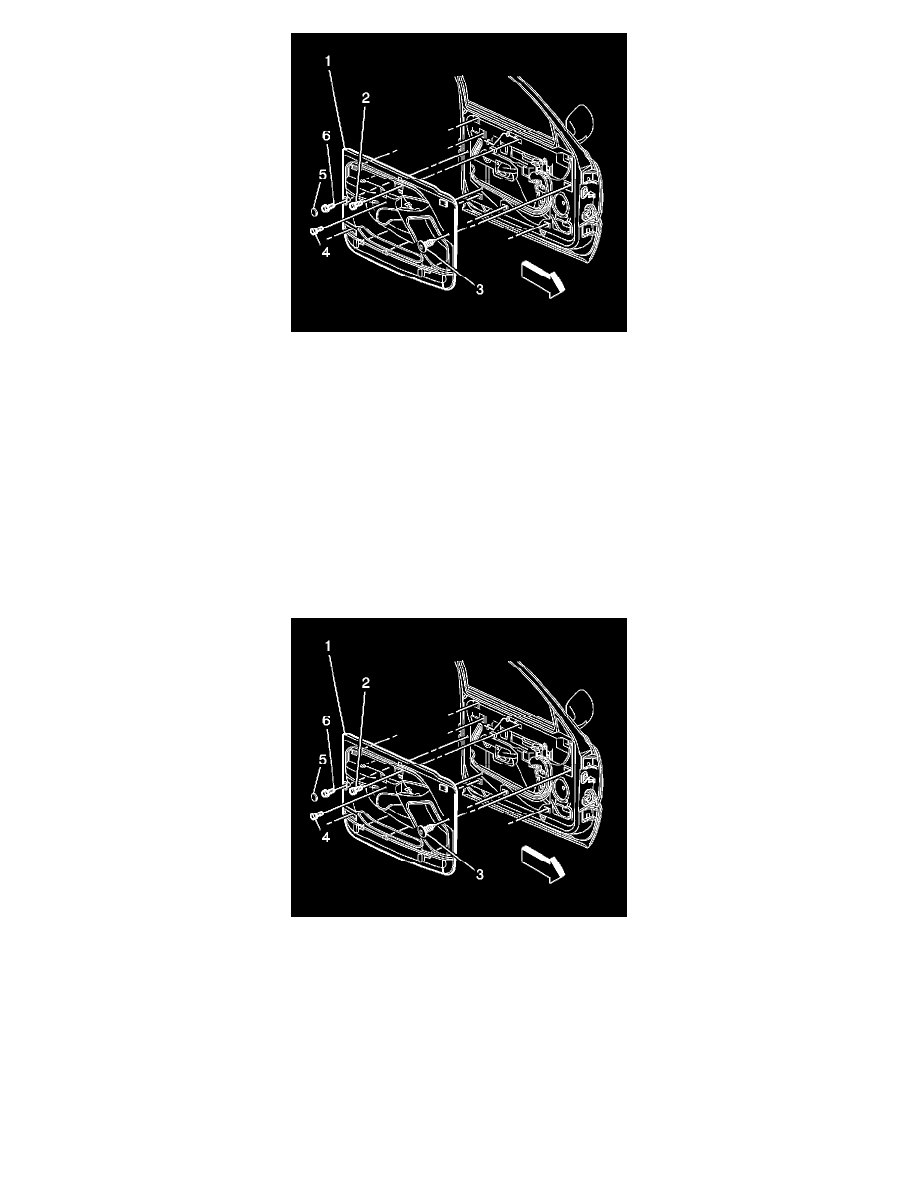
4. Remove the push in fastener (3) at the front edge of the door trim.
5. Remove the cap (5) covering the screw on the rear edge of the trim panel.
6. Remove the trim panel screws.
*
Remove the screw (2) from within the opening where the manual door lock lever resides.
*
Remove the screw (4) from the opening in front of the armrest.
*
Remove the screw (6) from the rear edge of the trim panel.
7. Carefully slide the trim panel (1) up in order to release the retainers from the door.
8. Disconnect the electrical connectors.
Installation Procedure
1. Connect the electrical connectors.
2. Carefully align the trim panel (1), to the door and slide the panel into the retainer slots in order to install the trim panel to the door.
Notice: Refer to Fastener Notice in Service Precautions.
3. Install the trim panel screws (2,4,6).
Tighten
Tighten the trim panel screws (2,4,6) to 2 N.m (18 lb in).
4. Install the screw cover (5).
5. Install the push in fastener (3).