
Tahoe 2WD V8-4.8L VIN V (2004)
1. Connect the electrical connectors.
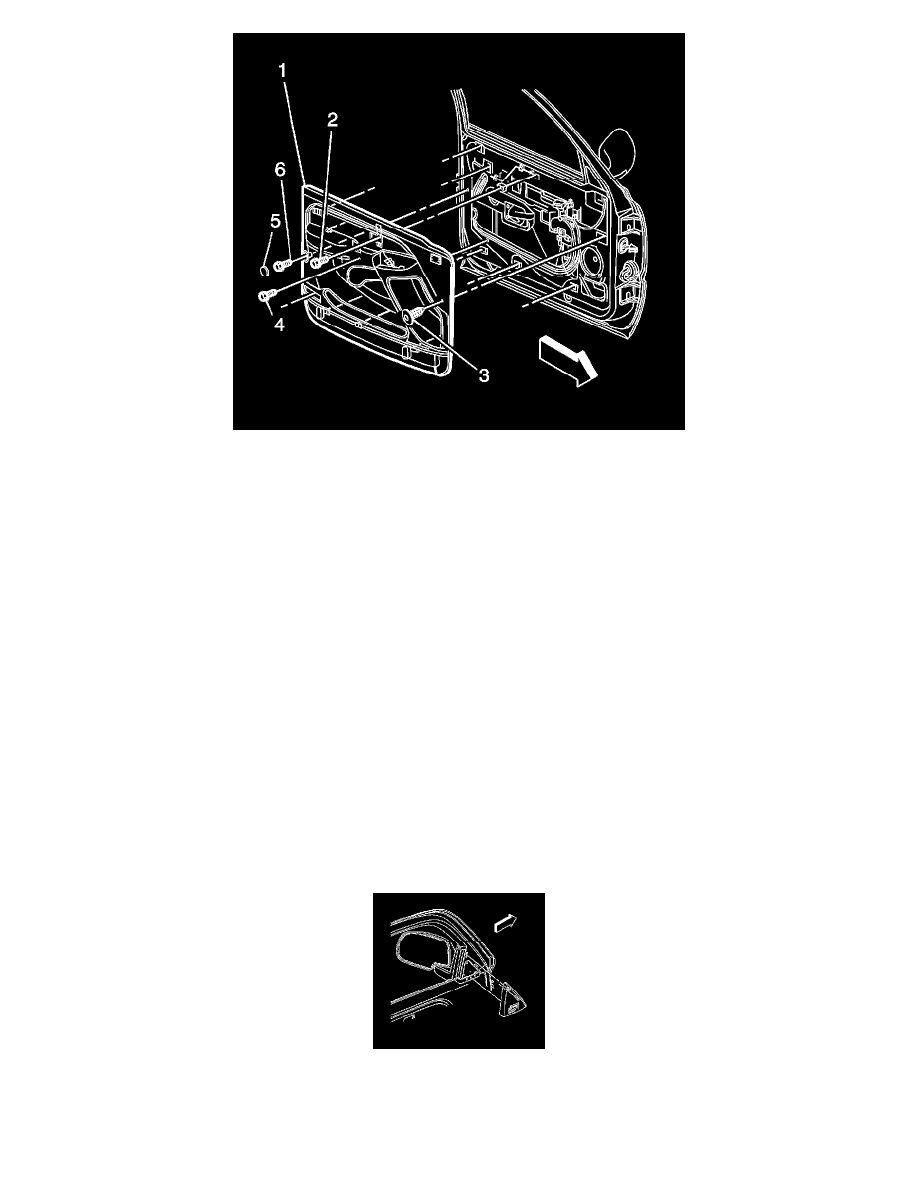
2. Carefully align the trim panel (1), to the door and slide the panel into the retainer slots in order to install the trim panel to the door.
3. Install the trim panel screws (2,4,6).
NOTE: Refer to Fastener Notice in Service Precautions.
Tighten
Tighten the trim panel screws (2,4,6) to 2 N.m (18 lb in).
4. Install the screw cover (5).
5. Install the push in fastener (3).
6. Install the manual lock lever to the trim panel.
1. Align the manual lock lever to the opening in the door trim panel.
2. Push inward until the manual lock lever is fully seated into the trim panel.
7. Install the door trim panel upper extension.
8. Install the door handle bezel.
Trim Panel Replacement - Upper Extension
Trim Panel Replacement - Upper Extension
Removal Procedure
1. Open the front door.
2. Release the upper extension by pulling outward on the front edge in order to release the upper retainer clips.
3. Remove the upper extension from the trim panel by lifting up and out.
Installation Procedure