
Tahoe 2WD V8-4.8L VIN V (2004)
Power Trunk / Liftgate Lock Actuator: Service and Repair
Lock Actuator Replacement - Door (Cargo Door)
LOCK ACTUATOR REPLACEMENT - DOOR (CARGO DOOR)
REMOVAL PROCEDURE
1. Remove the cargo door trim panel, as necessary.
2. Pull back the water deflector, as necessary. Refer to Water Deflector Replacement.
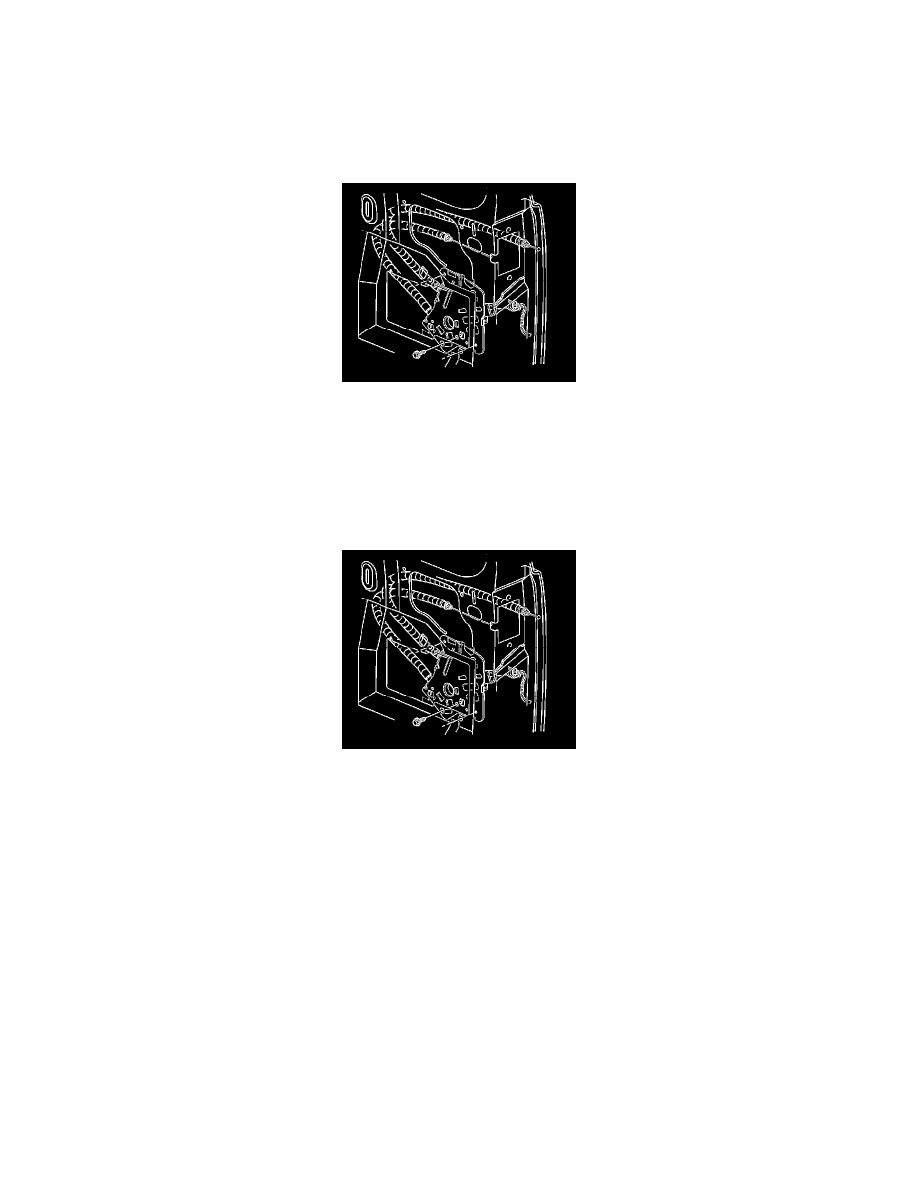
3. Remove the actuator lock control rod.
4. Disconnect the actuator wiring connector.
5. Remove the handle actuating cable.
6. Remove latch actuator cable.
7. Remove the bolts that retain the actuator assembly to the door.
8. Remove the actuator from the cargo door.
INSTALLATION PROCEDURE
1. Install the actuator to the door.
2. Install the bolts that retain the actuator assembly to the door.
NOTE: Refer to Fastener Notice in Service Precautions.
Tighten the bolts to 9 N.m (80 lb in).
3. Install the latch actuator cable.
4. Install the handle actuating cable.
5. Connect the actuator wiring connector.
6. Install the actuator lock control rod.
7. Pull back the water deflector, as necessary. Refer to Water Deflector Replacement.
8. Install the trim panel, as necessary.