Tahoe 2WD V8-4.8L VIN V (2004)

Important: The brake hose must not be twisted. Make sure the brake hose is not in contact with any suspension component.
3. Install the brake hose bracket bolt and the bracket to the steering knuckle.
Tighten the bolt to 9 Nm (80 inch lbs.).
4. Install the brake hose bracket bolt and the bracket to the upper control arm.
Tighten the bolt to 9 Nm (80 inch lbs.).
5. Install the brake hose into the brake hose bracket.
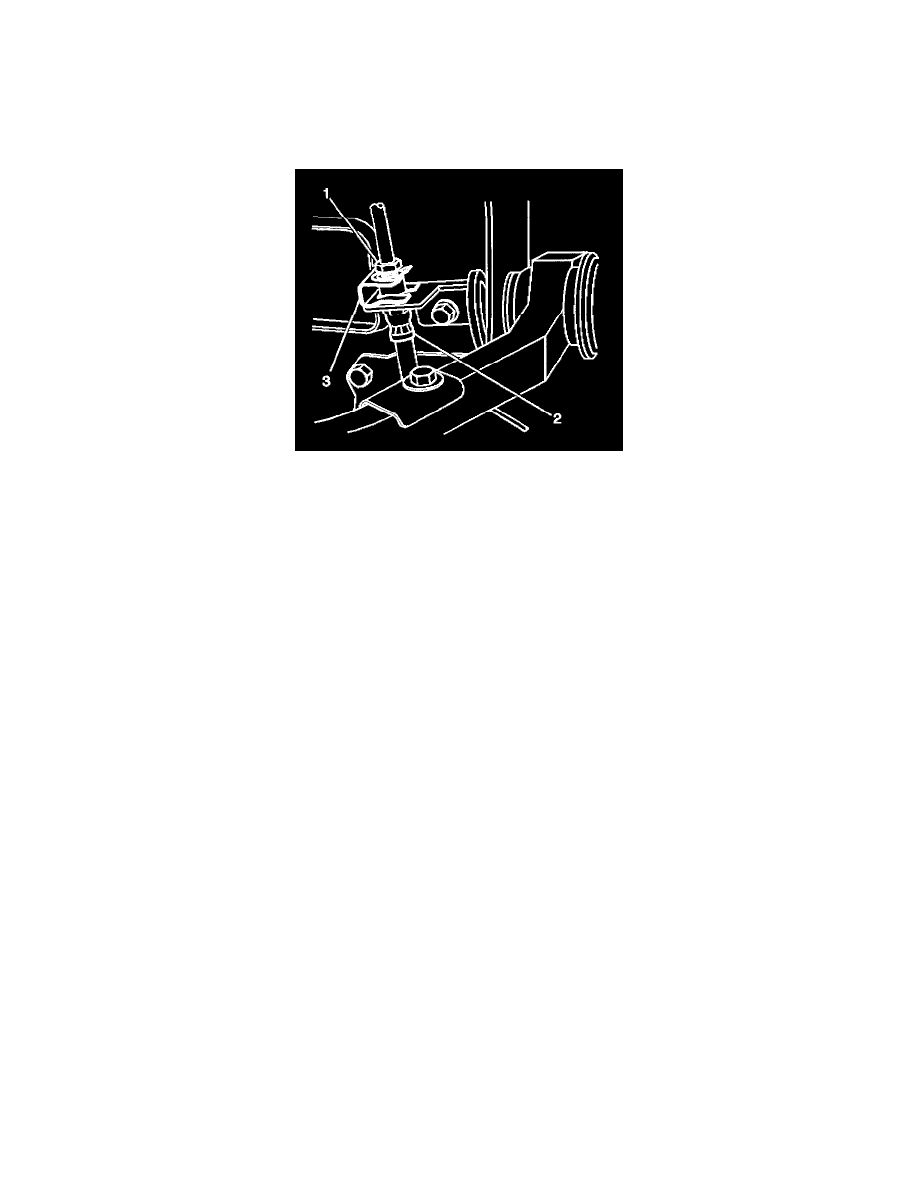
6. Install the brake hose retaining clip (3).
7. Remove the rubber cap or plug from the brake pipe fitting end.
8. Connect the brake pipe fitting end (1) to the brake hose (2):
^
Use a backup wrench on the brake hose fitting end (2).
^
Do not bend the mounting bracket or the brake pipe.
Tighten the brake pipe fitting end (1) to 25 Nm (18 ft. lbs.).
9. Bleed the hydraulic brake system. Refer to in Hydraulic Brake System Bleeding (Manual) or Hydraulic Brake System Bleeding (Pressure).
10. Install the tire and wheel assembly. Refer to Tire and Wheel Removal and Installation in Tires and Wheels.
Important: Ensure that the brake hose does not make contact with any part of the suspension or the tire/wheel assembly. Inspect the brake hose in
extreme right and left turn conditions. If the brake hose makes contact remove the brake hose and correct the condition.
11. Lower the vehicle.
