
Tahoe 2WD V8-4.8L VIN V (2004)
Wheel Cover: Technical Service Bulletins
Wheels - Correct Hub Cap Installation Procedure
Bulletin No.: 03-03-10-002B
Date: November 02, 2005
INFORMATION
Subject:
Use of Correct Installation Procedure for Loose Hubcap Assembly
Models:
1998-2006 Chevrolet Express Van
1999-2006 Chevrolet Silverado Models
2000-2006 Chevrolet Suburban, Tahoe Models
2002-2006 Chevrolet Avalanche
1998-2006 GMC Savana Van
1999-2006 GMC Sierra Models
2000-2006 GMC Yukon, Yukon XL Models
Supercede:
This bulletin is being revised to add the 2006 model year. Please discard Corporate Bulletin Number 03-03-10-002A (Section 03 - Suspension).
Some hubcap assemblies on the above-listed vehicles are being returned to the Warranty Parts Center (WPC) for loose and/or rattle conditions. Some
returned hubcaps have the stand-off insulators removed. Analyses of these parts show no out of specification condition.
Hubcap assemblies are placed in the vehicle by the assembly plant for dealer installation. Installation is done by threading the six or eight plastic nut
caps, which are part of the hubcap assembly, to the external threads of the wheel (lug) nuts.
If over-tightened, these plastic nut caps will jump threads, as designed, causing a loose or rattle condition.
Important:
^
DO NOT over-tighten the plastic nut caps.
^
DO NOT use an impact wrench on the plastic nut caps.
^
DO NOT modify or remove the stand-off insulators from the plastic hubcap assembly.
The nut cap system is designed to skip a thread if over-tightened. DO NOT replace the hubcap assembly if this happens.
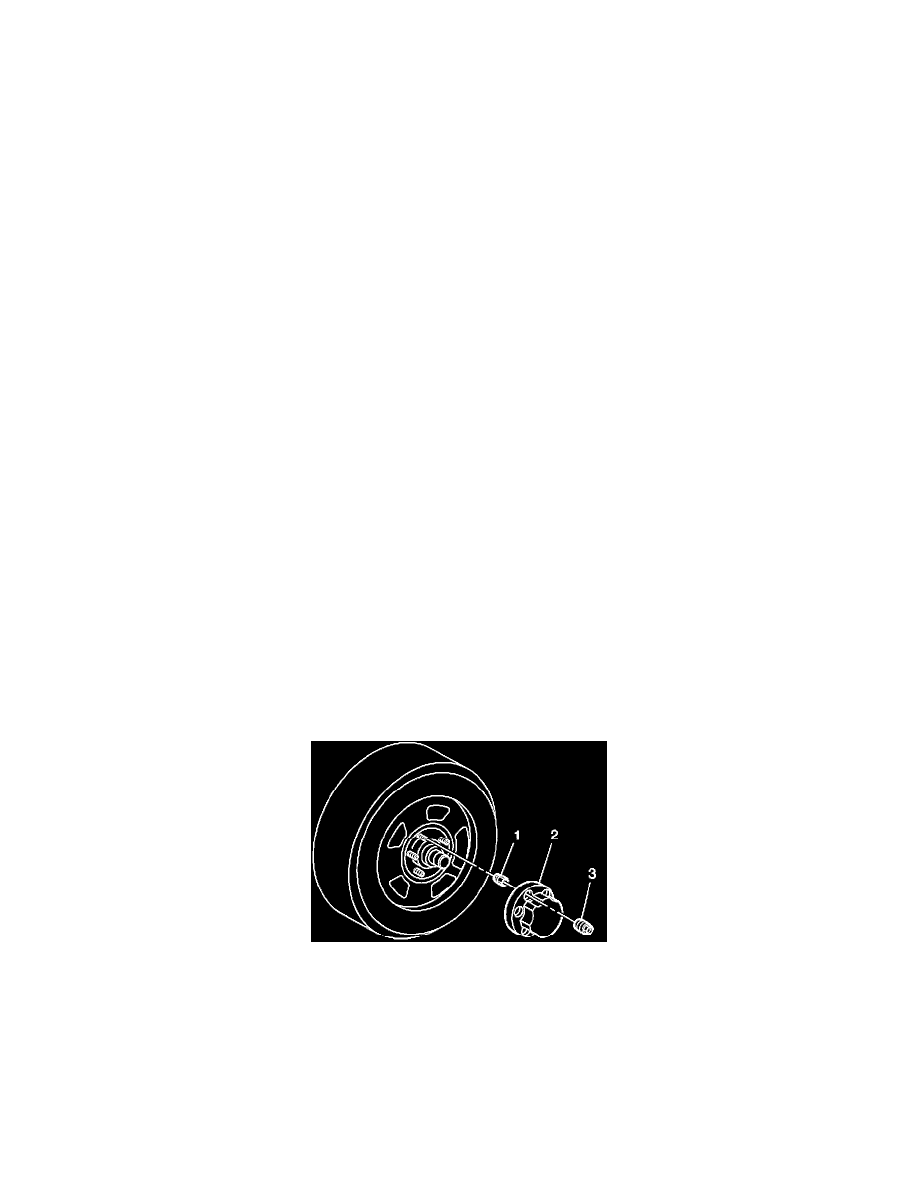
Hold hubcap (2) firmly in place on wheel with the plastic wheel nut caps (3) aligned with the steel wheel nuts (1). Hand snug each nut cap (3) (using a
hand held deep socket or torque stick) until fully seated against the hubcap (2). You should feel the nut cap (3) ratchet against the hubcap (2) a couple
times as the nut cap (3) seats. After all nut caps (3) have been seated, check tightness of each nut cap (3) using the socket or torque stick and tighten any
nut cap (3) that may have loosened. If a nut cap (3) jumps thread (a design feature to prevent damage) and becomes loose during tightening, continue to
tighten and stop short of thread jump.
Follow the installation instruction sheet that is included in each hubcap package.