
Tahoe 2WD V8-6.0L Hybrid (2008)
2. Install the new inboard recliner seat back latch, P/N 25913455, and tighten the latch bolts.
Tighten
Tighten all the seat recliner bolts to 50 Nm (37 lb ft).
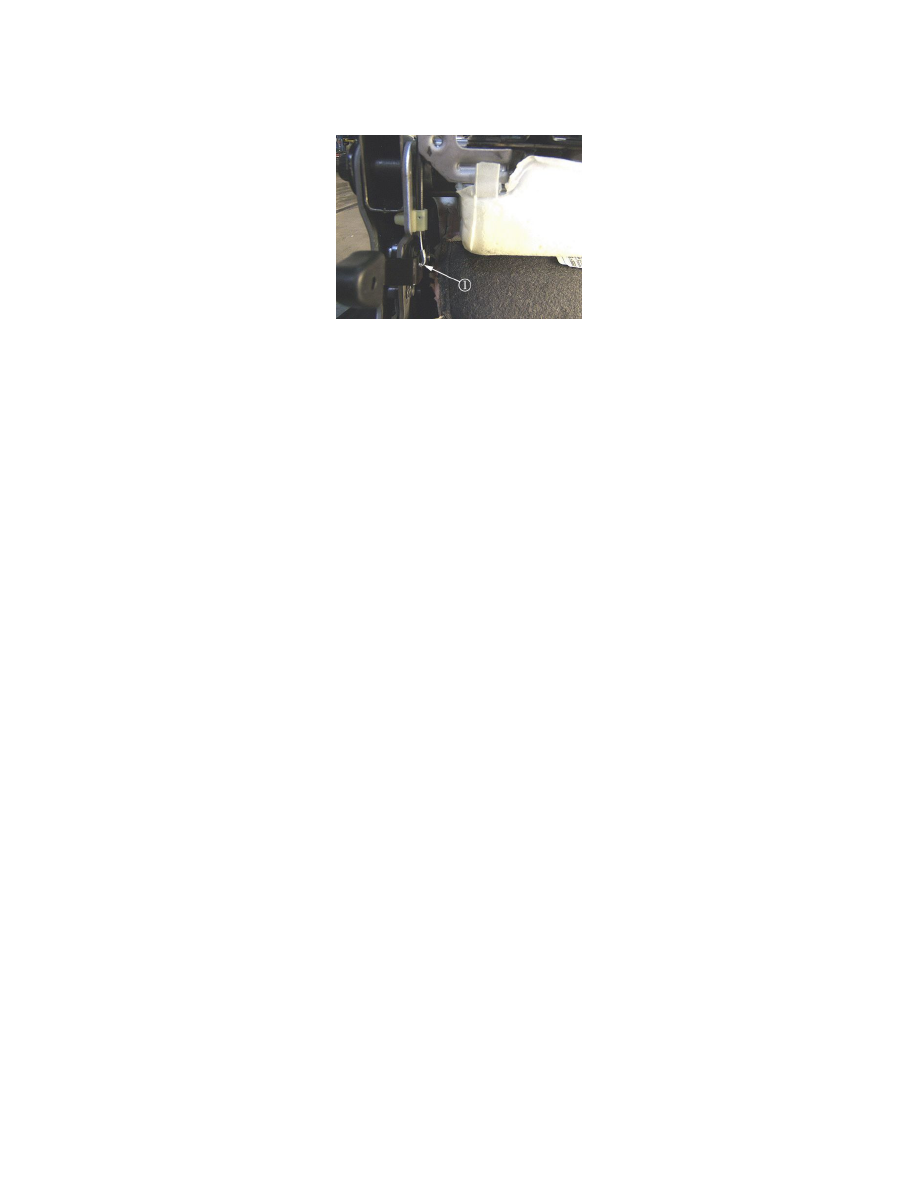
3. Replace the seat back cushion latch cable with a new cable (1), P/N 25913454. Refer to Rear Seat Back Cushion Latch Cable Replacement in
SI.
4. Adjust the new cable.
1. The rear seat latch cable is self-adjusting. The seat must be in the upright position and fully locked in place.
2. The cable adjuster must be open with the button pulled out.
3. The inboard and the outboard release levers should be in the fully locked position, making sure the latches are in the full travel position.
4. Push the cable adjuster button in.
Important
The seat back must be in the fold down position before pulling out the center rear seat latch release handle.
5. Install the left rear seat latch release knob and the two 30 mm TORX screws.
Tighten
Tighten the screws to 2 Nm (18 lb in).
6. Install the center rear seat latch release handle and the two nuts. Refer to Seat Latch Release Handle Replacement in SI.
Important
The redesign for the new inboard recliner seat back latch included the elimination of three holes which originally accepted screws for
securing the inboard trim covers. When installing the trim covers to the new seat back latch, the covers will snap together then the one
remaining screw location will be used to secure the covers to the latch. Discard the three extra screws.
7. Install the left and right inboard seat trim covers.
8. Install the 30 mm TORX screw for the inboard plastic trim covers and tighten.
Tighten
Tighten the screws to 2 Nm (18 lb in).
9. Install the push pin retainers that secure the seat foam.
10. Install the seat trim cover J-channel.
Important
The seat back cannot be raised or folded unless properly secured to the floor first. Push and pull on the seat assembly making sure it is
locked into place.
11. Install the third row passenger seat assembly back into the vehicle without the seat cushion trim panels.
Important
If the seat back locks down in the fold position and will not release to the upright position, the recliner latch cable may need to be
readjusted. Refer back to Step 4.4 new cable adjustment.
12. Forcefully "slam" the seat back to the upright position and then to the fold down flat position. Cycle the seat back ten complete times to wear in
the sector and pawl.
13. Remove the third row passenger seat assembly from the vehicle.
14. Install the seat cushion trim panels. Refer to Rear Seat Number 2 Cushion Panel Replacement (AS3) in SI.
15. Install the third row passenger seat back into the vehicle.