
Tahoe 2WD V8-6.0L Hybrid (2008)
2. Lift up on the seat trim cover to gain access to the push trim retainers shown in the above graphic.
3. Remove the push trim retainers with a door trim tool or equivalent.
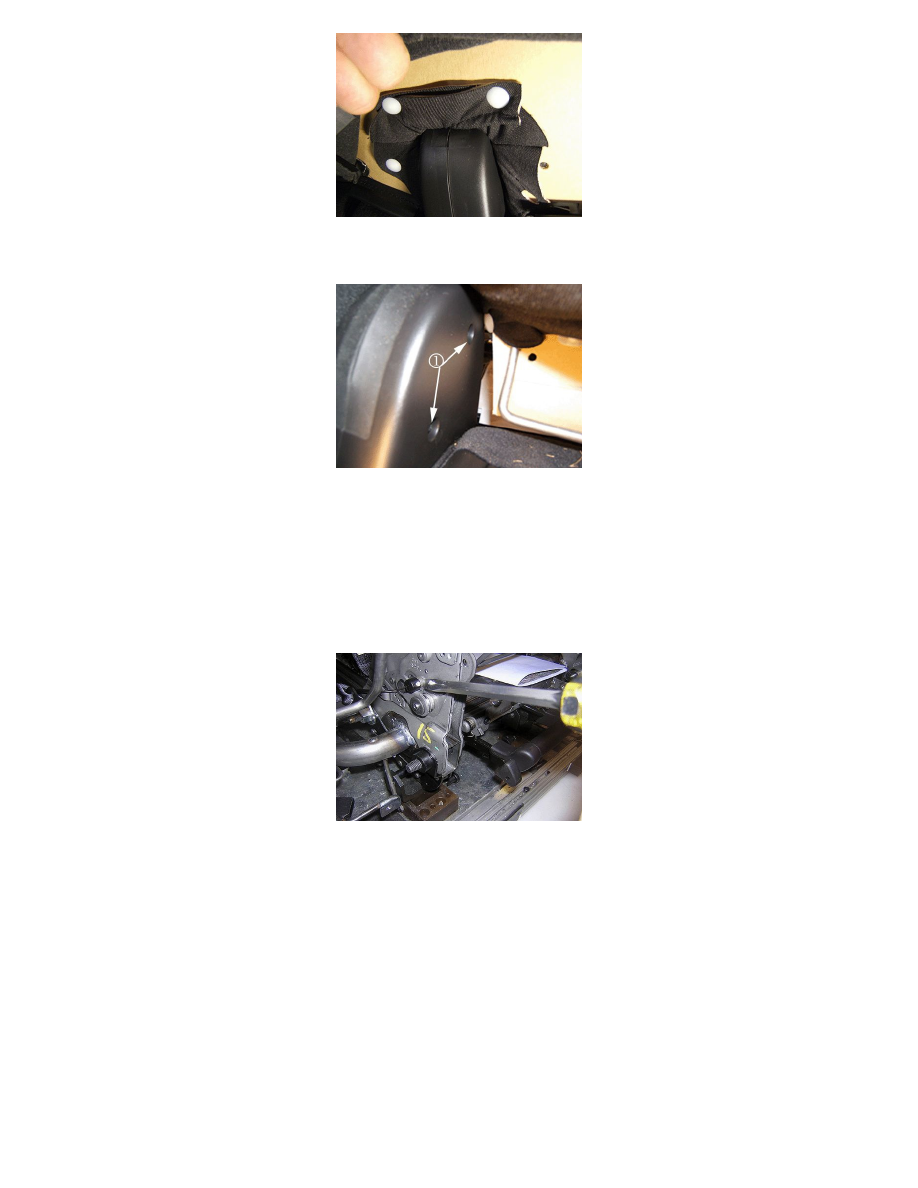
4. From the front of the seat assembly, pull upward and forward on the front seat foam cushion to gain access to the two TORX screws (1)
holding the left side inner inboard seat trim cover.
5. Remove the two 30 mm TORX screws from the left side inner inboard seat trim cover.
Important
The left inboard trim cover may not be removed at this point.
6. From the back of the seat assembly, gently pry the snaps open on the left side inner inboard seat trim cover apart with a screwdriver.
First Design Inboard Recliner Latch and Cable Shown
Tip
Use a flashlight to help see inside the trim cover to find the cam.
7. Place a screwdriver on the cam pin as shown in the graphic above. Do Not place the screwdriver on the cable end.
8. Push forward on the cam pin to release the cam from the sector arm.
9. Pull the release handle knob and fold down the seat back.
10. Pull the center handle on the seat to release the seat latches from the floor.
11. Remove the seat assembly from the vehicle.
3. Place the seat assembly on a clean workbench.
Important
Manually locking the rear position seat latches will allow the seat back to be folded up and down during repair.
4. Replace the inboard recliner seat back latch and cable using the procedure below:
1. Remove the inboard recliner seat back latch. Refer to Rear Seat Inner Recliner Replacement in SI.
Tip
The recliner latch bolts are self tapping bolts.