
Tahoe 2WD V8-6.0L Hybrid (2008)
Notice: Refer to Fastener Notice .
Important:
*
DO NOT use any air tools to remove or tighten the guide pin bolts. Use hand tools only.
*
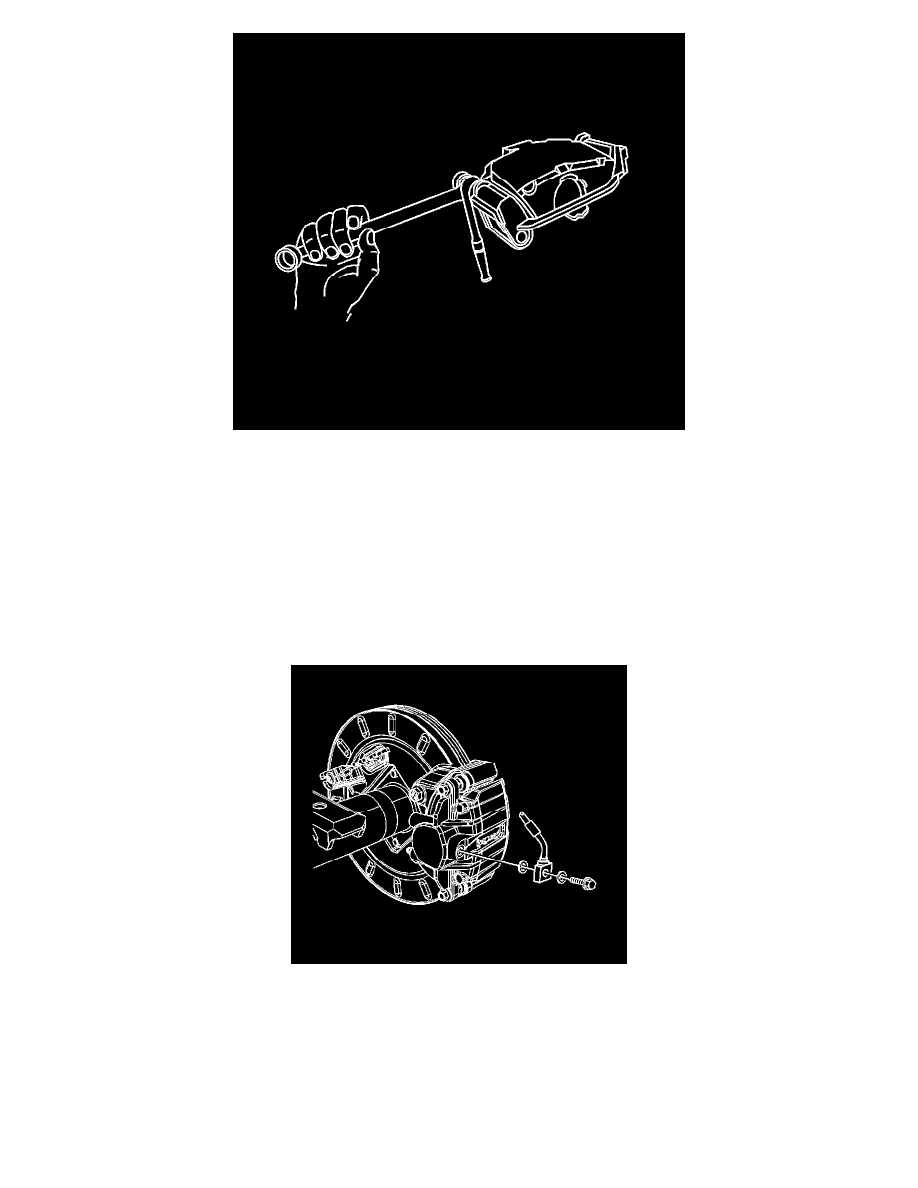
Install an open end wrench to the guide pin and hold it in line with the caliper while removing or installing the caliper bolts. DO NOT
allow the wrench to come in contact with the brake caliper. Allowing the wrench to come in contact with the brake caliper will cause a
pulsation when the brake is applied.
3. Use an open end wrench to hold the guide pins while tightening the guide pin bolts.
Tighten the bolts to 38 N.m (28 lb ft).
4. Remove the rubber cap or plug from the exposed brake hose fitting end.
5. Install the 2 NEW copper gaskets to the brake hose bolt and the brake hose fitting.
6. Install the brake hose to caliper bolt.
Tighten the bolt to 40 N.m (30 lb ft).
7. Bleed the hydraulic brake system. Refer to Hydraulic Brake System Bleeding (Pressure) (See: Brake Bleeding/Service and Repair)Hydraulic
Brake System Bleeding (Manual) (See: Brake Bleeding/Service and Repair) .
8. Install the tire and wheel assembly. Refer to Tire and Wheel Removal and Installation .
9. Fill the master cylinder reservoir to the proper level with clean brake fluid, if necessary. Refer to Master Cylinder Reservoir Filling (See: