
Tahoe 2WD V8-6.0L Hybrid (2008)
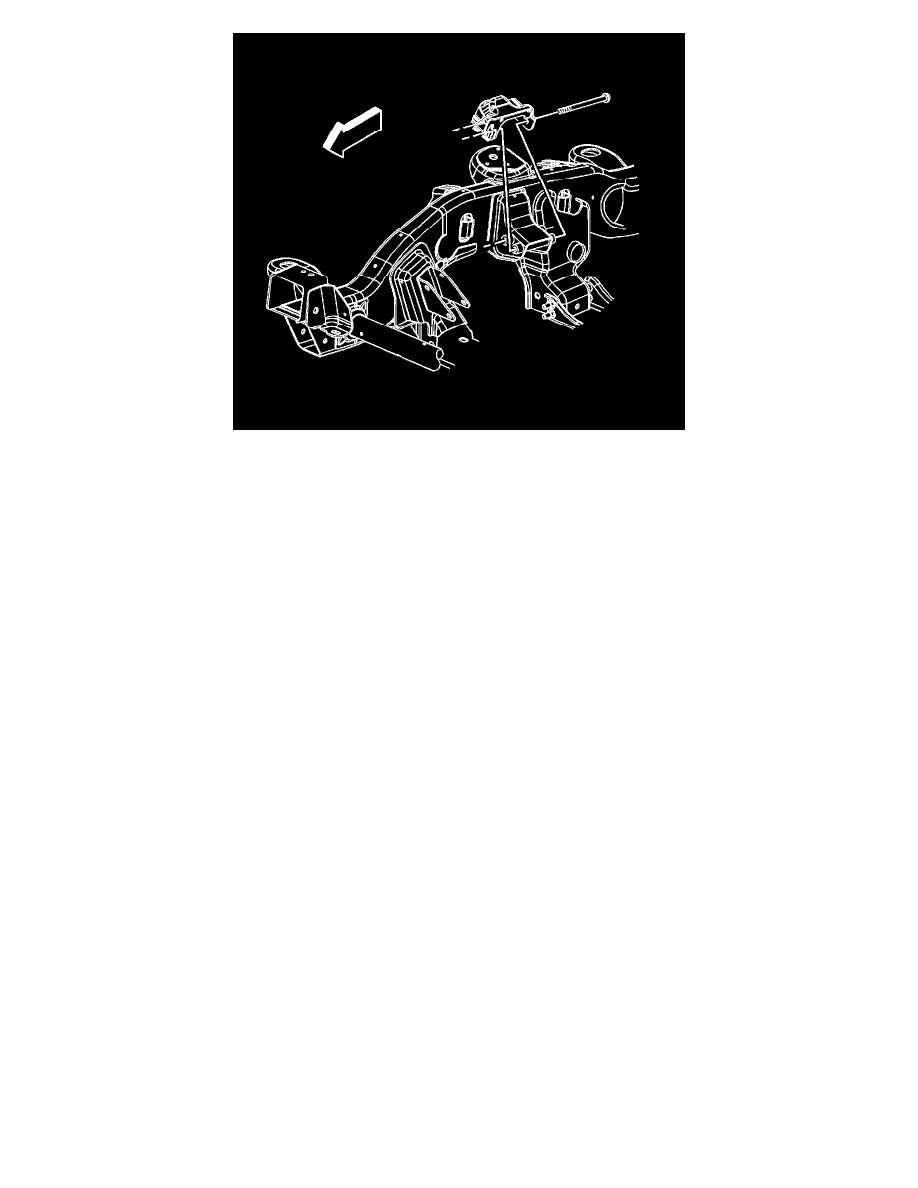
1. Position the engine mount bracket to the frame.
2. Perform the following steps prior to installing the engine mount bracket bolts.
*
Remove all traces of the original adhesive patch.
*
Clean the threads of the bolt with denatured alcohol or equivalent and allow to dry.
*
Apply threadlock GM P/N 12345382 (Canadian P/N 10953489) or equivalent to the bolts.
Notice: Refer to Fastener Notice .
3. Install the engine mount bracket bolts.
Tighten the bolts to 65 N.m (48 lb ft).
4. Install the engine mount. Refer to Engine Mount Replacement - Right Side (1500 w/RPOs LC9/LMG/LY5/L76/L92) (See: )Engine Mount
Replacement - Right Side (1500 w/RPO LY2) Engine Mount Replacement - Right Side (2500 w/RPO LY6) (See: ) .
Engine Mount Replacement - Left
Engine Mount Replacement - Left Side
Removal Procedure
Notice: When raising or supporting the engine for any reason, do not use a jack under the oil pan, any sheet metal, or the crankshaft pulley. Due to the
small clearance between the oil pan and the oil pump screen, jacking against the oil pan may cause the pan to be bent against the pump screen. This will
result in a damaged oil pickup unit.