Tahoe 2WD V8-6.0L Hybrid (2008)

Using Connector Test Adapters
Notice: Do not insert test equipment probes (DVOM etc.) into any connector or fuse block terminal. The diameter of the test probes will deform most
terminals. A deformed terminal will cause a poor connection, which will result in a system failure. Always use the J-35616 GM-Approved Terminal Test
Kit in order to front probe terminals. Do not use paper clips or other substitutes to probe terminals.
When using the J-35616 GM-Approved Terminal Test Kit, ensure the terminal test adapter choice is the correct size for the connector terminal. Do not
visually choose the terminal test adapter because some connector terminal cavities may appear larger than the actual terminal in the cavity. Using a larger
terminal test adapter will damage the terminal. Refer to the J-35616 GM-Approved Terminal Test Kit label on the inside of the J-35616 GM-Approved
Terminal Test Kit for the correct adapter along with the connector end view for terminal size.
Using Fused Jumper Wires
Using Fused Jumper Wires
Tools Required
J 36169-A Fused Jumper Wire
Important: A fused jumper may not protect solid state components from being damaged.
The J 36169-A includes small clamp connectors that provide adaptation to most connectors without damage. This fused jumper wire is supplied with a
20-A fuse which may not be suitable for some circuits. Do not use a fuse with a higher rating than the fuse that protects the circuit being tested.
AFL/ECP Connectors
AFL/EPC Connectors
Tools Required
J-38125 Terminal Repair Kit
Removal Procedure
Follow the steps below in order to remove terminals from the connector.
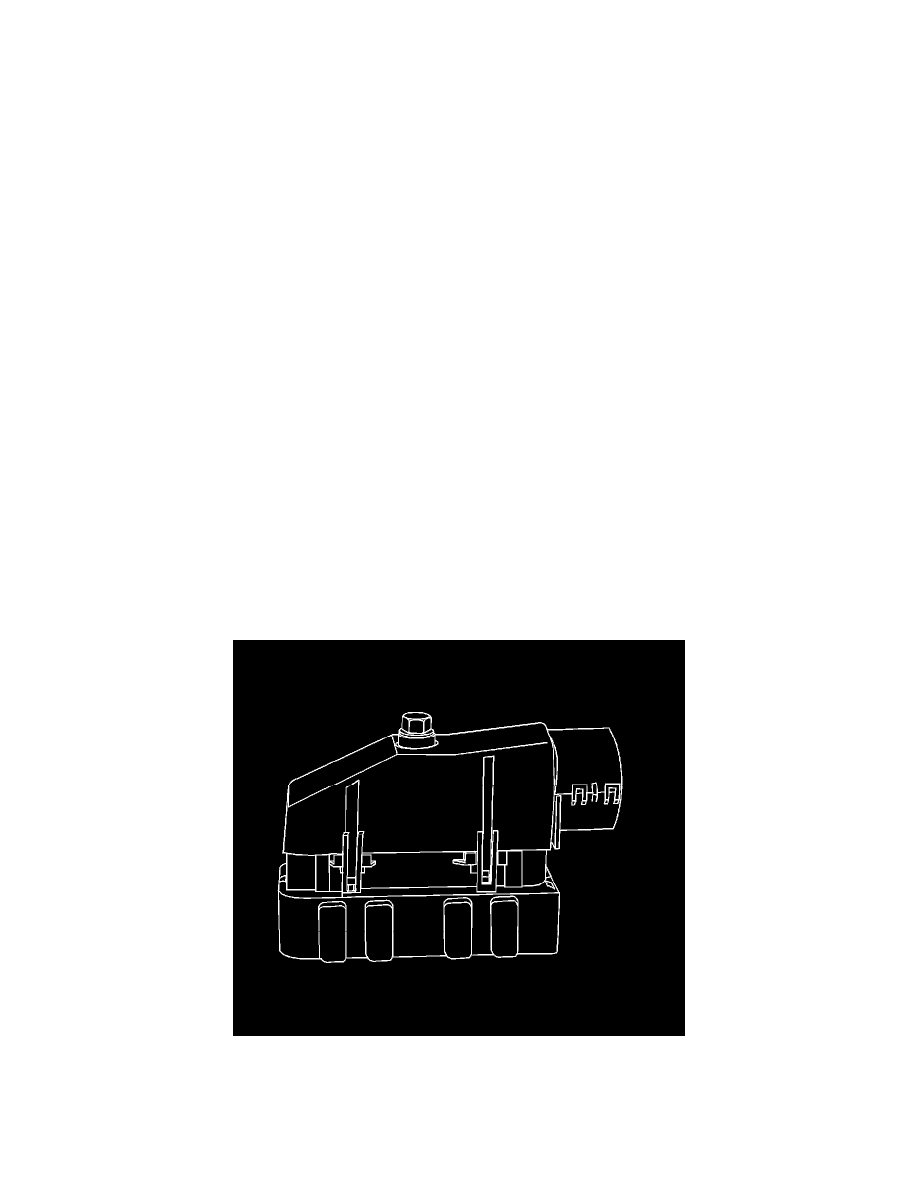
1. For connectors with a bolt in the dress cover, turn the bolt counterclockwise to remove the connector from the component.
