
Tahoe 2WD V8-6.0L Hybrid (2008)
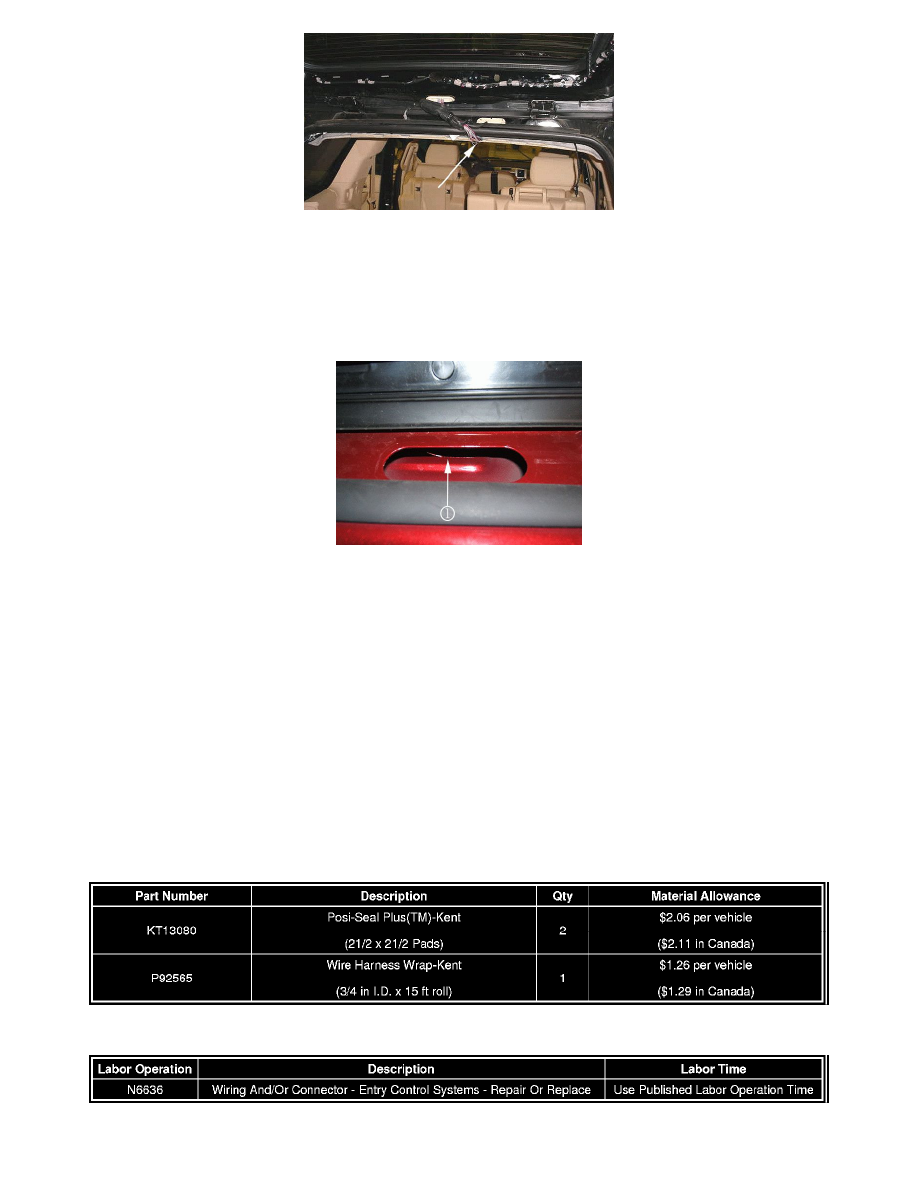
8. Visually inspect the liftgate wiring harness as shown above and repair any damaged wires. Refer to Wiring Repairs in SI.
Important
After repairing the wires, wrap the wiring harness with electrical tape and install conduit.
9. Install a piece of Kent-P92565, wire harness wrap 18 mm (3/4 in) inside diameter (I.D.) by 145 mm (53/4 in) length or equivalent flexible conduit
to the liftgate wiring harness.
10. Install two pieces of Kent-KT13080, Posi-Seal Plus(TM) or equivalent of electrical moisture sealant pad to the lower inner flange (1) inside the
roof panel.
11. Install the liftgate connector C405/X405, wiring harness and the rear washer wiper hose back through the roof panel.
12. Connect the C405/X405 connector, the rear wiper washer hose and seat the wiring harness pass through retainer.
13. Clear any DTCs.
14. Open and close the power rear liftgate ten complete cycles.
15. Install the headliner push retainers.
16. Install the rear door upper garnish molding.
17. Verify that the condition has been fixed.
Parts Information
Order Kent*-KT13080, Posi-Seal Plus(TM) and P92565, Wire Harness Wrap from Kent Automotive at 1-888-YES-KENT or online at
www.kent-automotive.com.
*We believe this source and their products to be reliable. There may be additional manufacturers of such products/material. General Motors does not
endorse, indicate any preference for or assume any responsibility for the products or material from this firm or for any such items that may be available
from other sources.
Warranty Information
For vehicles repaired under warranty, use the table above.