
Tahoe 2WD V8-6.0L Hybrid (2008)
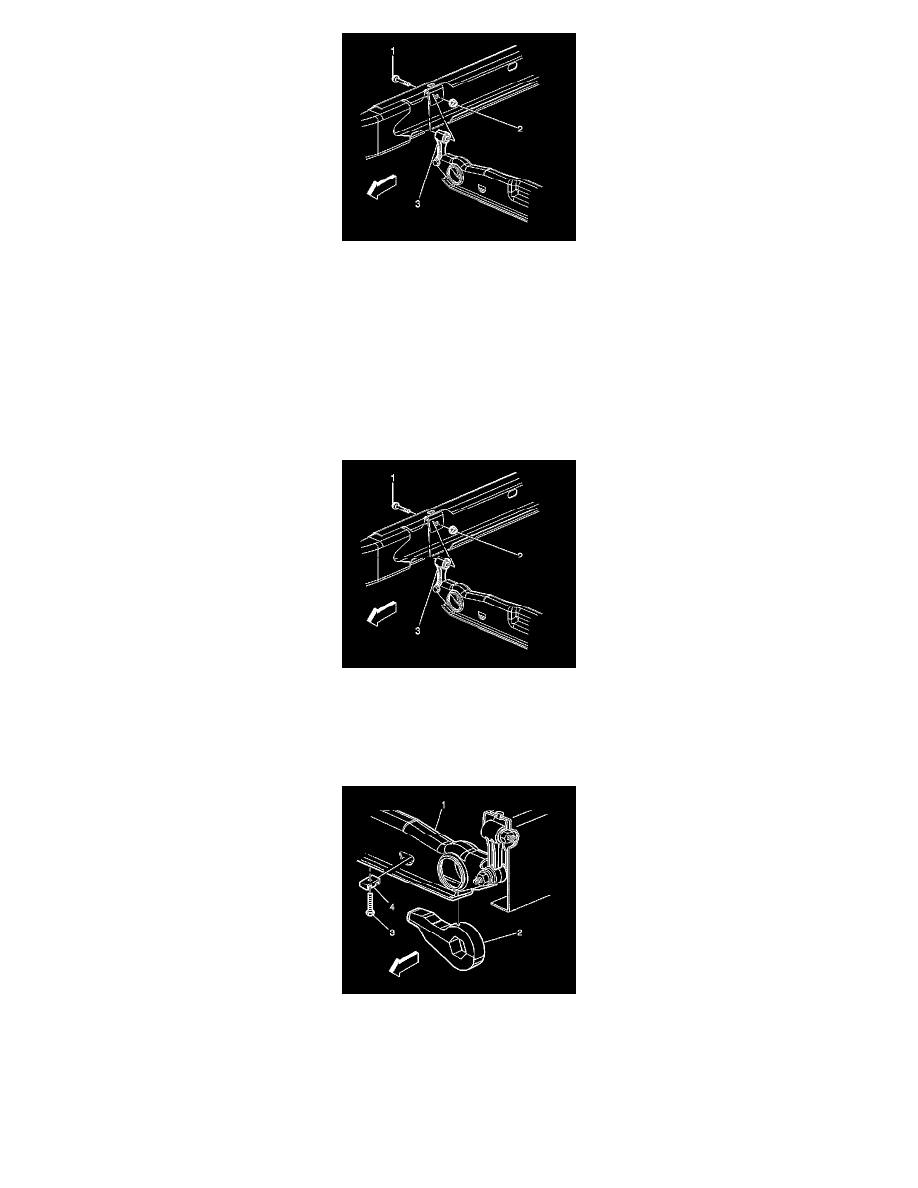
8. Remove the upper link mounting bolt (1) and nut (2) from the link (3).
9. Remove the torsion bar support assembly (4).
Important: The left and right torsion bars are different and are not interchangeable
10. Remove the torsion bar from the vehicle.
Installation Procedure
1. Position the torsion bar in the lower control arm.
2. Install the torsion bar in the support assembly.
Notice: Refer to Fastener Notice .
3. Install the upper link mounting nut (2) and the bolt (1) in the link (3).
Tighten the nut to 95 N.m (70 lb ft).
4. Install the adjustment arm (2) in the support assembly (1).
5. Install the adjuster bolt (3) and the adjustment nut (4).
6. Slide the torsion bar rearward until the torsion bar is fully seated in the adjustment arm.