
Tahoe 2WD V8-6.0L Hybrid (2008)
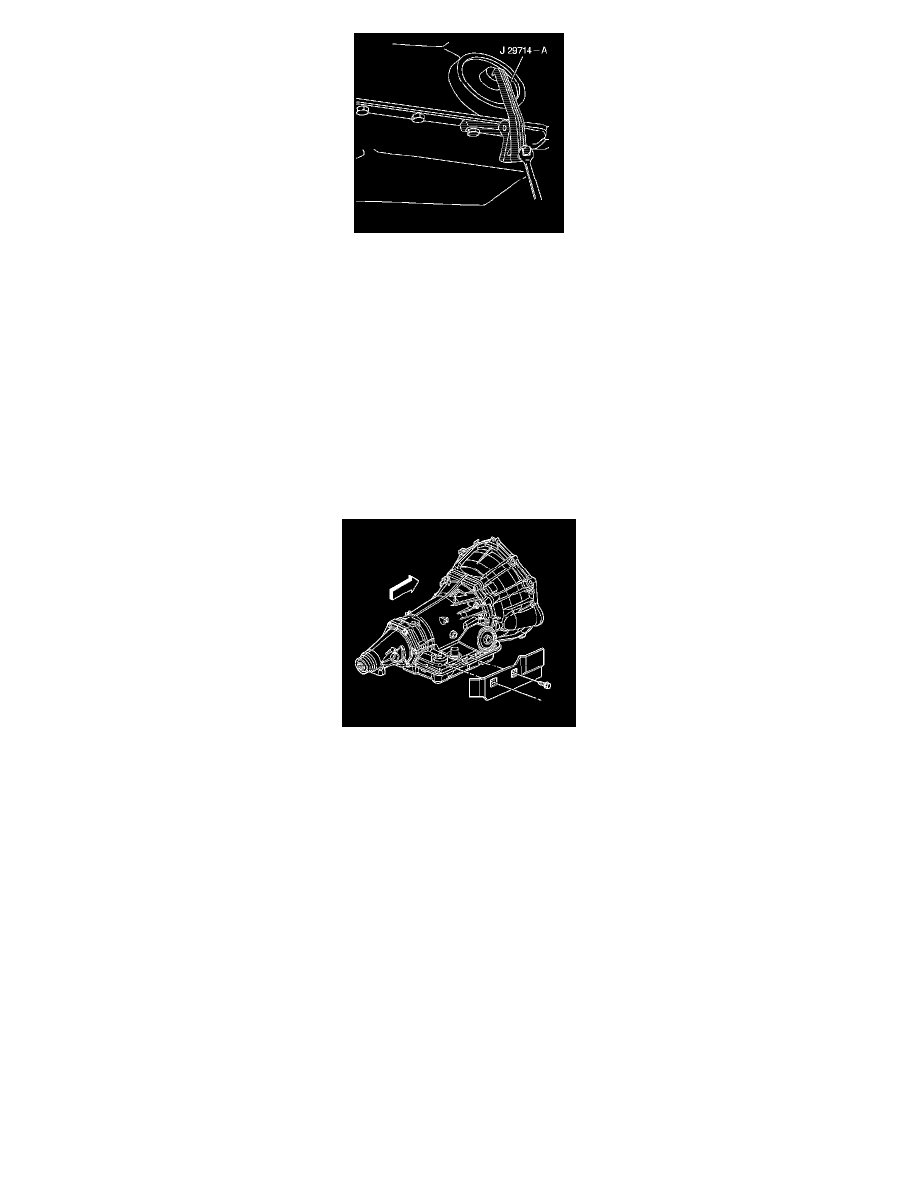
4. Tighten the bolt on J 29714-A in order to compress the servo cover.
5. Install the servo cover ring.
6. Remove the J 29714-A .
Notice: Refer to Fastener Notice .
7. Install the oil pan bolt.
Tighten the bolt to 11 N.m (97 lb in).
8. Raise the transmission.
9. Install the transmission crossmember. Refer to Transmission Support Crossmember Replacement (4WD 2500 series) Transmission Support
Crossmember Replacement (2WD 1500 series) Transmission Support Crossmember Replacement (2WD 2500 series) Transmission Support
Crossmember Replacement (4WD 1500 series) .
10. Remove the transmission jack.
11. Install the heat shield and bolts.
Tighten the bolts to 17 N.m (13 lb ft).
12. Install the catalytic converter pipe. Refer to Catalytic Converter Replacement (1500 Series) Catalytic Converter Replacement (LFA) .
13. Fill the transmission to the proper level with DEXRON(R) VI transmission fluid. Refer to Transmission Fluid Check (See: Testing and
Inspection/Component Tests and General Diagnostics/4L60-E/4L65-E/4L70-E - Automatic Transmission/Transmission Fluid Check) .
Important: It is recommended that transmission adaptive pressure (TAP) information be reset.
Resetting the TAP values using a scan tool will erase all learned values in all cells. As a result, the engine control module (ECM),
powertrain control module (PCM) or TCM will need to relearn TAP values. Transmission performance may be affected as new TAP
values are learned.
14. Reset the TAP values. Refer to Transmission Adaptive Functions (TCM) (See: Description and Operation/4L60-E/4L65-E/4L70-E - Automatic
Transmission/Transmission Adaptive Functions (TCM)) .