
Tahoe 4WD V8-6.2L (2009)
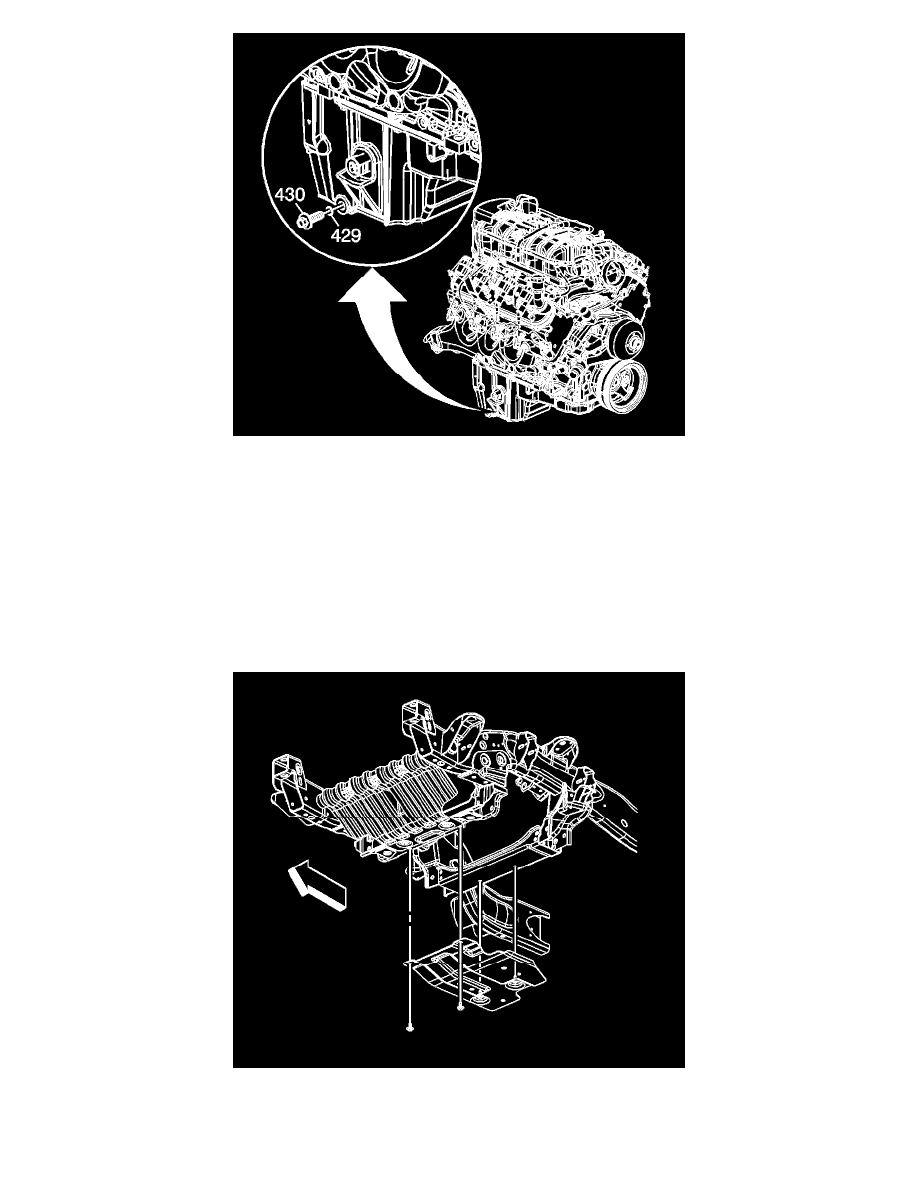
28. Ensure that the oil pan drain plug (430) is tight.
Tighten the drain plug to 25 Nm(18 lb ft).
29. Install the front differential carrier. Refer to Differential Carrier Assembly Replacement (8.25 inch) (See: Transmission and
Drivetrain/Differential Assembly/Service and Repair/Removal and Replacement/Front Drive Axle/Differential Carrier Assembly Replacement
(8.25 inch))Differential Carrier Assembly Replacement (9.25 inch) (See: Transmission and Drivetrain/Differential Assembly/Service and
Repair/Removal and Replacement/Front Drive Axle/Differential Carrier Assembly Replacement (9.25 inch)).
30. Raise the steering rack in place and install the steering rack bolts.
*
Tighten the left side steering rack bolts to 200 Nm(148 lb ft).
*
Tighten the right side steering rack bolts to 100 Nm(74 lb ft).
31. For 2500 series vehicles, position the oil pan skid plate and tighten until snug the 2 rear oil pan skid plate bolts, install the 2 front oil pan skid plate
bolts, if equipped.