
Tracker 2WD L4-1.6L VIN 6 (2000)
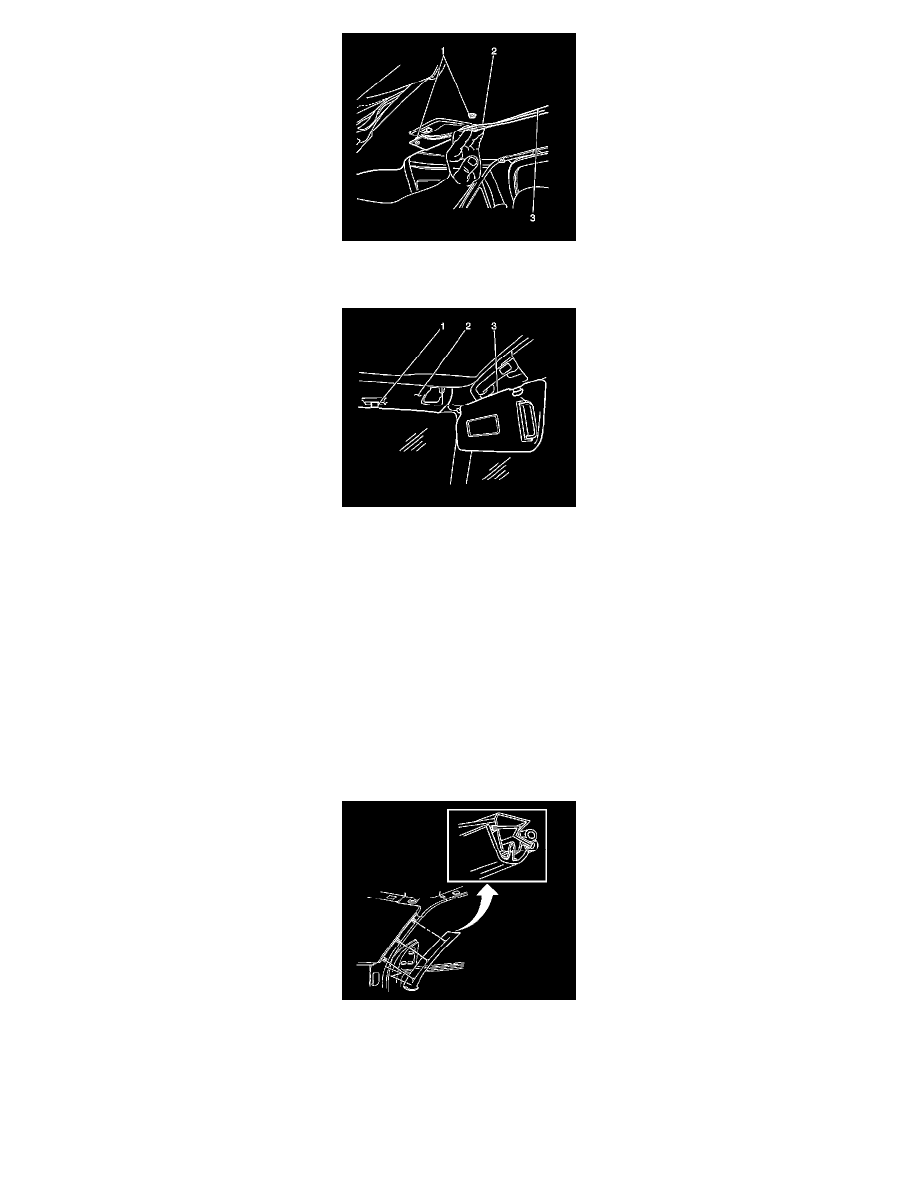
4. Install the folding top material snaps (1) to the roof panel (3). Secure each snap with 1 screw.
5. Install the dome lamp. Refer to Dome Lamp Replacement.
6. Install the upper center pillar trim. Refer to Center Pillar Upper Trim Panel Replacement (2 Door) (See: Center Pillar Upper Trim Panel
Replacement (2 Door))Center Pillar Upper Trim Panel Replacement (4 Door) (See: Center Pillar Upper Trim Panel Replacement (4 Door)) .
7. Install the front assist handles. Refer to Assist Handle Replacement (2 - Door) (See: Passenger Assist Handle/Service and Repair/Assist Handle
Replacement (2 - Door))Assist Handle Replacement (Rear - 2 Door) (See: Passenger Assist Handle/Service and Repair/Assist Handle
Replacement (Rear - 2 Door))Assist Handle Replacement (Rear - 4 Door) (See: Passenger Assist Handle/Service and Repair/Assist Handle
Replacement (Rear - 4 Door)) .
8. Install the folding top latches. Refer to Folding Top Latch Replacement in Roof.
9. Install the sunshades (3) to the vehicle. Secure each sunshade with 2 screws.
10. Install the sunshade supports (1). Refer to Sunshade Anchor Replacement (See: Sun Visor/Service and Repair/Sunshade Anchor Replacement) .
Windshield Pillar Garnish Molding Replacement
Windshield Pillar Garnish Molding Replacement
Removal Procedure
Remove the windshield side garnish molding from the vehicle by gently prying loose the plastic retainers which secure the molding.
Installation Procedure