
Tracker 2WD L4-1.6L VIN 6 (2000)
7. Remove the piston (1) and the connecting rod (3) from the cylinder bore by pushing out through the top of the cylinder bore.
8. Disassemble the piston and connecting rod assembly. Refer to Piston and Connecting Rod Disassemble.
9. Inspect the piston and connecting rod assembly. Refer to Piston, Connecting Rod, and Bearings Clean and Inspect (Piston/Connecting Rod
Inspect) or Piston, Connecting Rod, and Bearings Clean and Inspect (Bearing Selection).
10. Select the connecting rod bearing. Refer to Piston, Connecting Rod, and Bearings Clean and Inspect (Piston/Connecting Rod Inspect) or Piston,
Connecting Rod, and Bearings Clean and Inspect (Bearing Selection).
11. Select the piston. Refer to Piston Selection.
12. Assemble the piston and connecting rod assembly. Refer to Piston and Connecting Rod Assemble.
Installation Procedure
^
Tools Required
-
J8037 Piston Ring Compressor
1. Apply a light coat of clean engine oil to the following:
^
The pistons
^
The rings
^
The cylinder walls
^
The connecting rod bearings
^
The crank pins
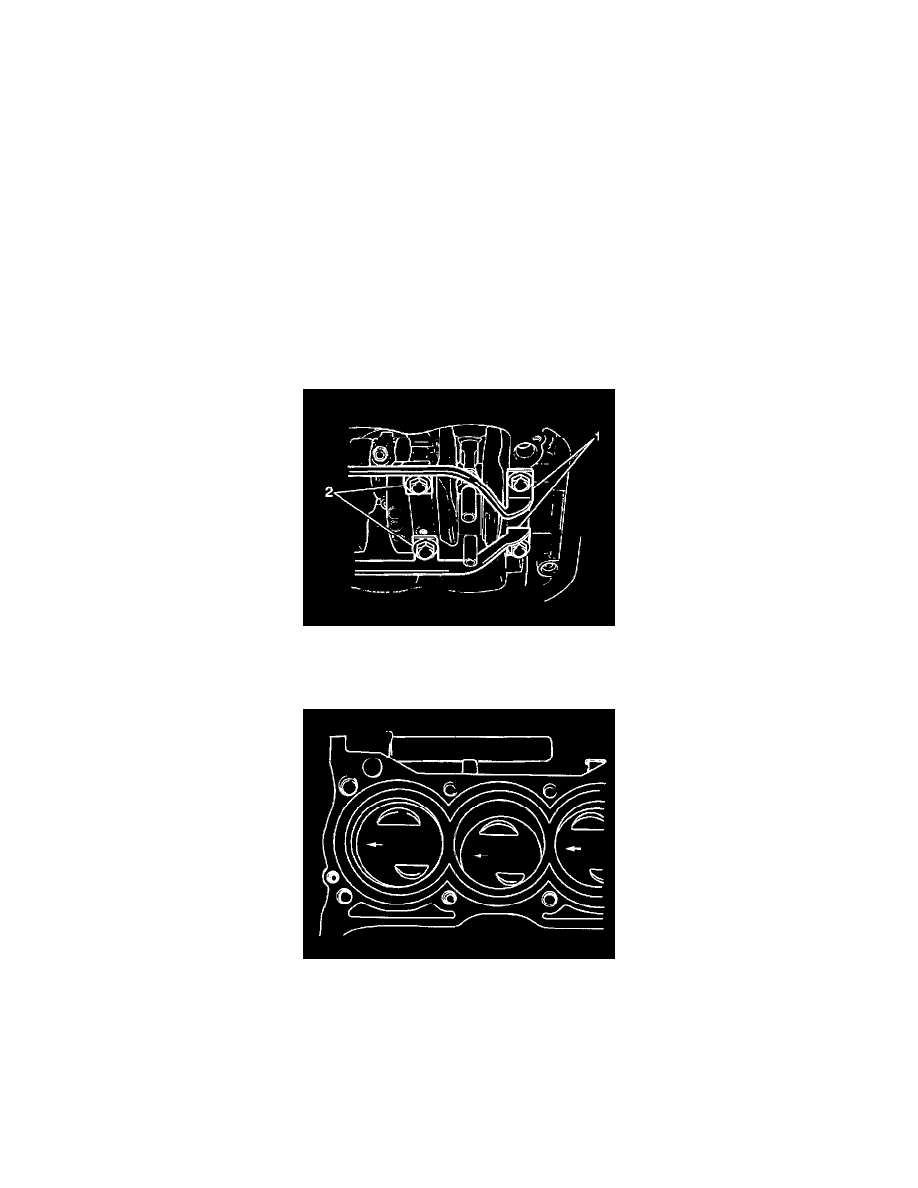
2. Install a piece of hose (2) over the connecting rod studs to prevent damage to the crankshaft and cylinder wall when installing the connecting rods.
Important: Ensure that the arrow mark on the top of the piston is facing toward the crankshaft pulley side.
3. Use a J8037 in order to compress the piston rings and install the piston and the connecting rod into the cylinder bore.