
Tracker 2WD L4-1.6L VIN 6 (2000)
Compressor Clutch Coil: Service and Repair
COMPRESSOR CLUTCH COIL REPLACEMENT
REMOVAL PROCEDURE
TOOLS REQUIRED
J 39200 Digital Multimeter
IMPORTANT:
^
Discharge and recover the A/C system refrigerant, and remove the compressor from the vehicle, before performing compressor repairs and
procedures.
^
During service of the compressor, prevent dirt and other foreign material from getting on the compressor parts and into the system. Clean tools and
a clean work area are essential for proper service. Keep the compressor and the parts clean at all times.
^
Clean all of the parts that you will reassemble with a suitable solvent, and air-dry the parts.
^
Use only lint-free cloths to wipe the parts.
^
Drain, measure and discard the remaining refrigerant oil when the compressor is removed from the vehicle. Add the same amount of new oil when
the repairs are complete.
1. Remove the compressor from the vehicle.
IMPORTANT: Use a new pressure plate nut upon installation.
2. Remove the pressure plate bolt arid the washer from the drive shaft.
3. Remove the pressure plate from the drive shaft.
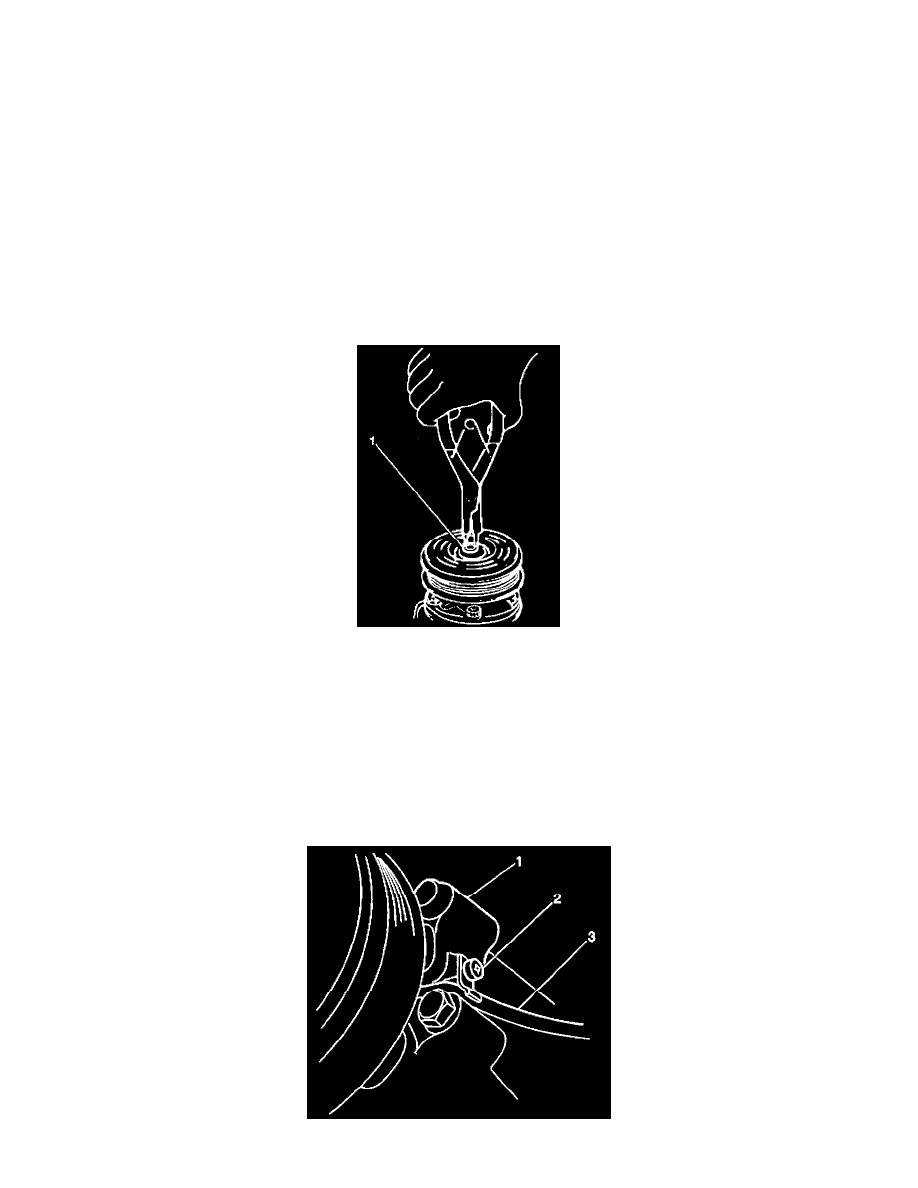
4. Remove the clutch pulley snap ring (1) and the shim, using the appropriate snap ring pliers.
IMPORTANT: Do not damage the clutch pulley during removal.
5. Remove the clutch pulley from the compressor, using a plastic hammer.