
Tracker 2WD L4-1.6L VIN 6 (2000)
Hose/Line HVAC: Service and Repair
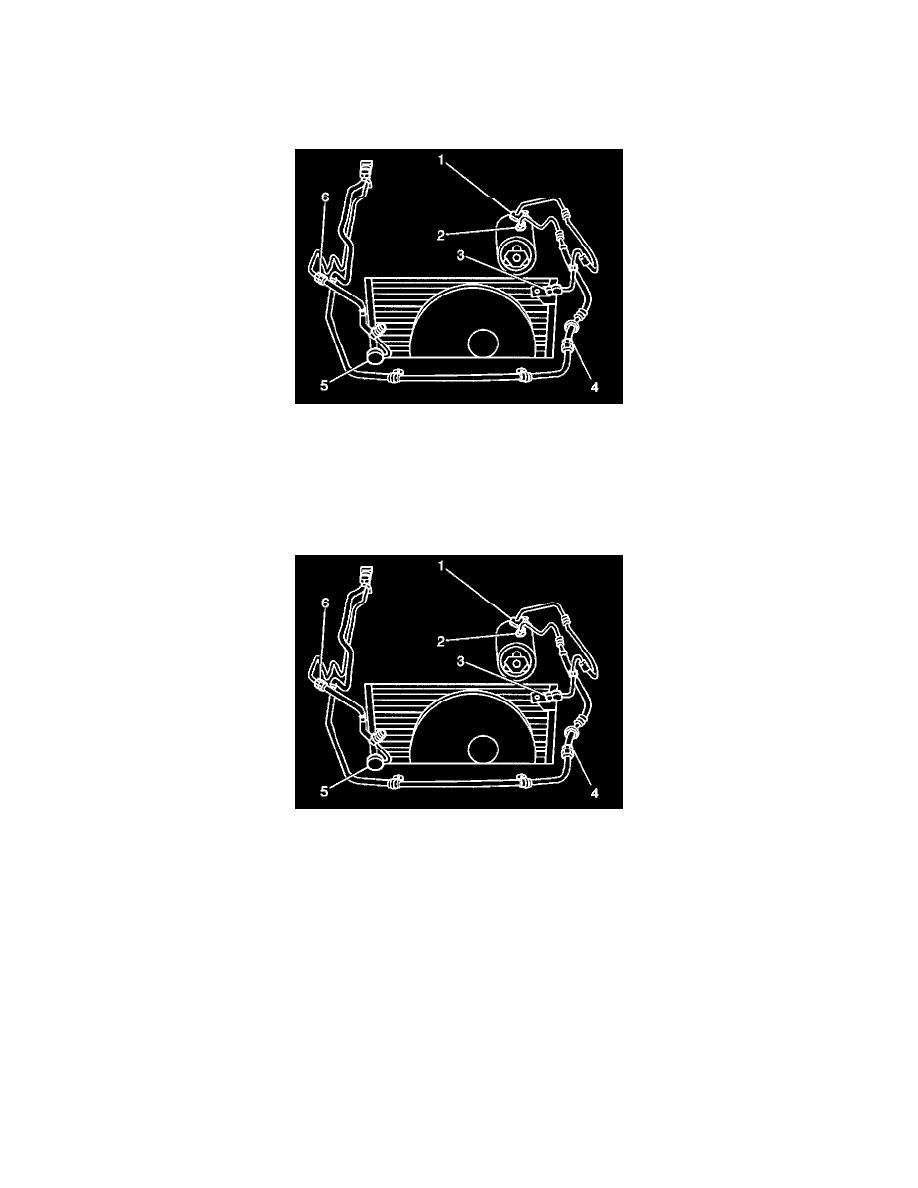
Discharge Hose Replacement
DISCHARGE HOSE REPLACEMENT
REMOVAL PROCEDURE
1. Discharge and recover the refrigerant. Refer to Refrigerant Recovery and Recharging. See: Fluids/Refrigerant/Service and Repair
2. Remove the grill.
3. Remove the bolt and the compressor discharge hose (1) from the compressor.
4. Remove the bolt and the compressor discharge hose from the condenser (3).
5. Remove the compressor discharge hose from the vehicle.
INSTALLATION PROCEDURE
1. Install new O-rings coated with mineral base 525 viscosity refrigerant oil to the refrigerant pipe fittings.
2. Install the hose to the vehicle.
NOTE: Refer to Fastener Notice in Service Precautions.
3. Install the compressor discharge hose to the condenser (3). Secure with the bolt
4. Install the compressor discharge hose (1) to the compressor. Secure with the bolt.
Tighten
Tighten the bolts to 25 N.m (19 lb ft).
5. Install the grill.
6. Evacuate and recharge the air conditioning system. Refer to Refrigerant Recovery and Recharging. See: Fluids/Refrigerant/Service and Repair
7. Operate the A/C system and test for refrigerant leaks. Refer Leak Testing. See: Heating and Air Conditioning/Testing and Inspection/Component
Tests and General Diagnostics/Leak Testing