
Tracker 2WD L4-1.6L VIN 6 (2000)
4. Disconnect the PCM electrical connectors as follows:
^
Disconnect the 4 PCM electrical connectors (A/T vehicles).
^
Disconnect the 3 PCM electrical connectors (M/T vehicles).
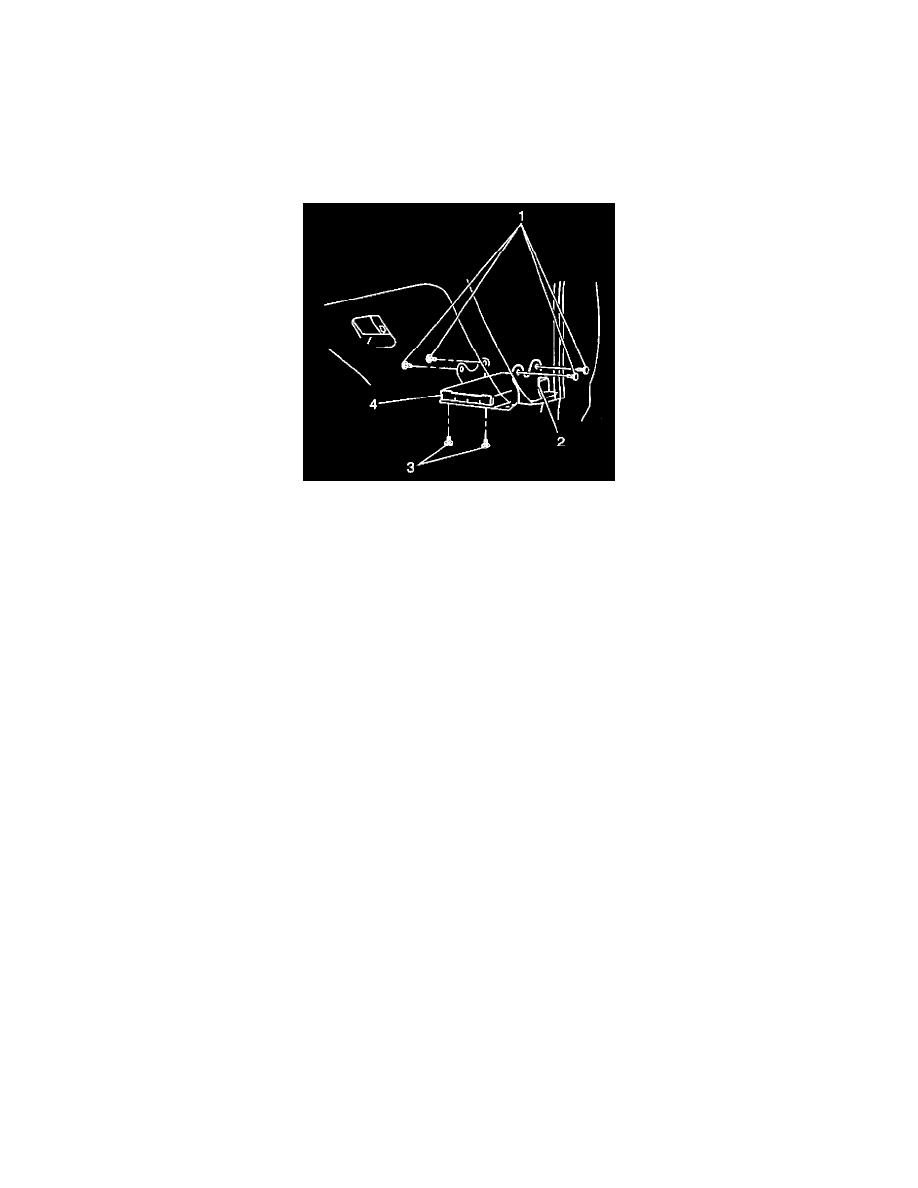
5. Remove the 2 PCM retaining bolts (3).
6. Slide the PCM (4) forward and out from the PCM bracket.
7. Remove the 4 PCM bracket bolts (1).
8. Remove the PCM bracket (2) from underneath the instrument panel.
INSTALLATION PROCEDURE
1. Install the PCM bracket (2) underneath the instrument panel.
NOTE: Refer to Fastener Notice in Cautions and Notices.
2. Secure the PCM bracket (2) with the 4 bolts (1).
Tighten
Tighten the PCM bracket bolts to 6 N.m (54 lb in).
3. Install the PCM (4) into the PCM bracket (2).
4. Secure the PCM to the PCM bracket with the 2 bolts.
Tighten
Tighten the PCM retaining bolts to 6 N.m (54 lb in).
5. Connect the PCM electrical connectors as follows:
^
Connect the 4 PCM electrical connectors to the PCM (A/T vehicles).
^
Connect the 3 PCM electrical connectors to the PCM (M/T vehicles).