
Tracker 2WD L4-1.6L VIN 6 (2000)
Spark Plug: Service and Repair
REMOVAL PROCEDURE
NOTE: This engine is equipped with an aluminum cylinder head. Allow the engine to cool before removing spark plugs. Removing the spark plugs
from an engine at operating temperature may damage the spark plug threads in the cylinder head. Also be sure to clean any dirt or debris from around
spark plug holes prior to removing spark plugs.
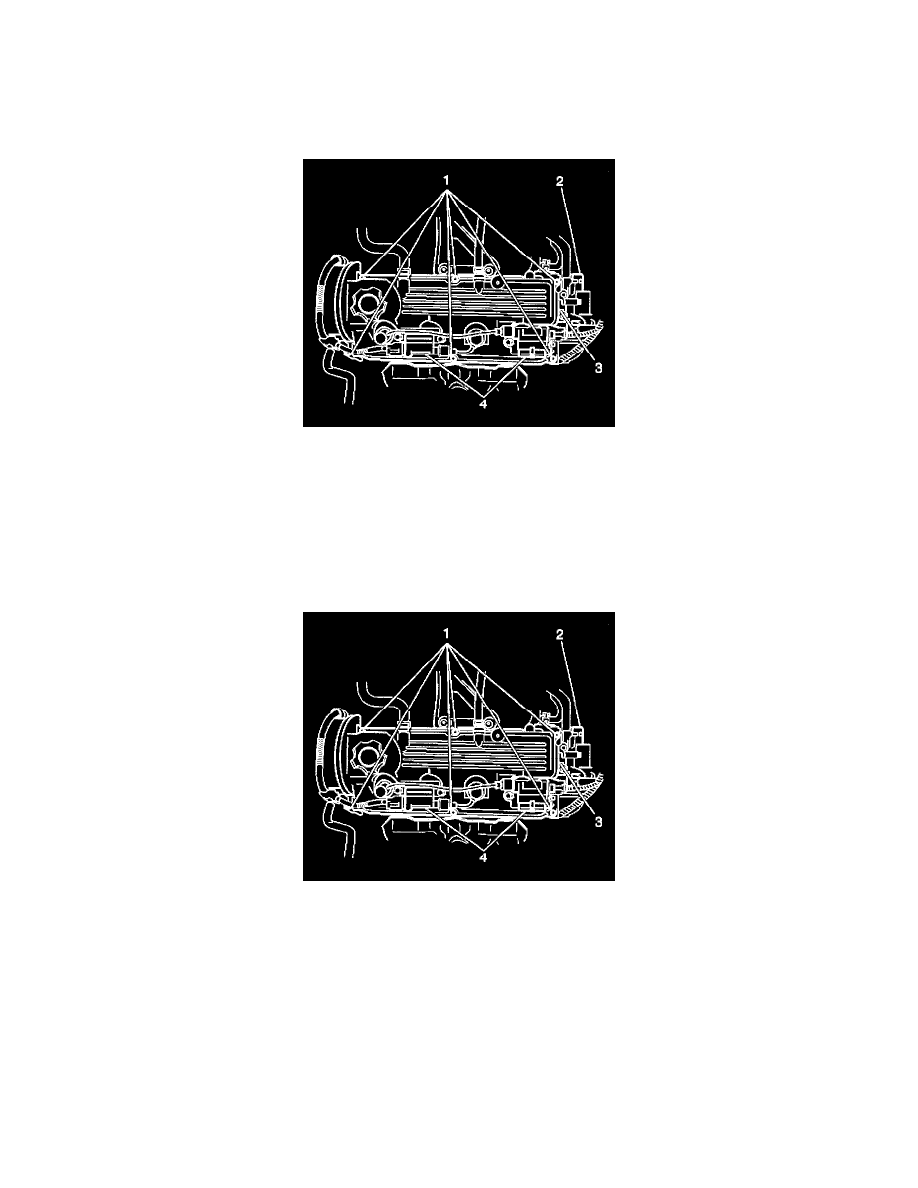
1. Disconnect the ignition coil electrical connectors.
2. Carefully release the number 1 spark plug wire from the clip on the number 2-3 ignition coil.
3. Remove the 2 bolts from each ignition coil.
4. Remove the number 1 spark plug wire and the number 1-4 ignition coil from the spark plugs.
5. Remove the number 2-3 ignition coil and the number 3 spark plug wire from the spark plugs.
6. Remove the spark plugs from the cylinder head.
7. Inspect the spark plugs for electrode wear, carbon deposits and insulator damage. Refer to Spark Plug Visual Diagnosis.
INSTALLATION PROCEDURE
1. Set the spark plug gap to 1.0-1.1 mm (0.039-0.043 in).
NOTE: Refer to Fastener Notice in Service Precautions.
2. Install the spark plugs to the cylinder head.
Tighten
Tighten the spark plug to 25 N.m (19 lb ft).
3. Install the number 2-3 ignition coil and the number 3 spark plug wire to the spark plugs.
4. Install the number 4 spark plug wire and the number 1-4 ignition coil to the spark plugs.
5. Install the 2 bolts to each ignition coil.
Tighten
Tighten the ignition coil bolts to 10 N.m (89 lb in).