
Tracker 2WD L4-1.6L VIN 6 (2000)
tightening the nuts and bolts.
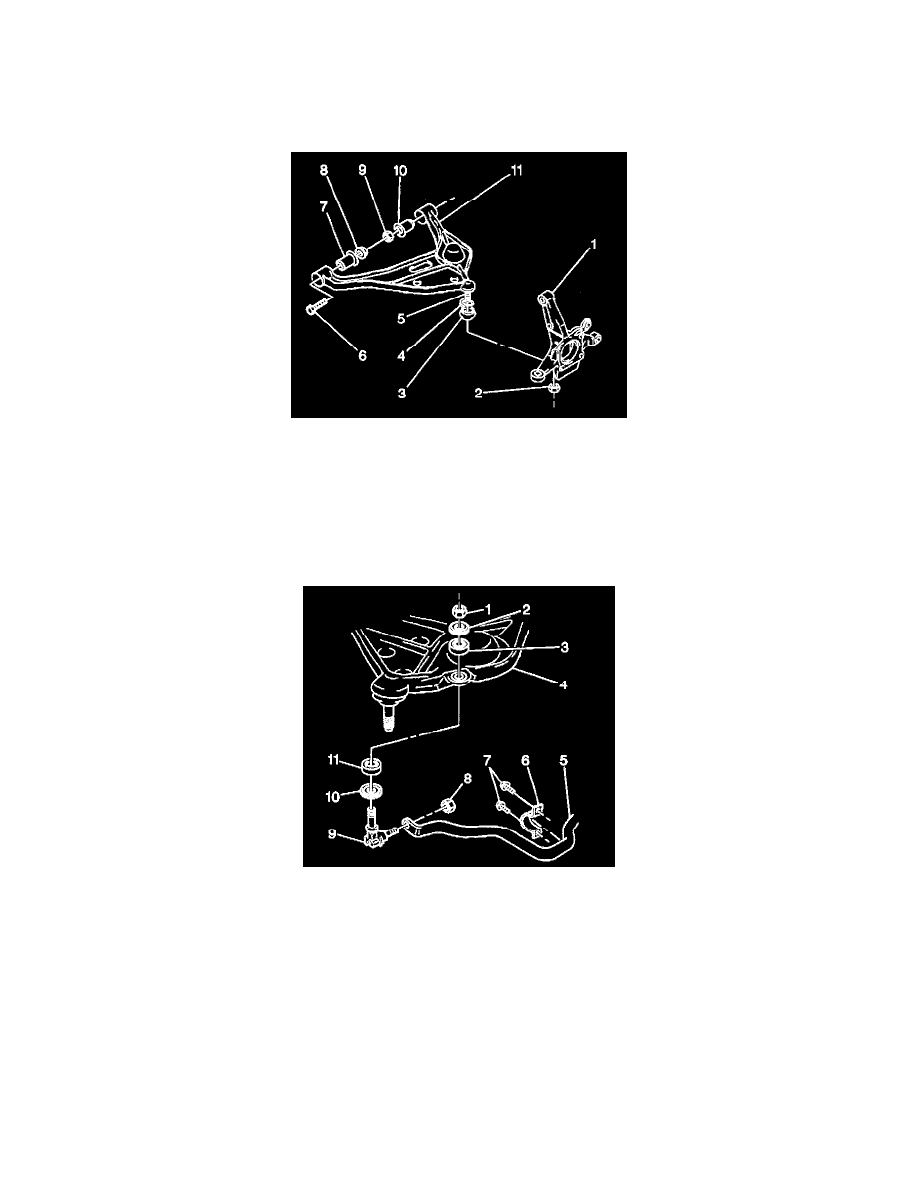
3. Install the following components in order to connect the stabilizer shaft link to the lower control arm:
-
The stabilizer shaft nut (1)
-
the washer (2)
-
The bushing (3)
4. Install the ball stud (5) to the knuckle (1).
Notice: Refer to Fastener Notice in Cautions and Notices.
5. Install a new ball stud nut (2).
-
Tighten the ball stud nut to 60 Nm (43.5 ft. lbs.).
6. Install the tire and wheel assembly. Refer to Tire and Wheel Removal and Installation in Tires and Wheels.
7. Lower the vehicle.
8. Ensure the stabilizer shaft is centered, side-to-side. Verify that the stabilizer shaft links are set at a neutral position, as seen from above.
-
Tighten the stabilizer shaft link nut (1) to 29 Nm (21.0 ft. lbs.).