
Tracker 2WD L4-1.6L VIN 6 (2000)
Drive/Propeller Shaft: Service and Repair
Propeller Shaft Replacement - Front
1. Raise and support the vehicle. Refer to Vehicle Lifting.
2. If the vehicle is equipped with a transfer case, place a drain pan or suitable container underneath the transfer case. Remove the drain plug and
drain the fluid.
3. Place index marks on the pinion flange yoke and the differential pinion flange.
4. Remove the 4 bolts (1) and 4 nuts (4) holding the yoke. Separate the pinion flange yoke from the differential pinion flange.
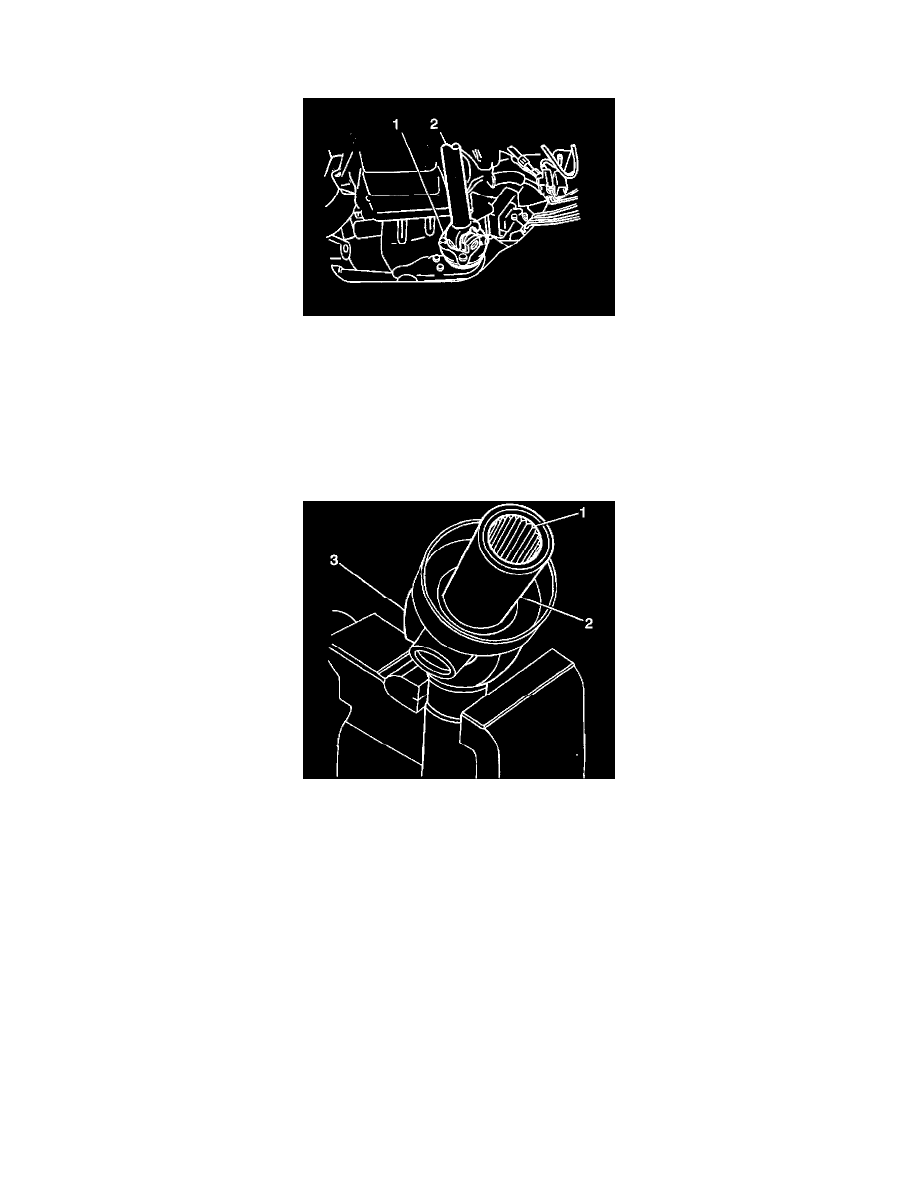
5. Remove the sliding yoke from the transfer case. Remove the propeller shaft (1) from the vehicle.
6. Inspect the propeller shaft for dents or other damage. Replace the shaft if the shaft is damaged.
7. Inspect the universal joints for smooth pivoting. If the universal joints bind or appear tight, replace the universal joints as assemblies. Refer to
Universal Joints Replacement.
8. Inspect the sliding yoke splines (1) for excessive wear or damage. If the splines (1) appear worn or rounded, replace the sliding yoke (3). Refer to
Universal Joints Replacement.
9. Inspect the sliding yoke surface for the following:
^
Scoring
^
Burrs
^
Other damage
If the sliding yoke surface appears scored or rough, replace the sliding yoke. Refer to Universal Joints Replacement.
10. Inspect the pinion flange yoke for the following:
^
Cracks
^
Distortion
^
Other damage
If the pinion flange yoke appears damaged or distorted, replace the pinion flange yoke. Refer to Universal Joints Replacement.
Installation Procedure