
Tracker 2WD L4-2.0L VIN C (1999)
Brake Bleeding: Service and Repair
Manual and Pressure Bleeding Procedures
CAUTION: Do not move the vehicle until a firm brake pedal is obtained. Air in the brake system can cause the loss of brakes with possible
personal injury.
CAUTION: Refer to Brake Fluid Irritant Caution in Service Precautions.
CAUTION: If any brake component is repaired or replaced such that air is allowed to enter the brake system, the entire bleeding procedure
MUST be followed. Unapproved or partial bleed procedures can allow air to remain in the brake system. This could result in reduced
braking performance and possible personal injury.
NOTICE: Refer to Brake Fluid Damage to Electrical Connections Notice in Service Precautions.
IMPORTANT: Bleed the hydraulic brake system in the following sequence:
1. Left rear wheel cylinder
2. Load Sensing Proportioning Valve (non-ABS)
3. Right front caliper
4. Left front caliper
If air enters the hydraulic brake system due to low brake fluid level, bleed the system at the 4 bleeder valves.
If you disconnect a brake pipe from the master cylinder, bleed the system at the 4 bleeder valves.
If you disconnect a brake pipe or a fitting between the master cylinder and the wheels, bleed the system at the bleeder valve served by the brake
pipe or fitting.
If you disconnect a brake pipe or brake hose at only 1 wheel, then bleed the system at the bleeder valve for that wheel.
MANUAL BLEEDING
1. Ensure the engine is OFF.
2. Press the brake pedal several times in order to remove the vacuum system reserve.
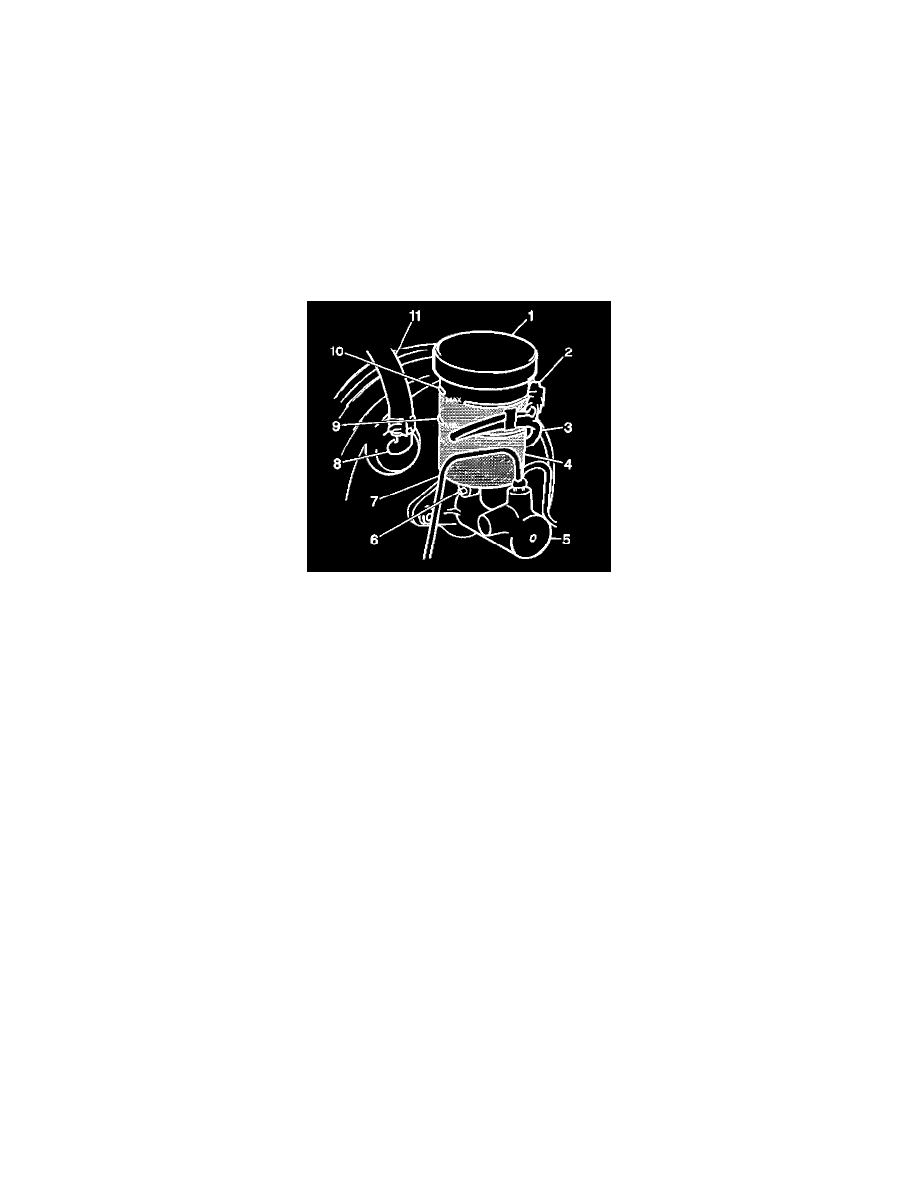
3. Clean around the master cylinder reservoir cap (1).
4. Remove the reservoir cap.
5. Fill the reservoir with brake fluid. Keep the reservoir at least one-half full during the bleeding operation.
6. Install the reservoir cap.