
Tracker 2WD L4-2.0L VIN C (1999)
1. Install a J 37762 to the master cylinder.
2. Charge the J 29532 to 140 to 172 kPa (20 to 25 psi).
3. Connect the J 29532 line to the J 37762 and open the line valve.
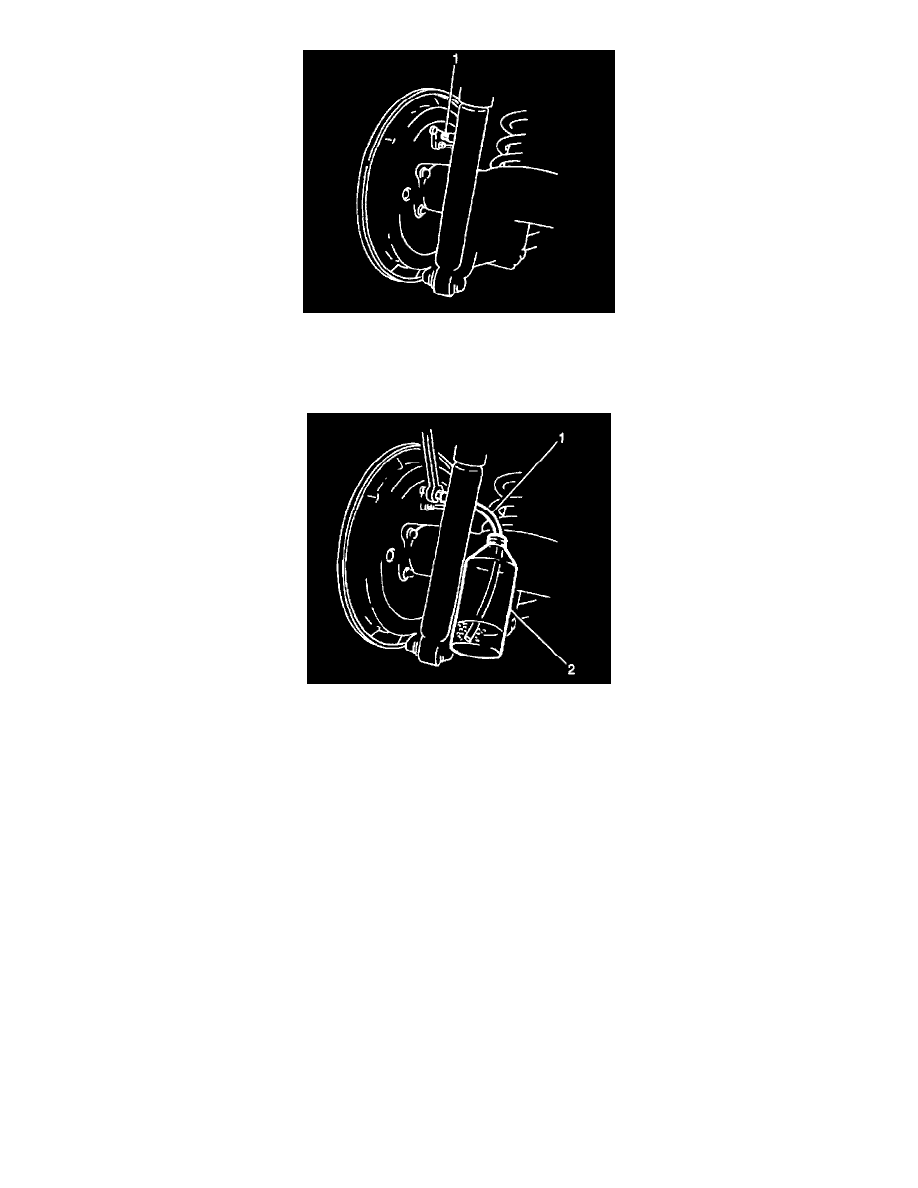
4. Remove the bleeder valve cap (1).
5. Attach a clear plastic or vinyl tube (1) to the bleeder valve. Submerge the other end of the tube in a clear container (2) partially filled with brake
fluid.
6. Loosen the bleeder valve about 1/2 turn. Allow the fluid to flow until bubbles no longer appear in the fluid. Do not allow the J 29532 to run out of
fluid. If the fluid should run out, air will enter the system and you must repeat the entire bleeding procedure.
NOTICE: Refer to Fastener Notice in Service Precautions.
7. Close the bleeder valve.
^
Tighten the caliper bleeder valve to 8.5 Nm (75.2 inch lbs.).
^
Tighten the wheel cylinder bleeder valve to 7.5 Nm (66.4 inch lbs.).
8. Install the bleeder valve cap.
9. Repeat this procedure at all bleeder valves that require bleeding.
10. Replenish the brake fluid in the master cylinder reservoir to the MAX mark and install the cap.
12. Inspect the hydraulic brake system for leaks.
13. Inspect the brake pedal feel for sponginess and the brake indicator for an indication of an unbalanced pressure. Repeat the entire bleeding
procedure to correct either of these two conditions.
14. Remove the J 37762 and the J 29532 from the master cylinder.