
Tracker 4WD V6-2.5L VIN 4 (2001)
Auxiliary Step / Running Board: Service and Repair
Assist Step Rear Bracket Replacement
Assist Step Rear Bracket Replacement
Removal Procedure
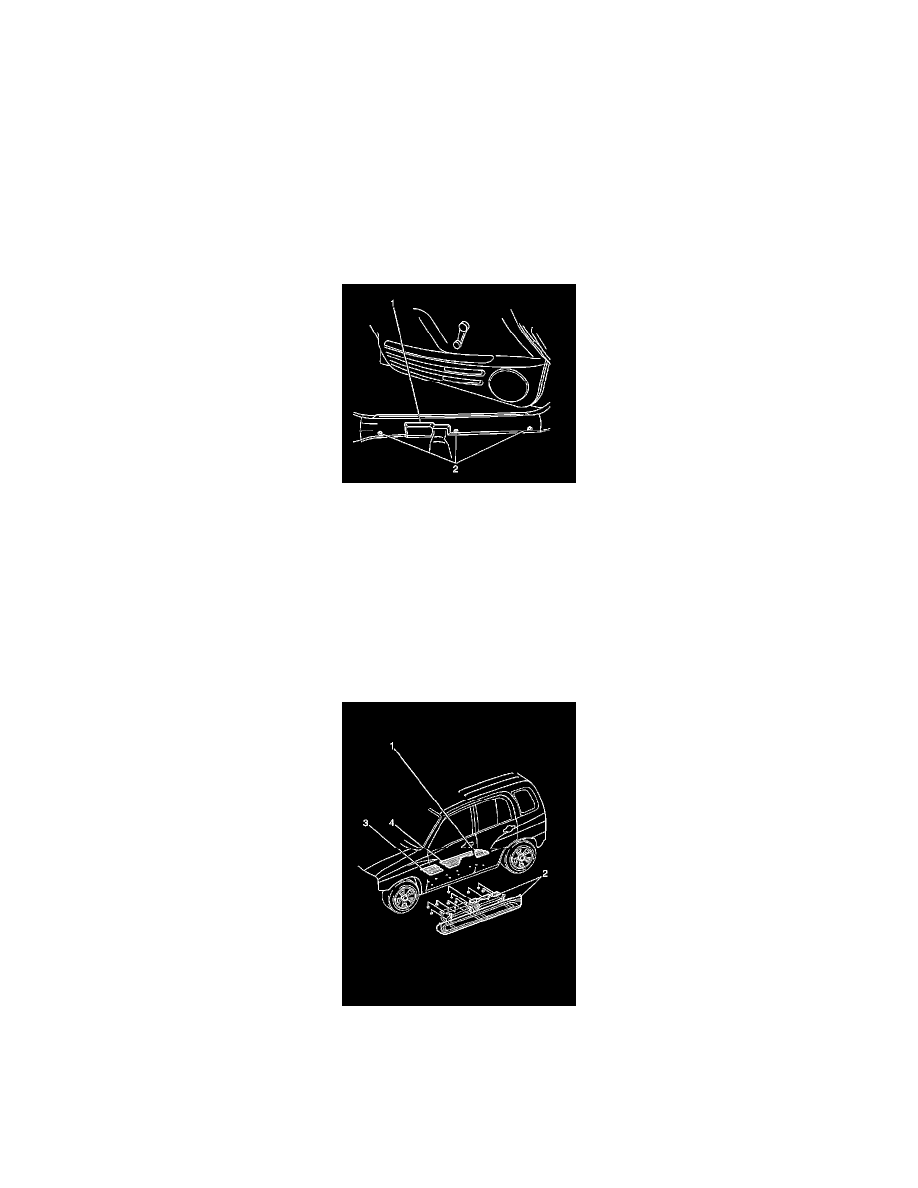
1. Remove the assist step. Refer to Assist Step Replacement (See: Assist Step Replacement) .
2. Remove the front seat. Refer to Front Seat Replacement - Bucket (See: Seats/Service and Repair/Front Seat Replacement - Bucket) in Seats.
3. Remove the front and rear floor mats, if equipped.
4. Remove the body hinge pillar trim panel. Refer to Body Hinge Pillar Trim Panel Replacement - Left Side (See: Interior Moulding / Trim/Trim
Panel/Service and Repair/Body Hinge Pillar Trim Panel Replacement (Left )) or Body Hinge Pillar Trim Panel Replacement - Right Side (See:
Interior Moulding / Trim/Trim Panel/Service and Repair/Body Hinge Pillar Trim Panel Replacement (Right)) in Interior Trim.
5. Remove the following components from the vehicle:
*
The 3 plastic retainers (2)
*
The front side door sill trim plate (1)
6. Remove the following components from the vehicle:
*
The 3 plastic retainers
*
The rear side door sill trim plate
7. Remove the 2 plastic retainers that retain the floor pan carpet at the bulkhead.
8. Position the carpet aside in order to gain access to the assist step rear bracket (1).
9. Remove the assist step rear bracket (1) from the vehicle.
Installation Procedure